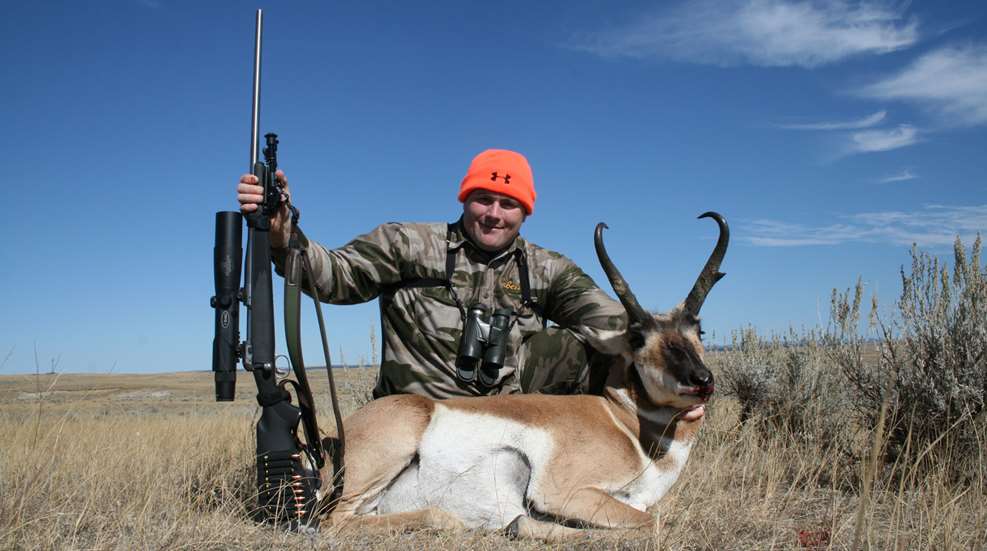
After several unsuccessful shots at bagging a Wyoming “speed goat” earlier in the afternoon, my son, Gabriel, and I were about to “shut up shop” when I glassed a few does and a buck bedded in the distance. Glancing at the horizon, as well as my watch, I knew we were pressed for time. Still, we planned and implemented a hasty stalk that would have him take the shot from a small plateau down into the bowl-shaped valley. This time, the stars aligned.
What began as a swift saunter slowed to a waddle and then, for my son, a low crawl to the spot where the shot would be taken. Meanwhile, I remained about 10-yards behind, signaling the shot distance—401 yards—and watching for the animal’s reaction to the shot. Once in position, I noticed the bore’s position in relation to debris downrange and tried, in vain, to alert him. With his ear protection in, I felt a sense of helplessness. Unfortunately, I was correct; at the shot, the 7mm pill sent a plume of dust and varied debris skyward a few yards from the barrel.
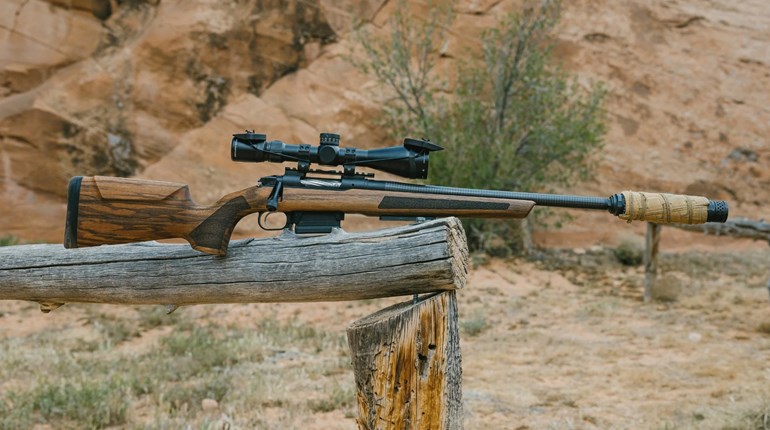
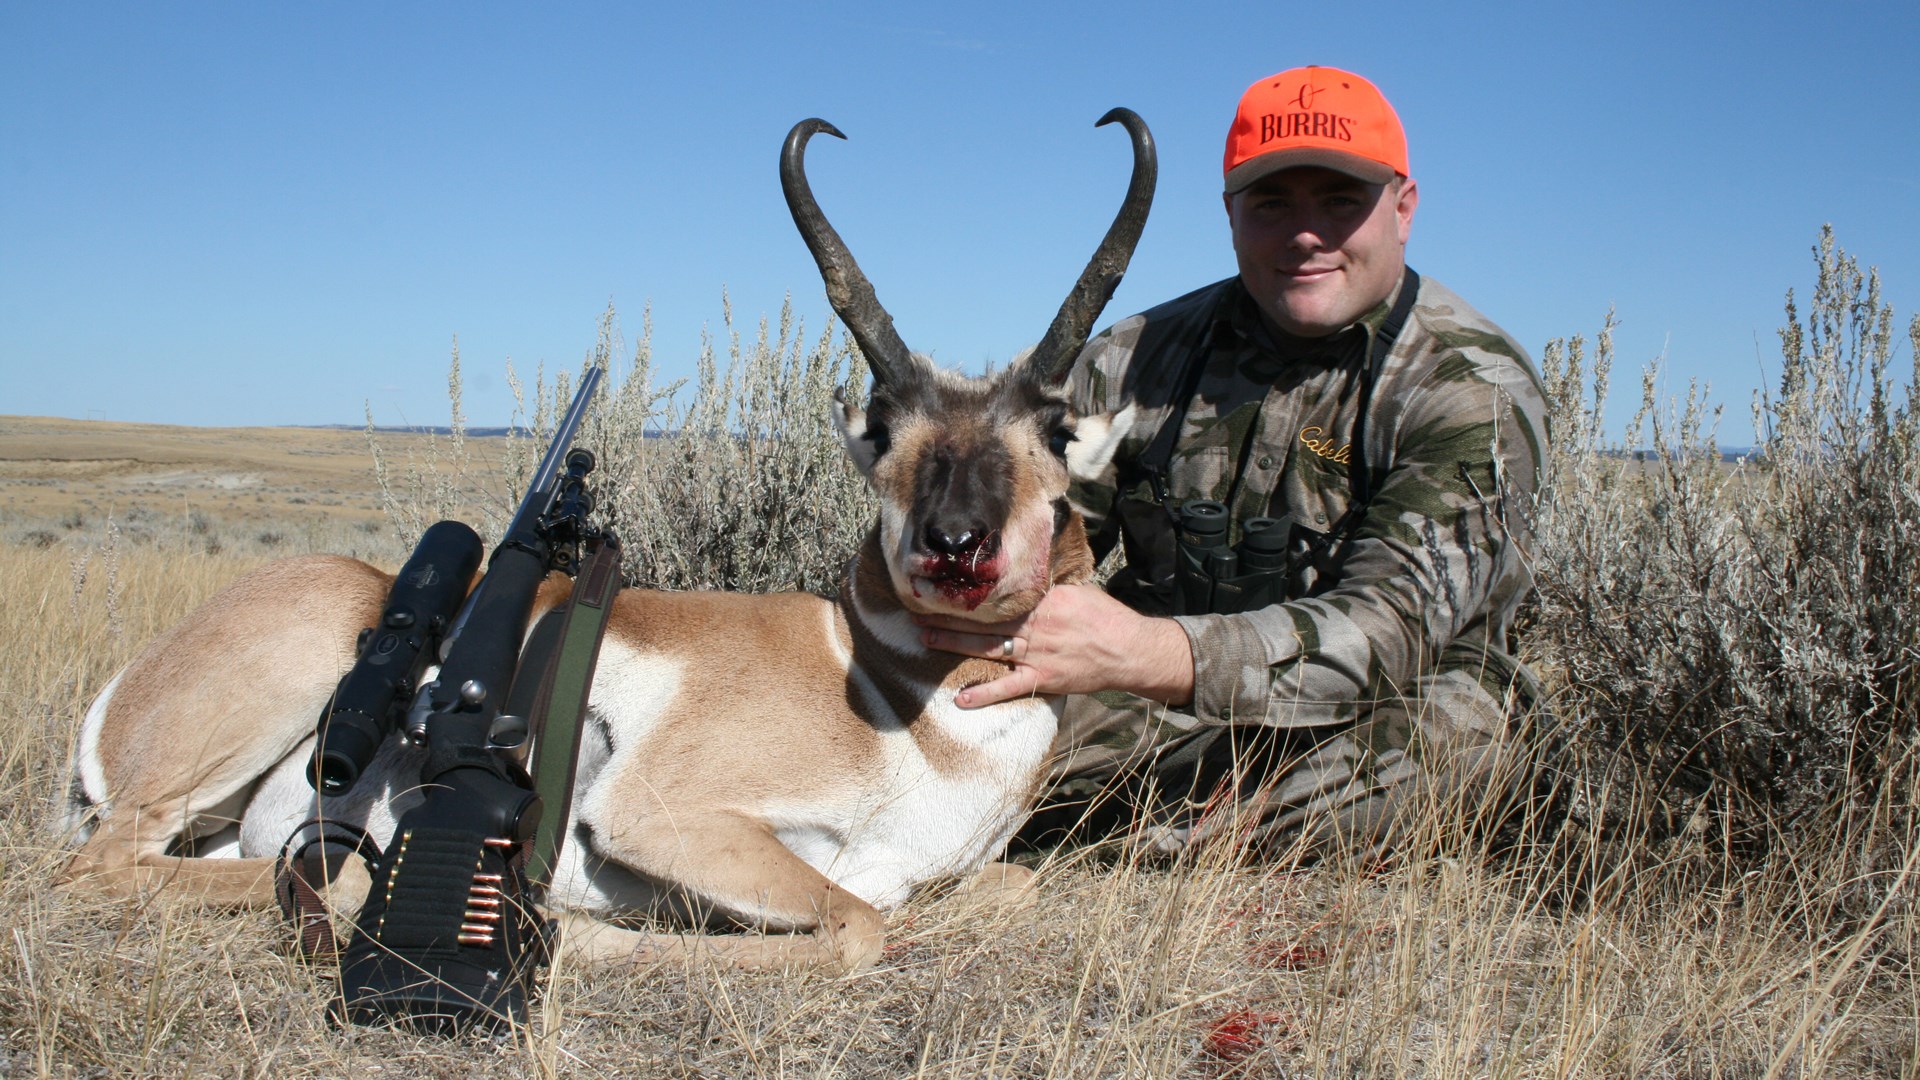
The buck was instantly on its feet, but, being unsure of the sound’s (and thus danger’s origin), actually trotted toward us. Watching the situation unfold through the binocular, I assured Gabriel of the miss (as opposed to a hit or the buck instantly falling amongst the tall prairie grass and sage). Gabriel cycled the bolt like a champ, and, as the buck neared the same distance in pursuit of its does, sent another Hornady 162-grain ELD-X from the E.R. Shaw-barreled Remington Model 700 in 7mm STW on its way. The thwack was unmistakable, and the buck folded straightaway. He had just bagged his first pronghorn antelope—day one and before the anticipated unfavorable weather struck.
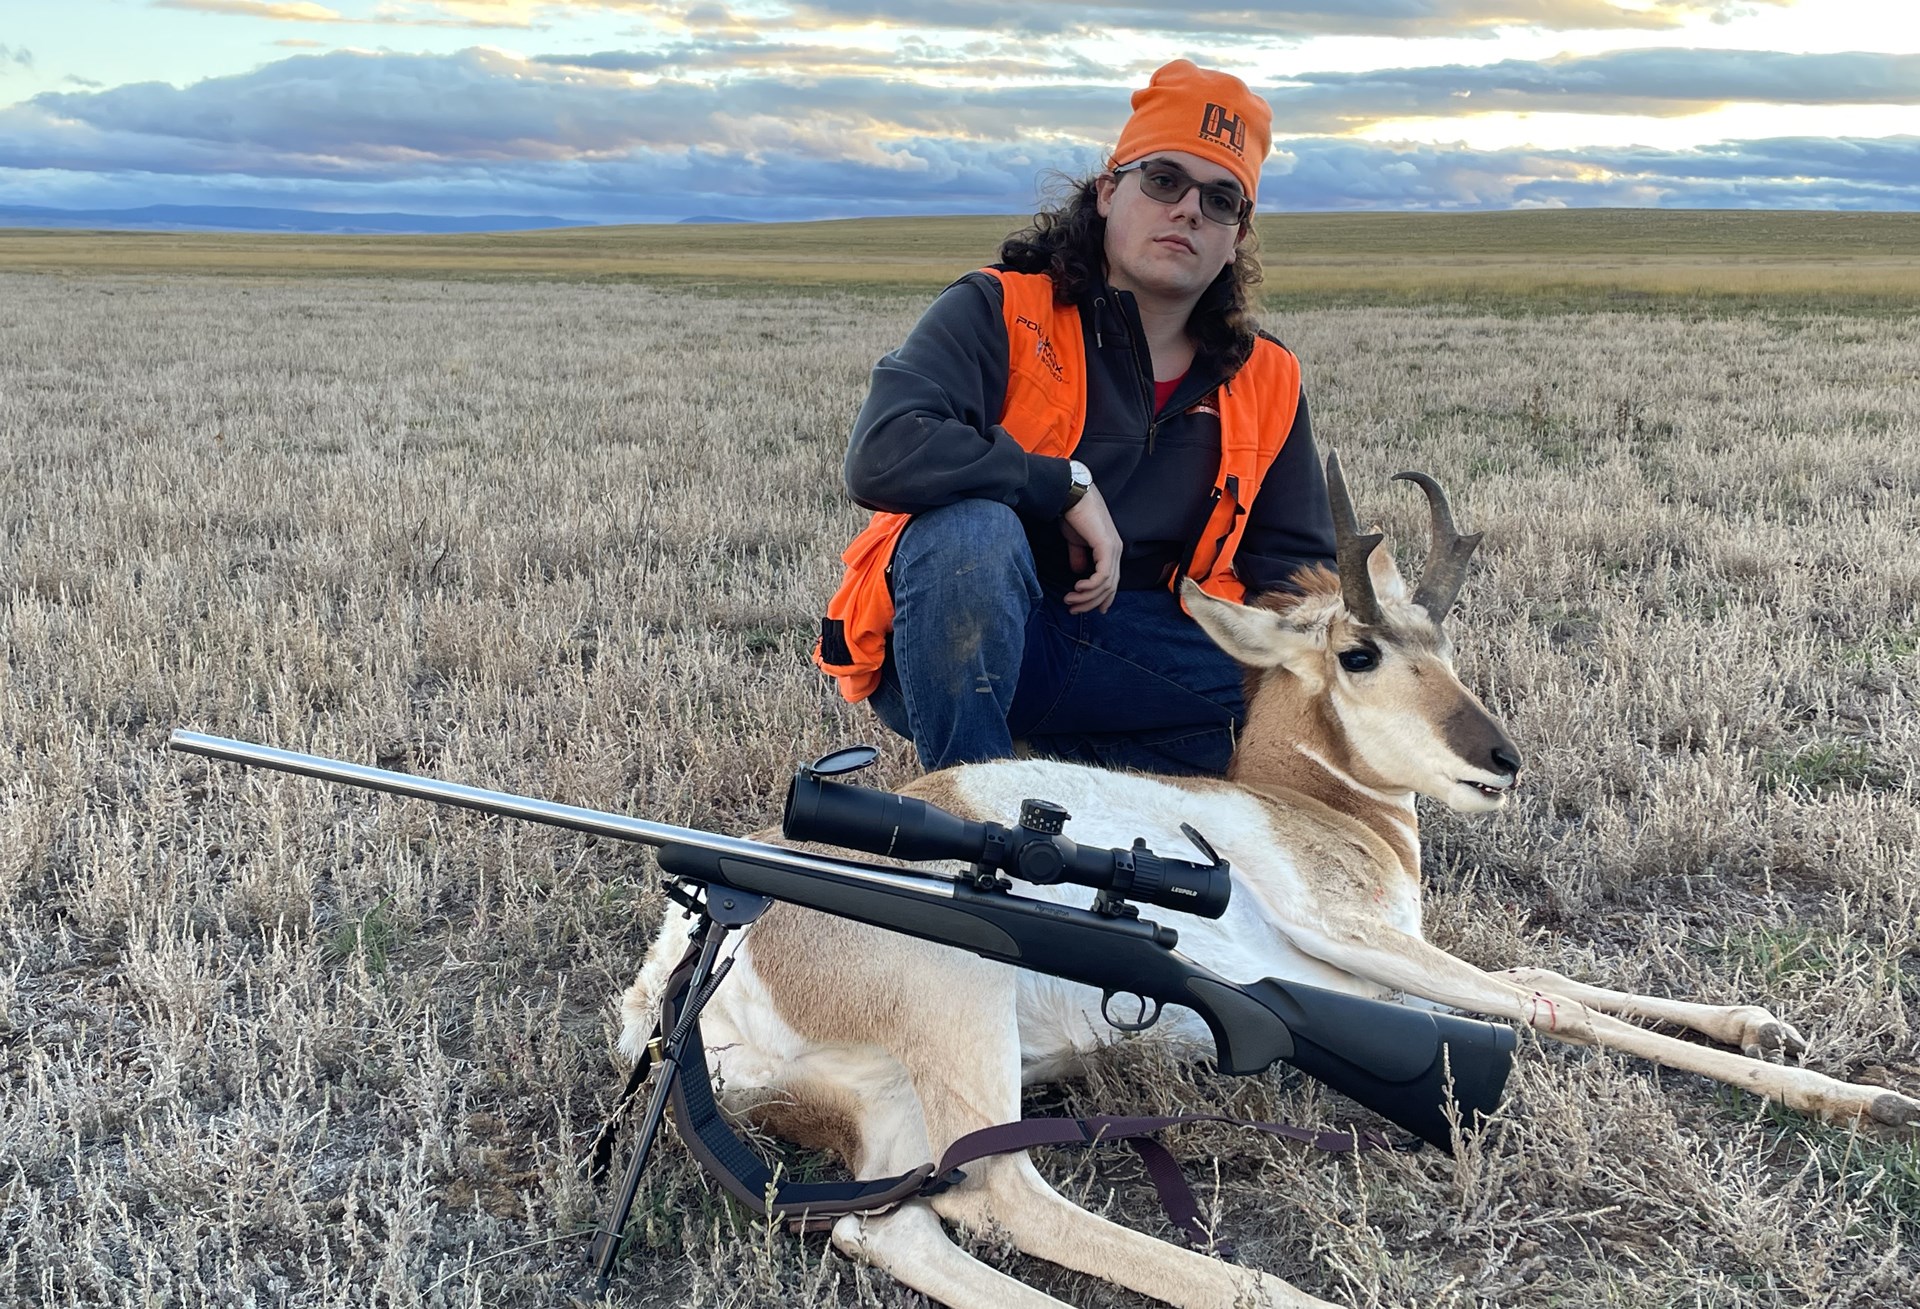
We hurried to the animal, completed the tag requirements, and then snagged a few pictures in the waning light. Now the work began. Fortunately, thanks to experiences from prior DIY-antelope hunts, I was prepared for the multitude of tasks to come; however, don’t assume that means it was easy. It wasn’t, and it never will be.
The reality of self-guided antelope hunting is that, the better prepared you are, the less there is to go wrong. Unanticipated challenges will still occur, but despite them, you’ll still experience a safe and frequently, successful, hunt. Here are some tidbits that I’ve learned from my DIY antelope hunts.
Choosing Hunt Dates
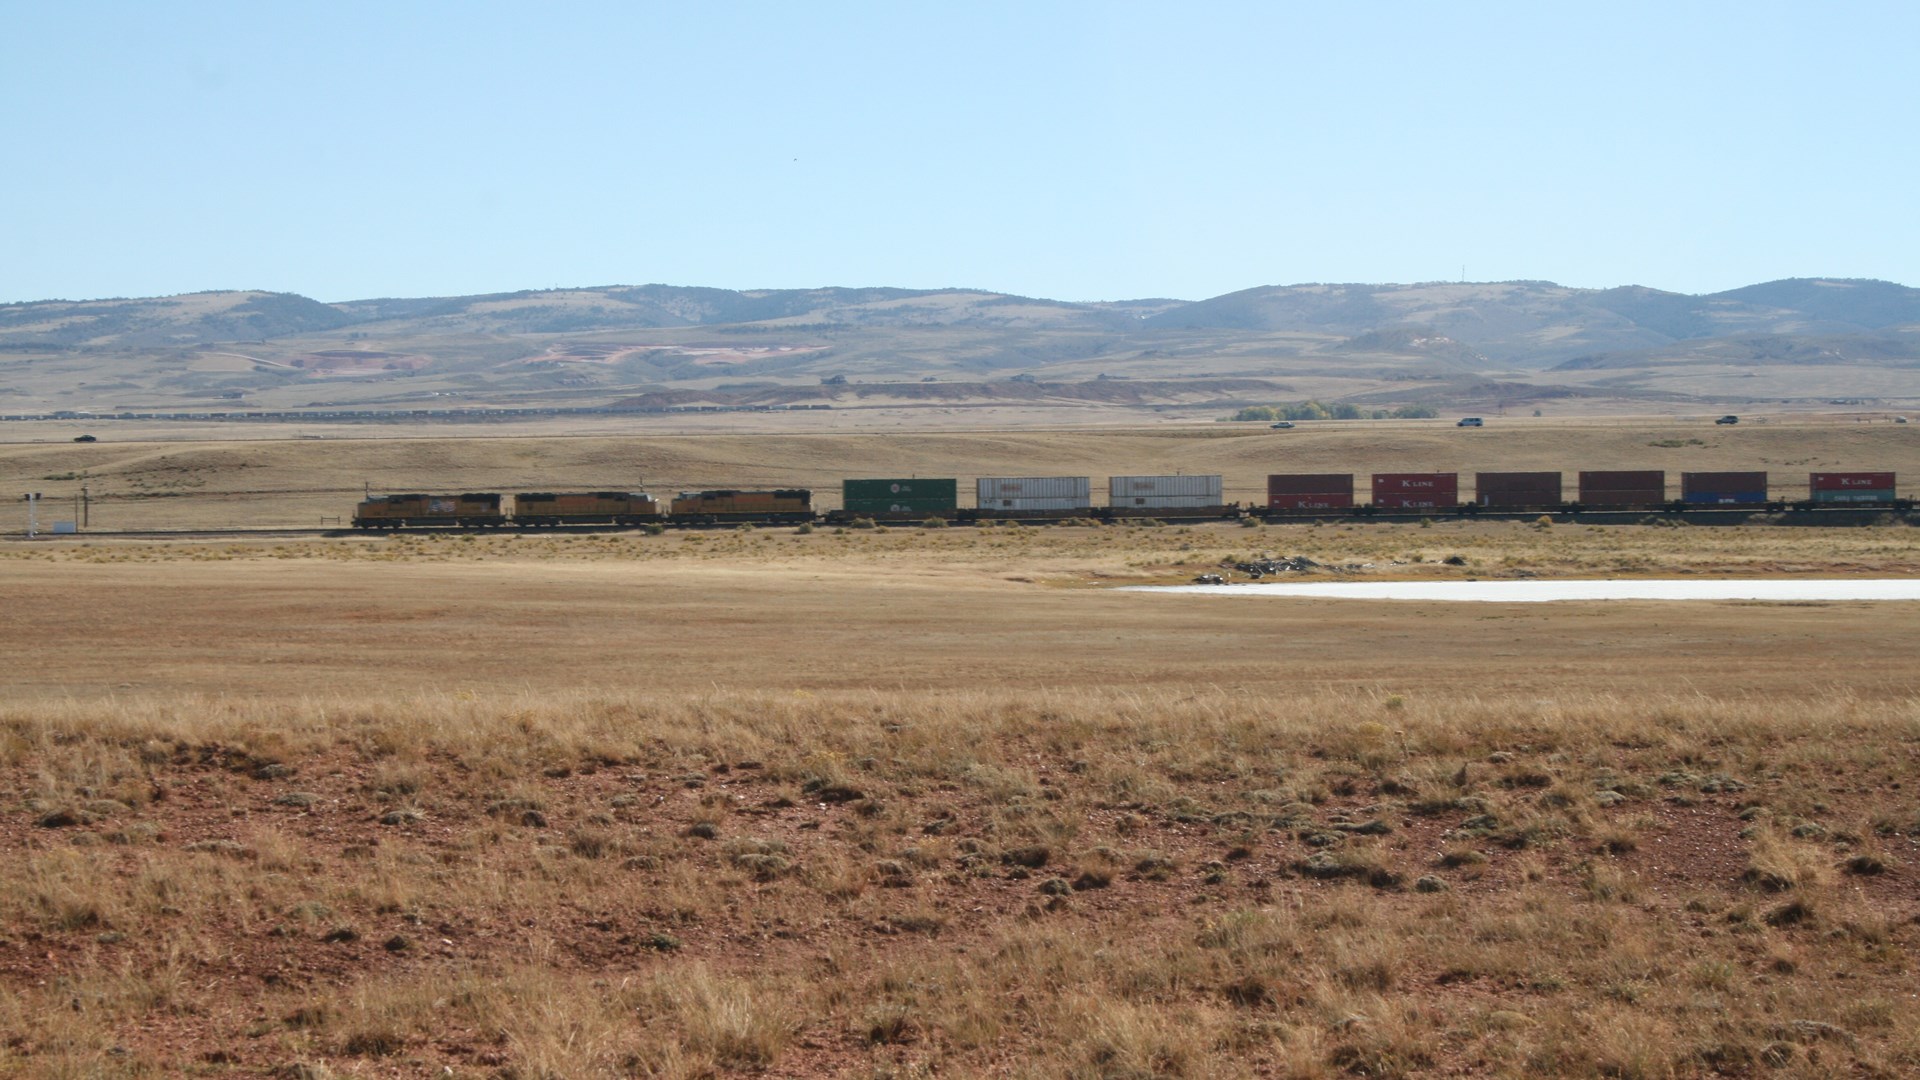
While opening day generally presents the best opportunity at tagging a trophy buck, it isn’t the only one; in fact, now I opt to wait a few weeks into the season. Why? Simple: less competition. While some of the largest individuals will have been collected by locals with unfettered access to monitoring and scouting, the number of unpunched tags and the popularity of the pursuit dwindles fast—especially as the seasons of more desirable species open.
With fewer people harassing them, even recently stressed populations just beyond the city limits seemingly revert to their pre-season levels of caution quickly. It’s intriguing to experience. Moreover, as the season drags on, some bucks wander from “safe waters” seeking companions. Weather can also force antelope to move into new areas. All this to say that missing opening day (or week) isn’t a big deal.
Movement
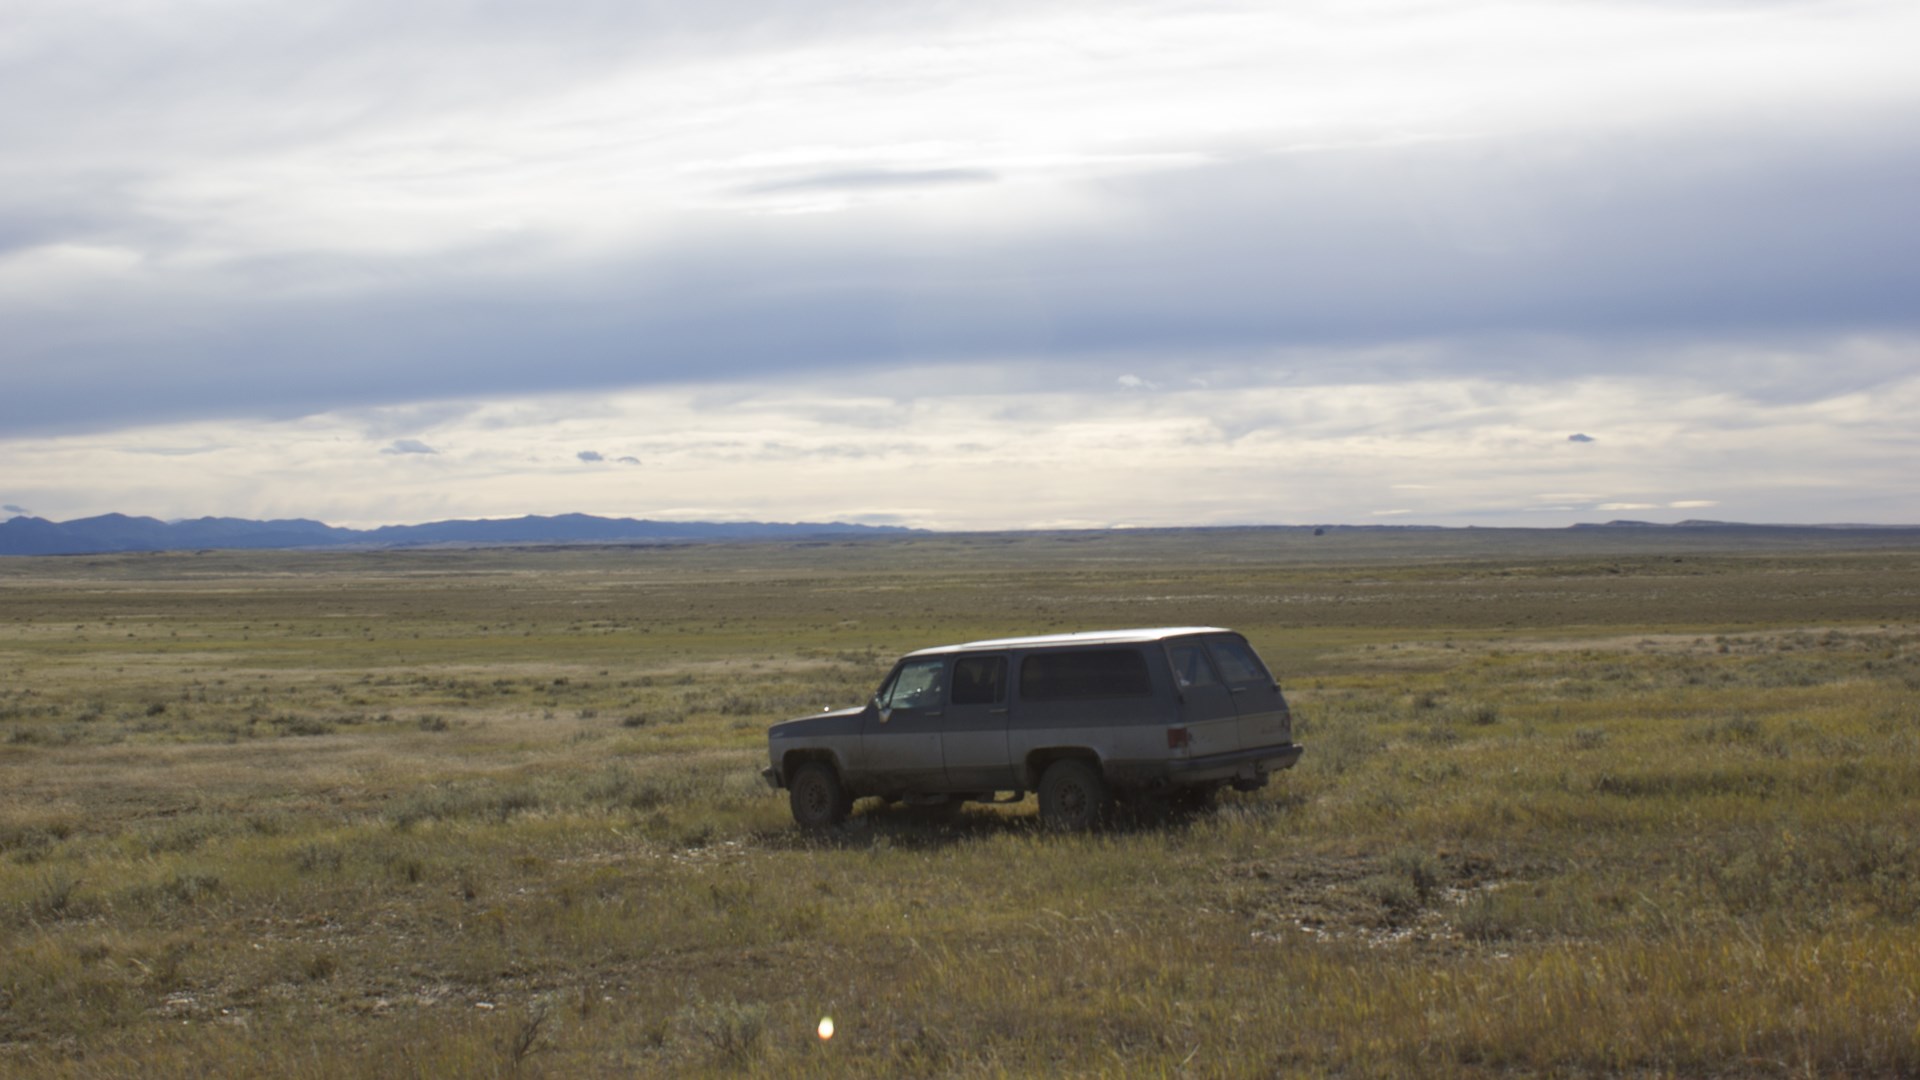
Given that you were successful in drawing a tag, hopefully you’re somewhat familiar with the hunting area(s) (or units) you’re pursuing antelope. Perhaps you’ll be hunting private land via a trespass fee, or a Hunter Management Area (HMA), Wildlife Management Area (WMA), Bureau of Land Management (BLM) parcel, or other city, state and federal properties. The individual property ultimately determines how you’ll hunt. For instance, if you’re afforded large swaths of public land with vehicle access, it’d pay to get even a 4x4 truck—even a compact one—as it provides better access to remote areas. Doing so comes at a higher rental cost.
Conversely, if the majority of the hunting will be parking at established lots or along roadsides and then “huffing it,” then a small SUV or even FWD car will suffice. No, I’m not kidding. In fact, Gabriel and I used a Ford Escape on the abovementioned 2025 hunt. Although there’s a lower rental fee, you must field process the antelope to haul it. For me, that’s a non-issue; however, some meat processors won’t handle game animals that aren’t whole.
Regardless of the vehicle you’re using, the final stalk requires legwork, and thus a quality backpack is critical. Since mine is used for hauling meat, water, emergency medical supplies, a spotting scope, knives, bags, snacks and other items, I opt for a larger unit. I prefer Eberlestock, but as long as it’s solid and can carry what you need it to, brand is inconsequential. A game cart can be helpful but is really impractical for the travelling hunter.
Scouting
Learning terrain features, property lines, and other important information begins before the hunt does. Upon receiving notice of winning a tag, you must start creating plans—especially if hunting on hard-hit public land. Some HMAs and similar lands require reservations, too, so don’t procrastinate. Macro-level scouting can be conducted by using Google Earth, contacting the local branch of the regulatory agency requesting additional information (such as talking with conservation officers), viewing online maps of the hunting area, using onX Hunt and similar apps and, at times, combing comments in forums; however, view the latter with skepticism, as many hunters are looking to maintain their hotspots by talking up other locations or downplaying the realities of the area.
When you arrive on-scene, you should have multiple plans ready to implement; that way, should one go awry, you’re ready to implement another in short order. And repeat. As the Navy S.E.A.L. maxim states, “Two is one, one is none.” Be prepared, as time is fast fleeting for the travelling DIY hunter.
As you’re studying a property, note its boundaries, buildings (and other potential no-go backstops), water sources (especially if archery hunting), roads, agriculture, livestock, etc. From this information formulate a starting point, but don’t expect it to be perfect, as it likely won’t be. That’s because, until boots are on the ground, you won’t have a full picture. Be fluid, and don’t give up when adversity occurs—because it will. Once the hunt concludes, of the area looks promising, stick with it, as you’ll only benefit from future hunts (as opposed to bouncing around).
Know Your Quarry
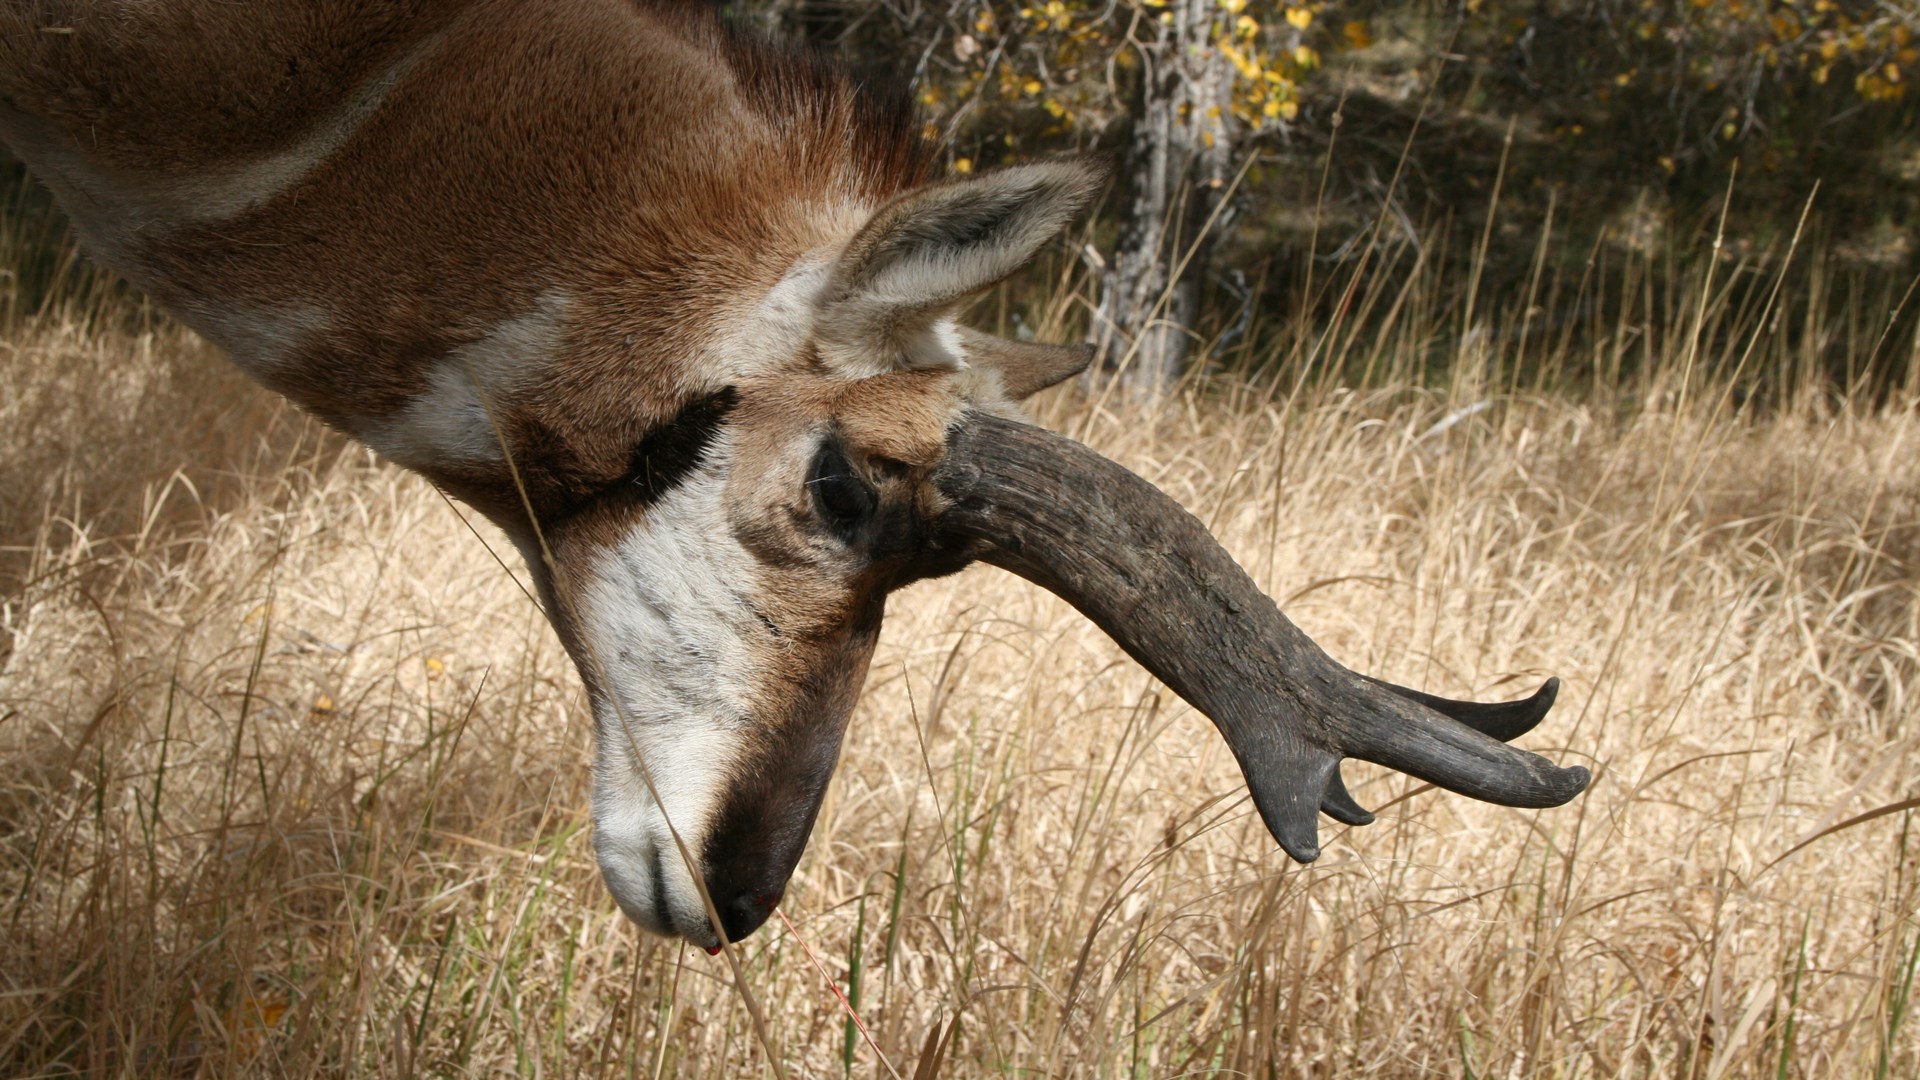
If you’re hunting a trophy class animal, as opposed to simply a respectable specimen and table fare, then you need to learn a lot about field-judging antelope. No better source can be found than the book Hunting Trophy Antelope: A Do-It-Yourself Guide by Mike Eastman. Even today, before heading afield I’ll review the pages. It’s that good!
Typically, hunters gun for height on antelope; however, cutter (prong) length and girth of the horn (an outer sheath of keratin, actually) are equally, if not more, important to the overall score. Study many, many images before heading afield, and know that passing on a quality animal early in the hunt could result in tag soup come its conclusion. Study the data about trophy class in that area/unit before committing to finding the one anomaly amongst the herds.
Moreover, understand that judging an antelope’s horns becomes increasingly difficult as the day proceeds. Mirage can cause the jet black horns to swell in size, so study an animal well before discharging your rifle. You don’t want to regret the shot after it’s taken.
Optics, Support & Ranging
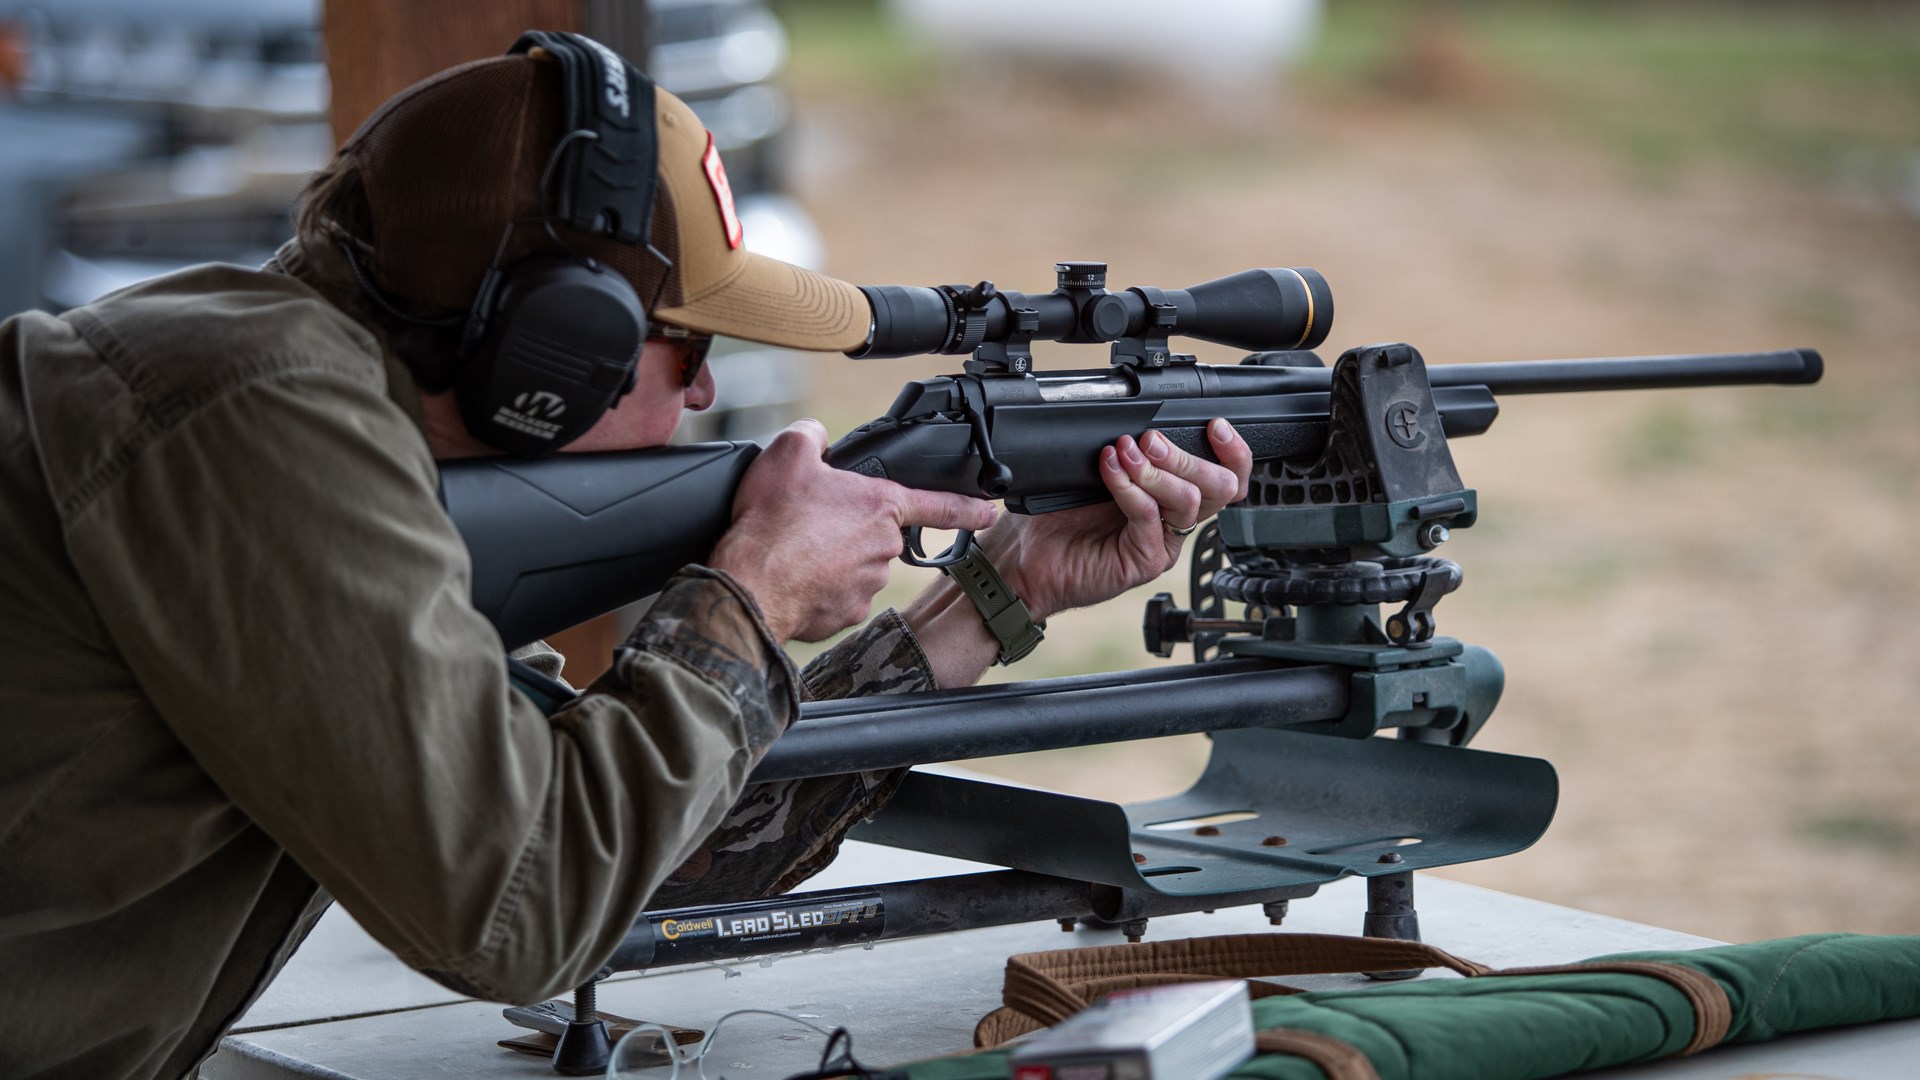
If there ever was a hunt for which it pays to have premium optics, it’s antelope. Not only is a high-magnification binocular and/or spotting scope essential for locating and field-judging trophy quality over great distances, which can save you much time, energy, and a potentially wasted tag, better quality glass is less fatiguing on the eyes—and you’ll be spending much time behind the glass. Since you’re unlikely to be in arduous terrain, weight is less of a concern; therefore, I opt for larger glass. As for binoculars, I prefer a 12x or greater magnification binocular, as well as a 12-36x, 15-45x, 20-60x or similar spotting scope, though my trusty 30x 60 mm Leupold has faithfully served me well for decades. Angled versus straight models are a matter of preference.
When it comes to optical quality and durability, you get what you pay for. Buy the best that you can afford and consider it a prudent, lifelong investment. So too is a solid support for the optic and/or firearm.
Shots taken at antelope will generally take place from a good distance, as the antelope’s superior eyesight—estimated to be the equivalent of 8-10X binoculars and with a 320-degree field of view—and the openness of its range combine to curb getting close. As such, for maximum steadiness a tripod, shooting sticks or rifle-mounted bipod are helpful. For me, they’re non-negotiables. A Harris or similar deployable bipod is always on my antelope rifle, and I often also carry lightweight shooting sticks just in case I cannot “go prone.” A rangefinder is essential, as judging distance is troublesome for Easterners accustomed to having a lot of flora to aid the estimation process.
Clothing
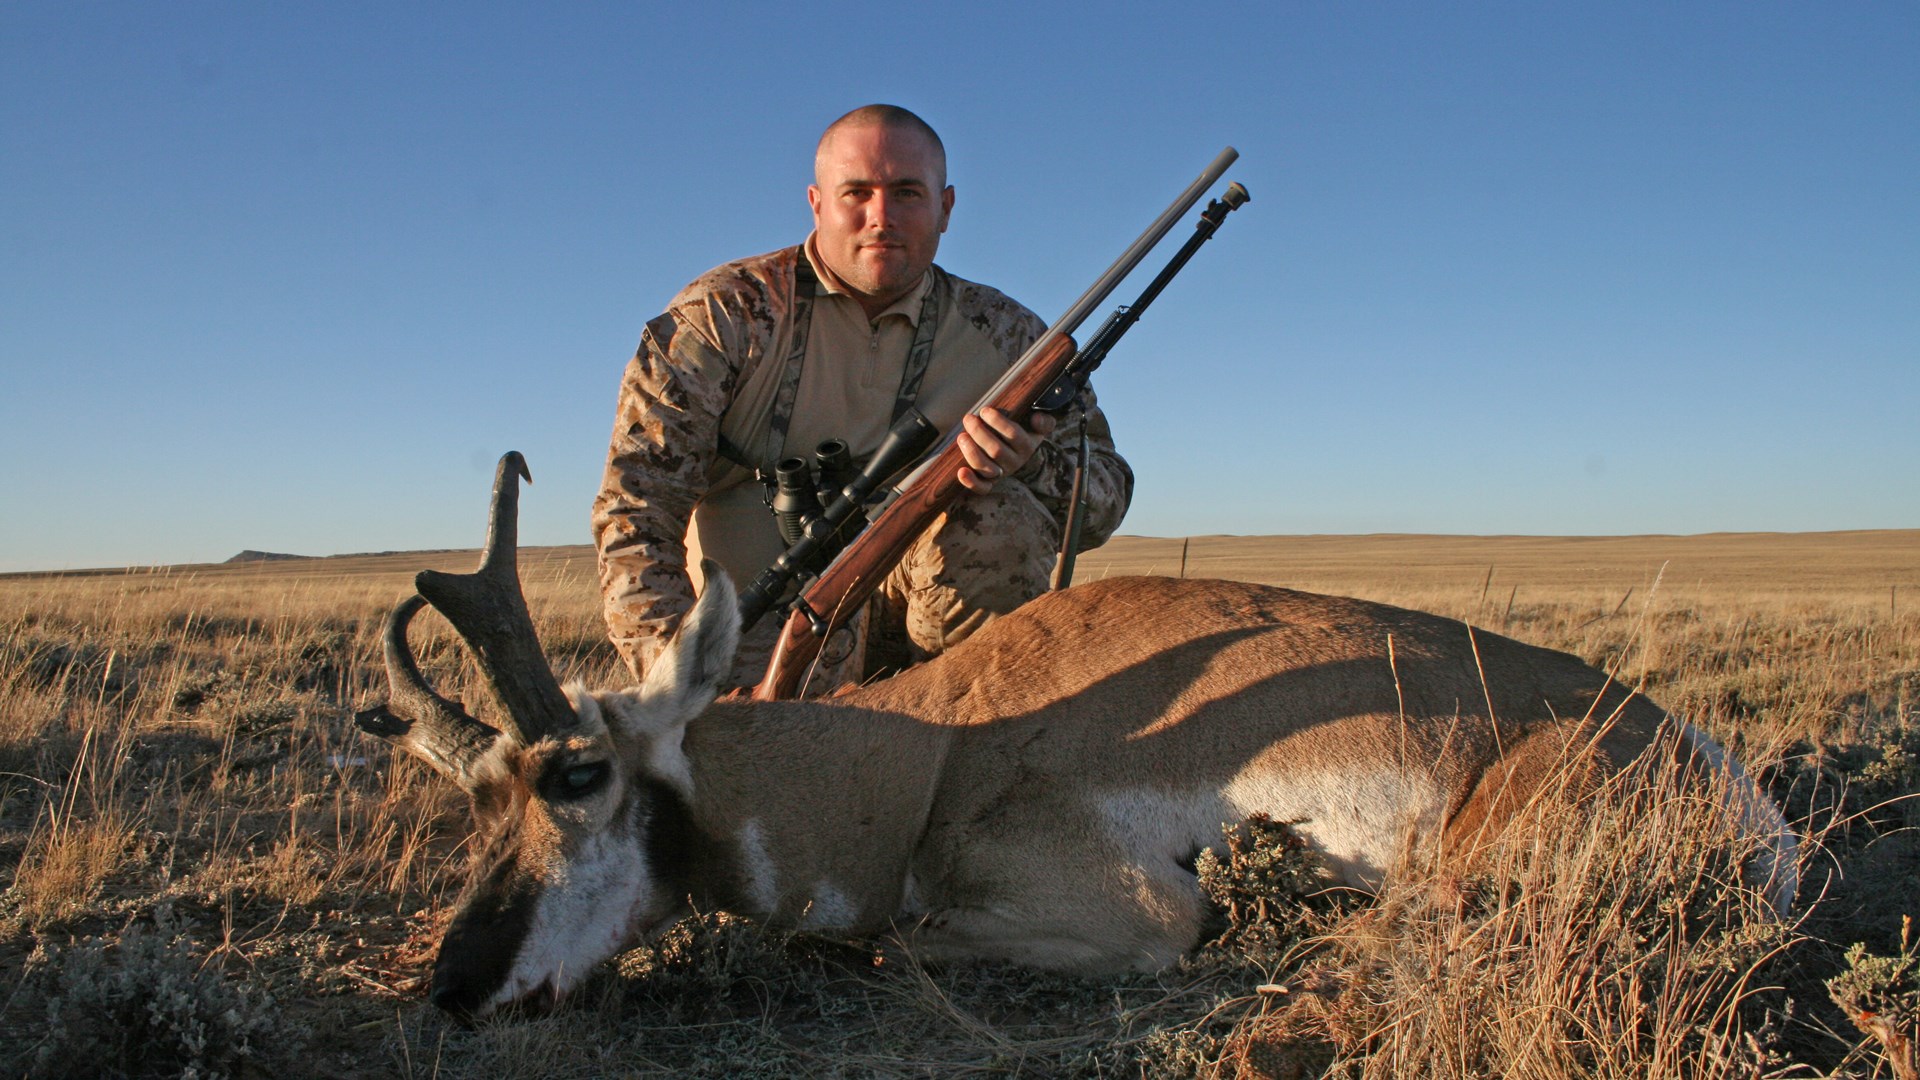
Don’t fret over fancy camouflage clothing. The reality is that, despite your best efforts to hide, the antelope will spot you if your movement isn’t especially slow and/or hidden by the terrain. What’s more, high-visibility orange apparel is required in most, if not all, places antelope are hunted. So, do you think what else you’re wearing will matter? Nope. As an example, Gabriel’s antelope was stalked while wearing clothing we traveled in earlier that day, along with the required orange accessories. Save your money and use what you have on-hand.
Firearm Setup
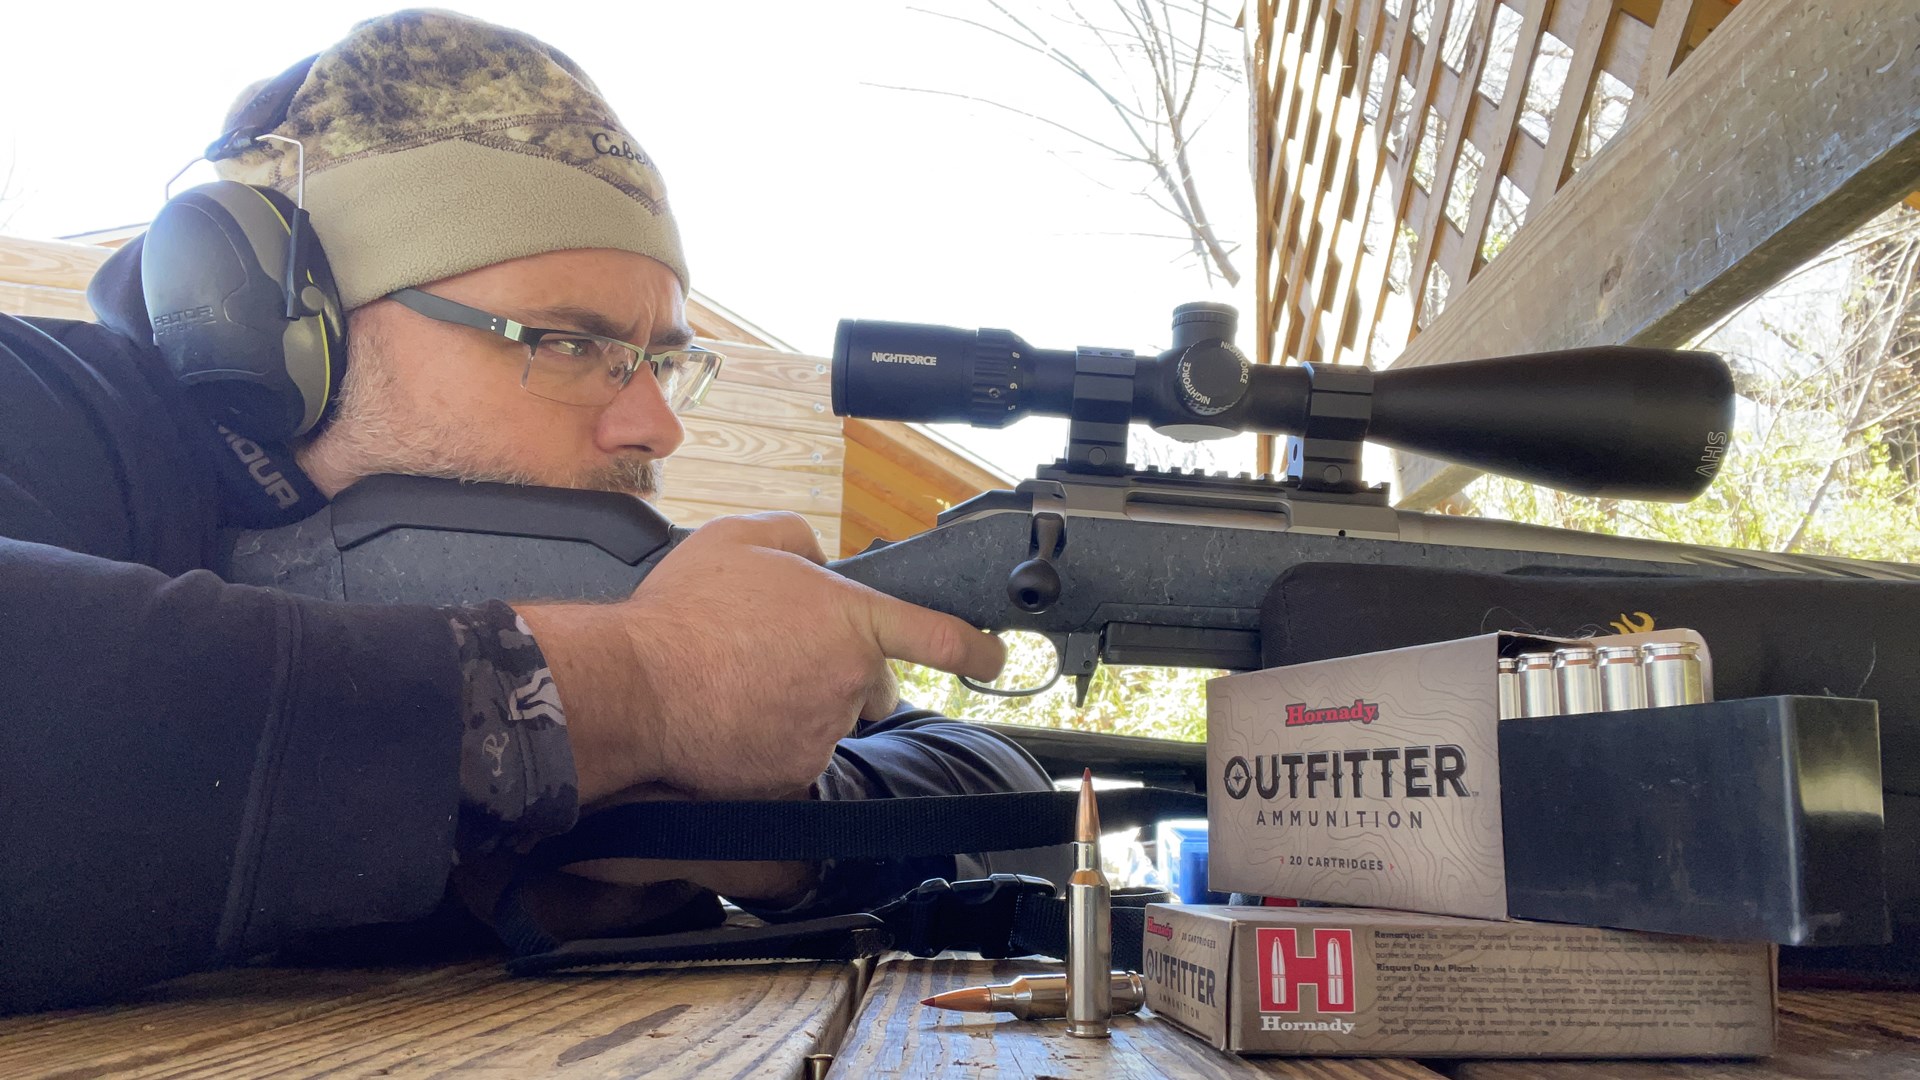
Antelope aren’t particularly large; in fact, a swift online search revealed that the lightly muscled, thin-skinned animals average between 75 and 150 pounds, with adult males being slightly larger than females. Therefore, whatever rifle you’re using for whitetail or mule deer is perfectly capable of downing an antelope. That’s not to say however, that all rifles are ideal. As an example, rifles that propel large, heavy, minimally aerodynamic bullets to modest velocities should be left in the safe, or relegated to woods’ work on other species.
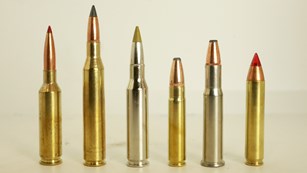
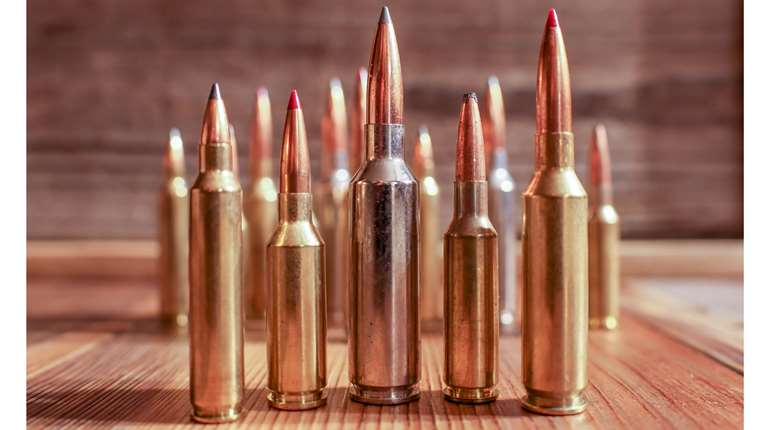
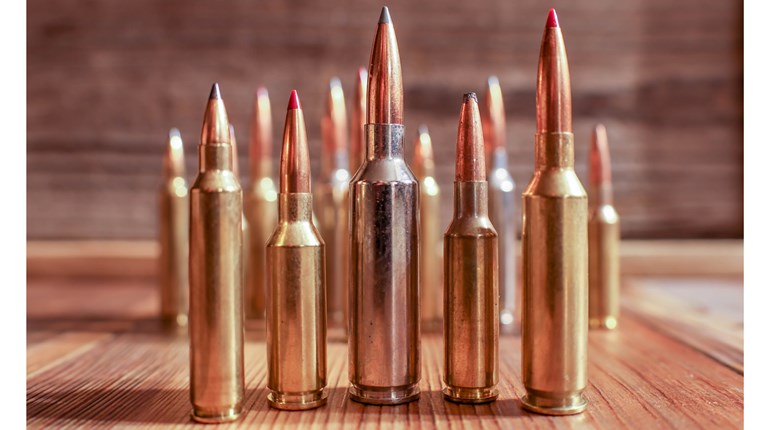
I’ve hunted antelope with a variety of chamberings, ranging from .250 Savage Ack. Imp. to .300 Wby. Mag., and have witnessed kills with a host of rounds from .22-250 Rem. to .338 Win. Mag. All killed swiftly. Because of the distances at which shots are frequently taken, and to prevent handicapping oneself if the distance cannot be closed, opt for a flat-shooting cartridge. Good options include: 6mm Creedmoor; .243 Win.; .25 Creedmoor; .25-06 Rem.; .257 Wby. Mag.; and the various far-reaching 6.5mms, 270s, 7mms and .30s. Frills are unnecessary.
Whatever rifle you select, be sure to top it with a variable-power, high-magnification scope. The utilitarian 3-9x configuration will work; however, in my opinion its far from ideal. Magnification is an asset, so why settle for the basic. For me, a 4-12x scope is minimal, with higher magnification settings being better. Reticle and focal plane are a matter of preference. So too is a return-to-zero feature and dial customization.
When zeroing, for non-dialers setting the point of impact higher than dead-on is preferable due to drop. With most modern calibers and bullets, a 2- to 3-inch high zero at 100 yards will make connecting at-distance much easier.
Ammunition
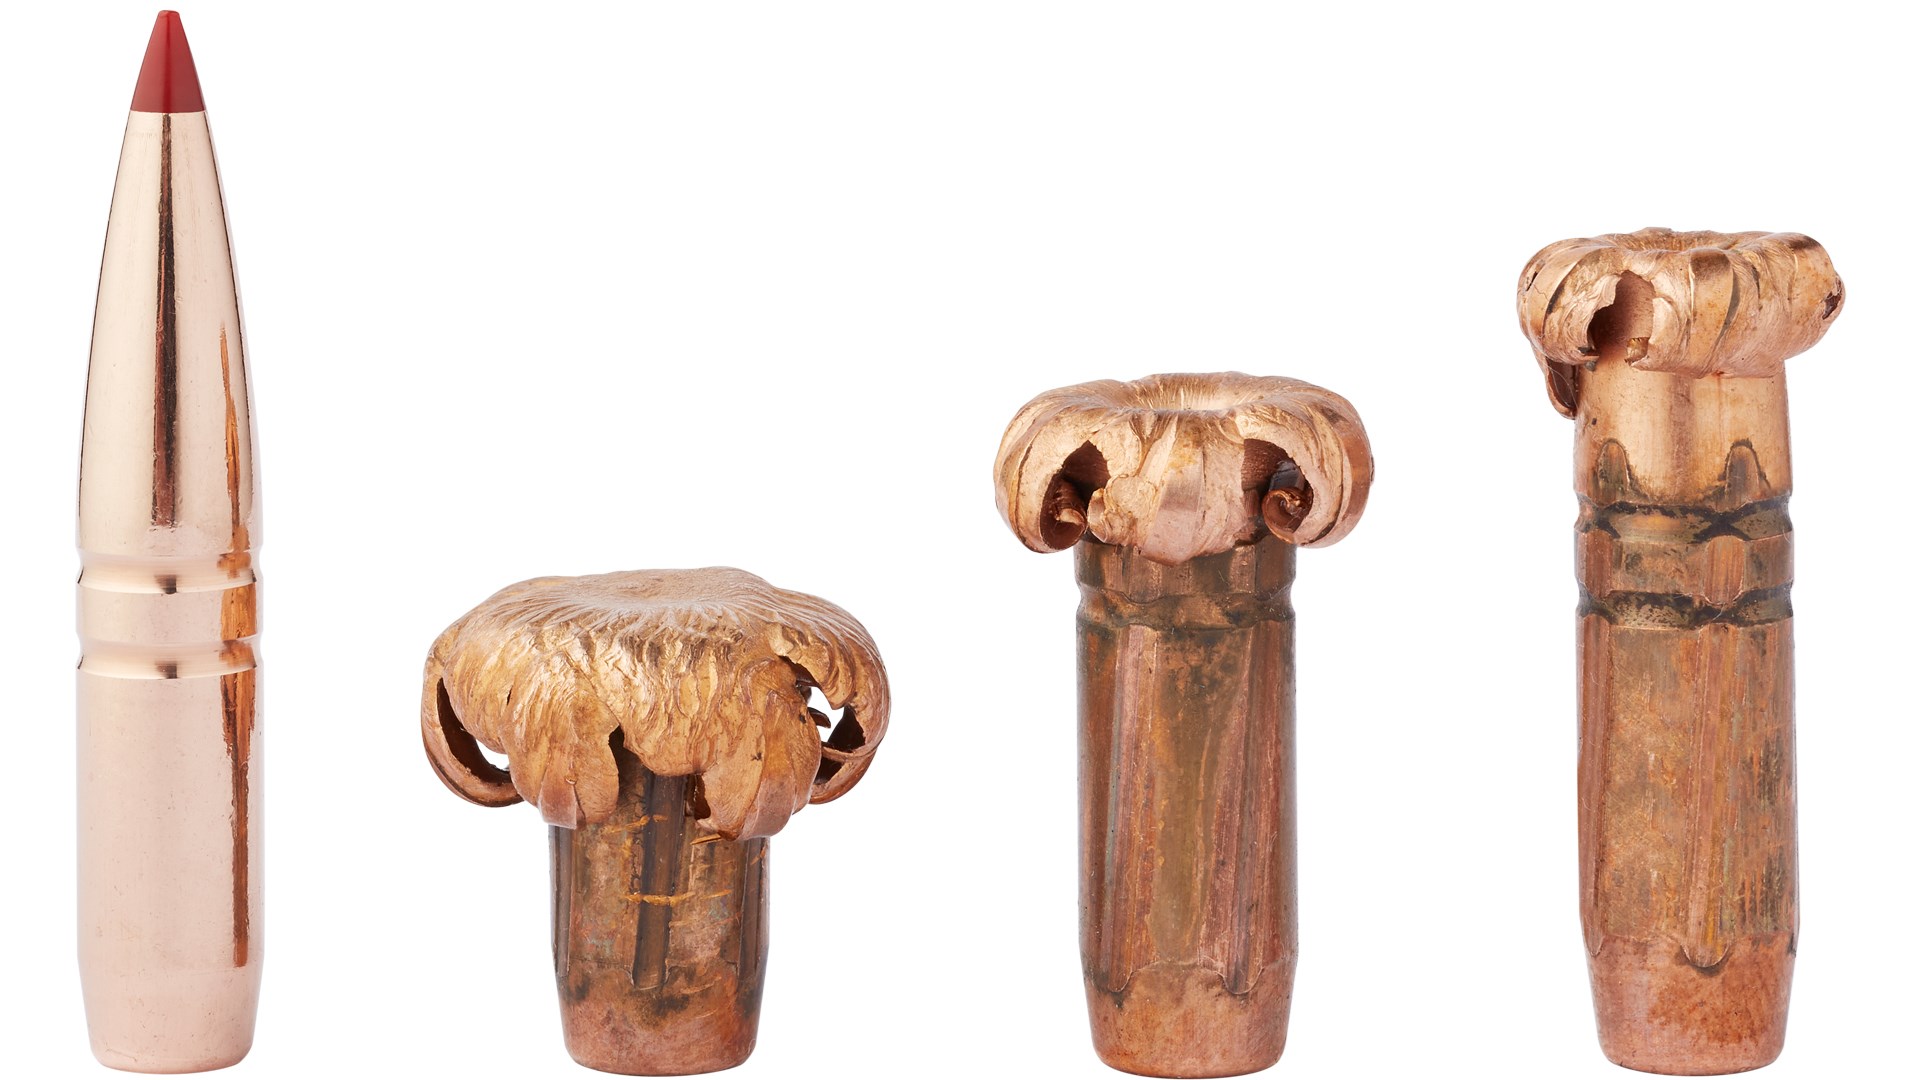
Old-school is considered cool, but not when you’re discussing hunting-type projectiles. Sure, older designs are still perfectly capable of dropping an antelope buck “out yonder,” but modern bullets generally offer better external ballistics and more reliable (and consistent) expansion-wise. Optimally, you’d select a projectile that provides the best (or nearly so) external ballistics, dependable expansion, and top-level accuracy in your rifle. A high ballistic coefficient (BC) bullet exhibits less drag and thus retains its velocity better; therefore, it arrives on-target faster, experiences less wind drift (the wind is always blowing out West) and has extra speed on-tap to ensure upset. What’s more, it permits the bullet to go further before slowing to the disruptive transonic zone.
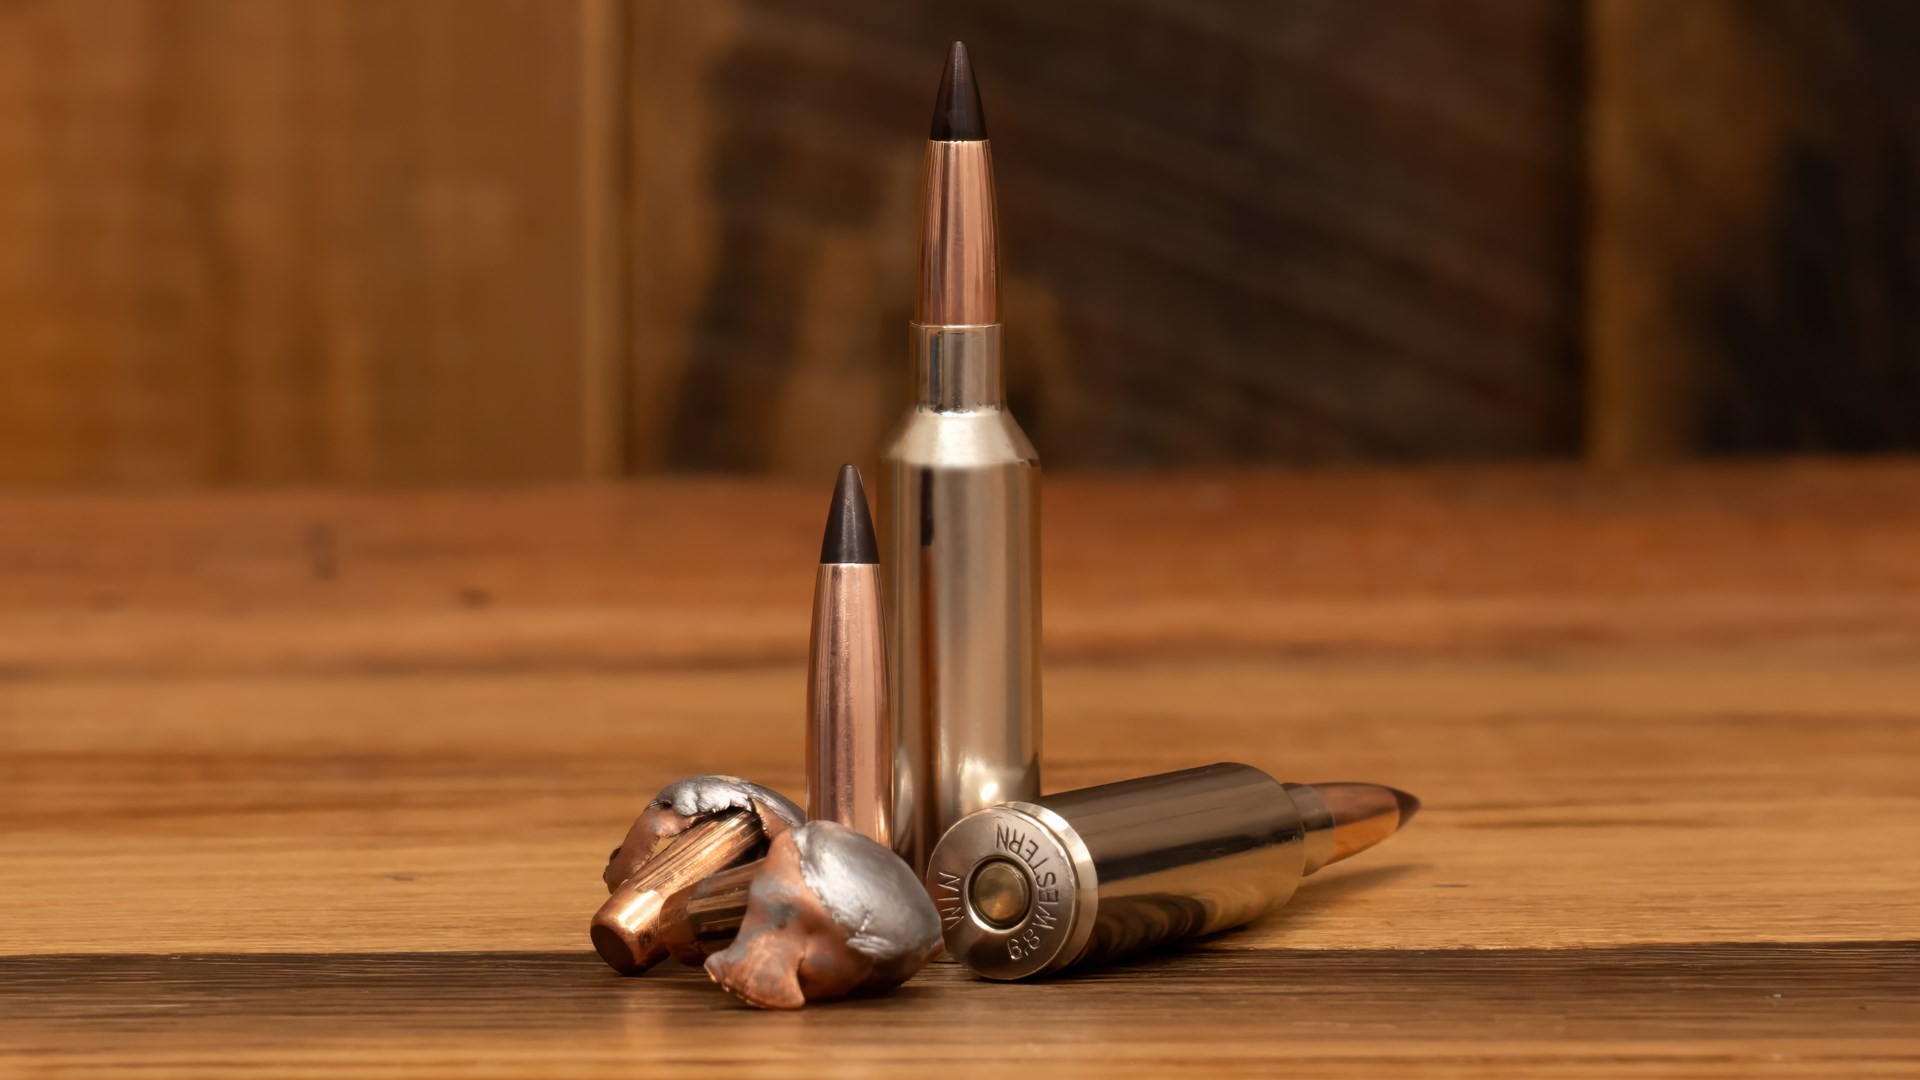
As for specific bullets, know that any that will work on deer will easily down an antelope. Mainstays, like the Sierra GameKing (and its tipped counterpart), Nosler Ballistic Tip Hunting, Hornady SST and InterLock, Remington Core-Lokt, Winchester Power-Point and Deer Season XP, Speer Hot-Cor and Boat-Tail, and Federal Power-Shok and Fusion (also tipped), are well-suited for antelope. If “premium,” controlled-expansion, exotic, or leadless options are needed/desired, opt for the following: Nosler E-Tip or AccuBond; Hornady CX; Speer Grand Slam and Impact; Swift Scirocco II or Zephyr; Barnes TSX, TTSX, or LRX; Hammer Bullets Hammer Hunter; Lehigh Defense Controlled Chaos; Winchester BC Max; Berger Elite Hunter and Hybrid Hunter; Remington Core-Lokt Copper; and Federal Trophy Copper.
Practice & Zero Confirmation
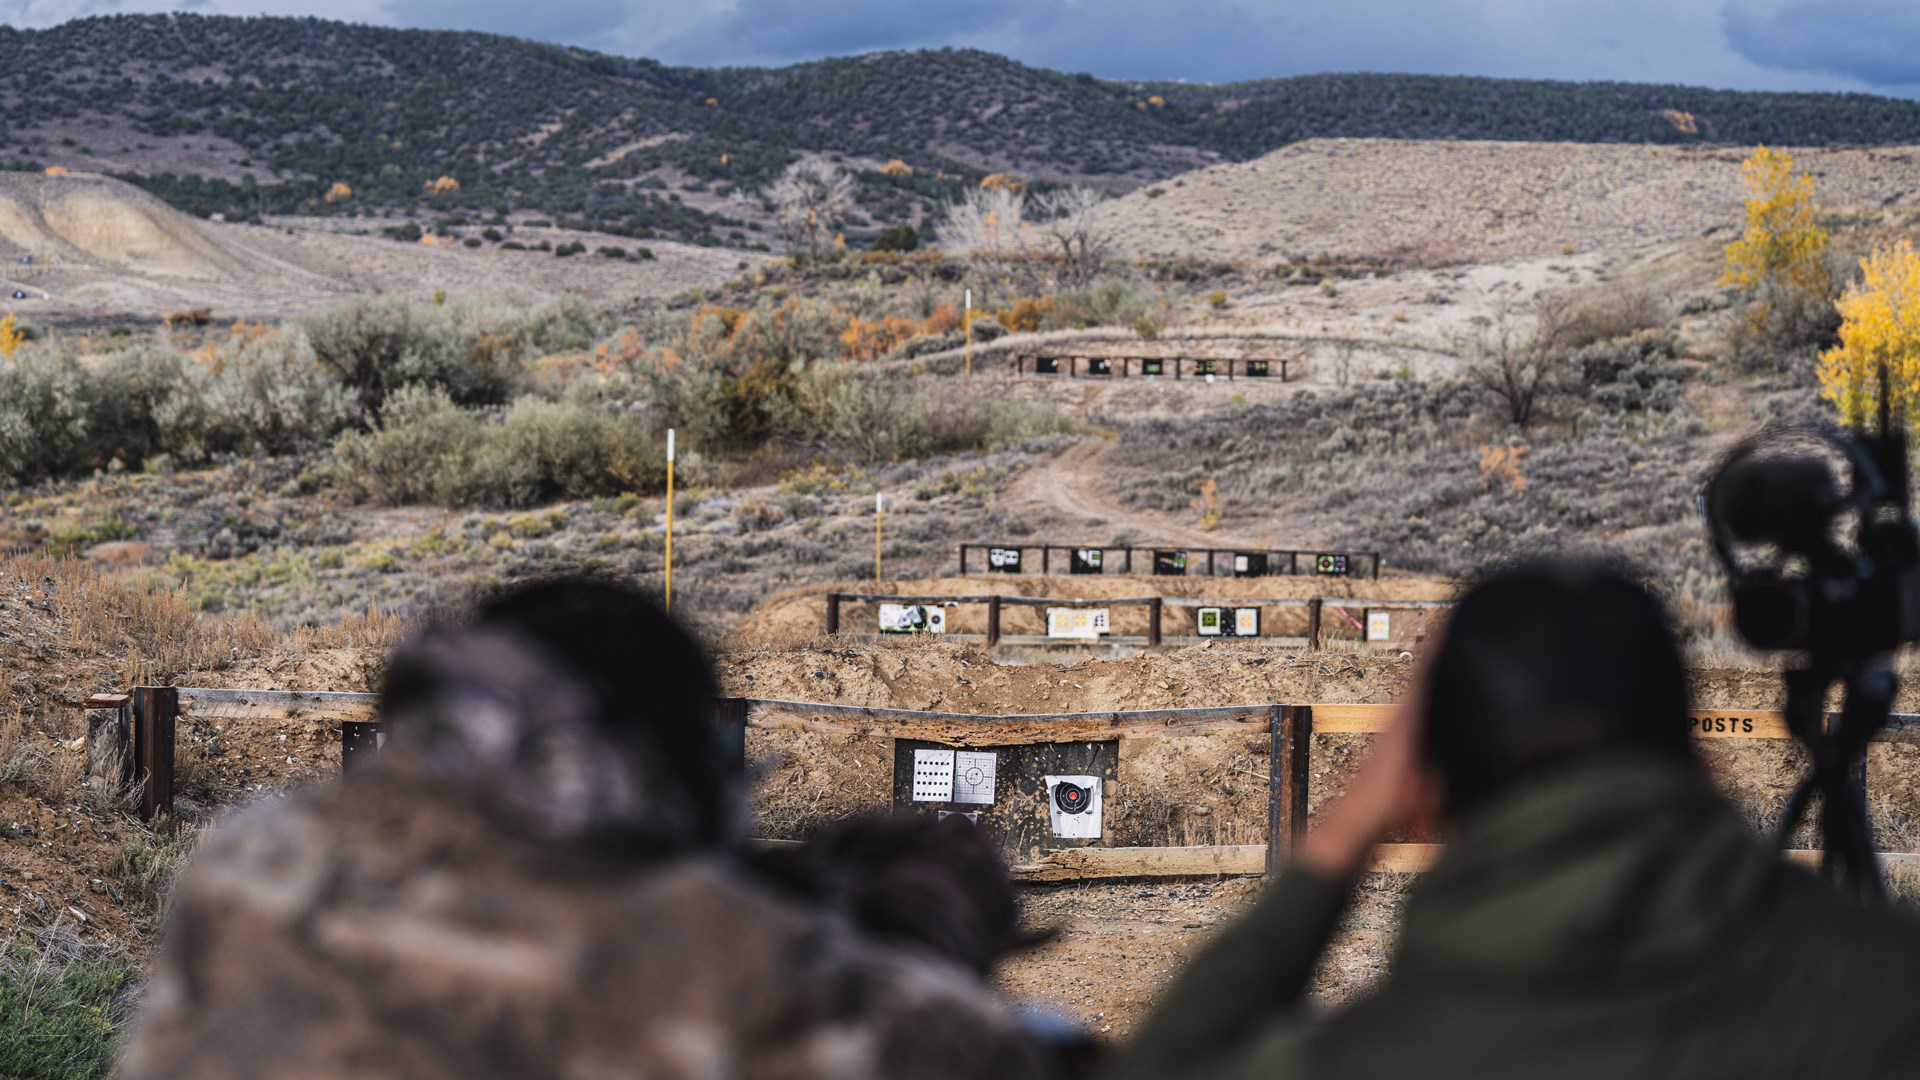
Creating and studying ballistic charts cannot replace range time. Go to the range and spend ample time shooting at the distances that you anticipate (and are comfortable) engaging a target. For instance, if 300 yards is your outer limit at the range, then stay well within that distance when considering/taking a shot. Don’t take chances on game.
Moreover, you needed to confirm your zero and the ballistics upon reaching your hunting location. Locate safe places to shoot in advance and confirm the zero of your set up. Why? Because it’s likely there is a marked change in temperature, elevation, and/or humidity, which affect the ballistics. It’s also likely that, despite having a protective case, your gun was jostled (if not abused) during transit. Therefore, double-check all screws, bolts and the zero.
Trophy & Meat Care, Shipping
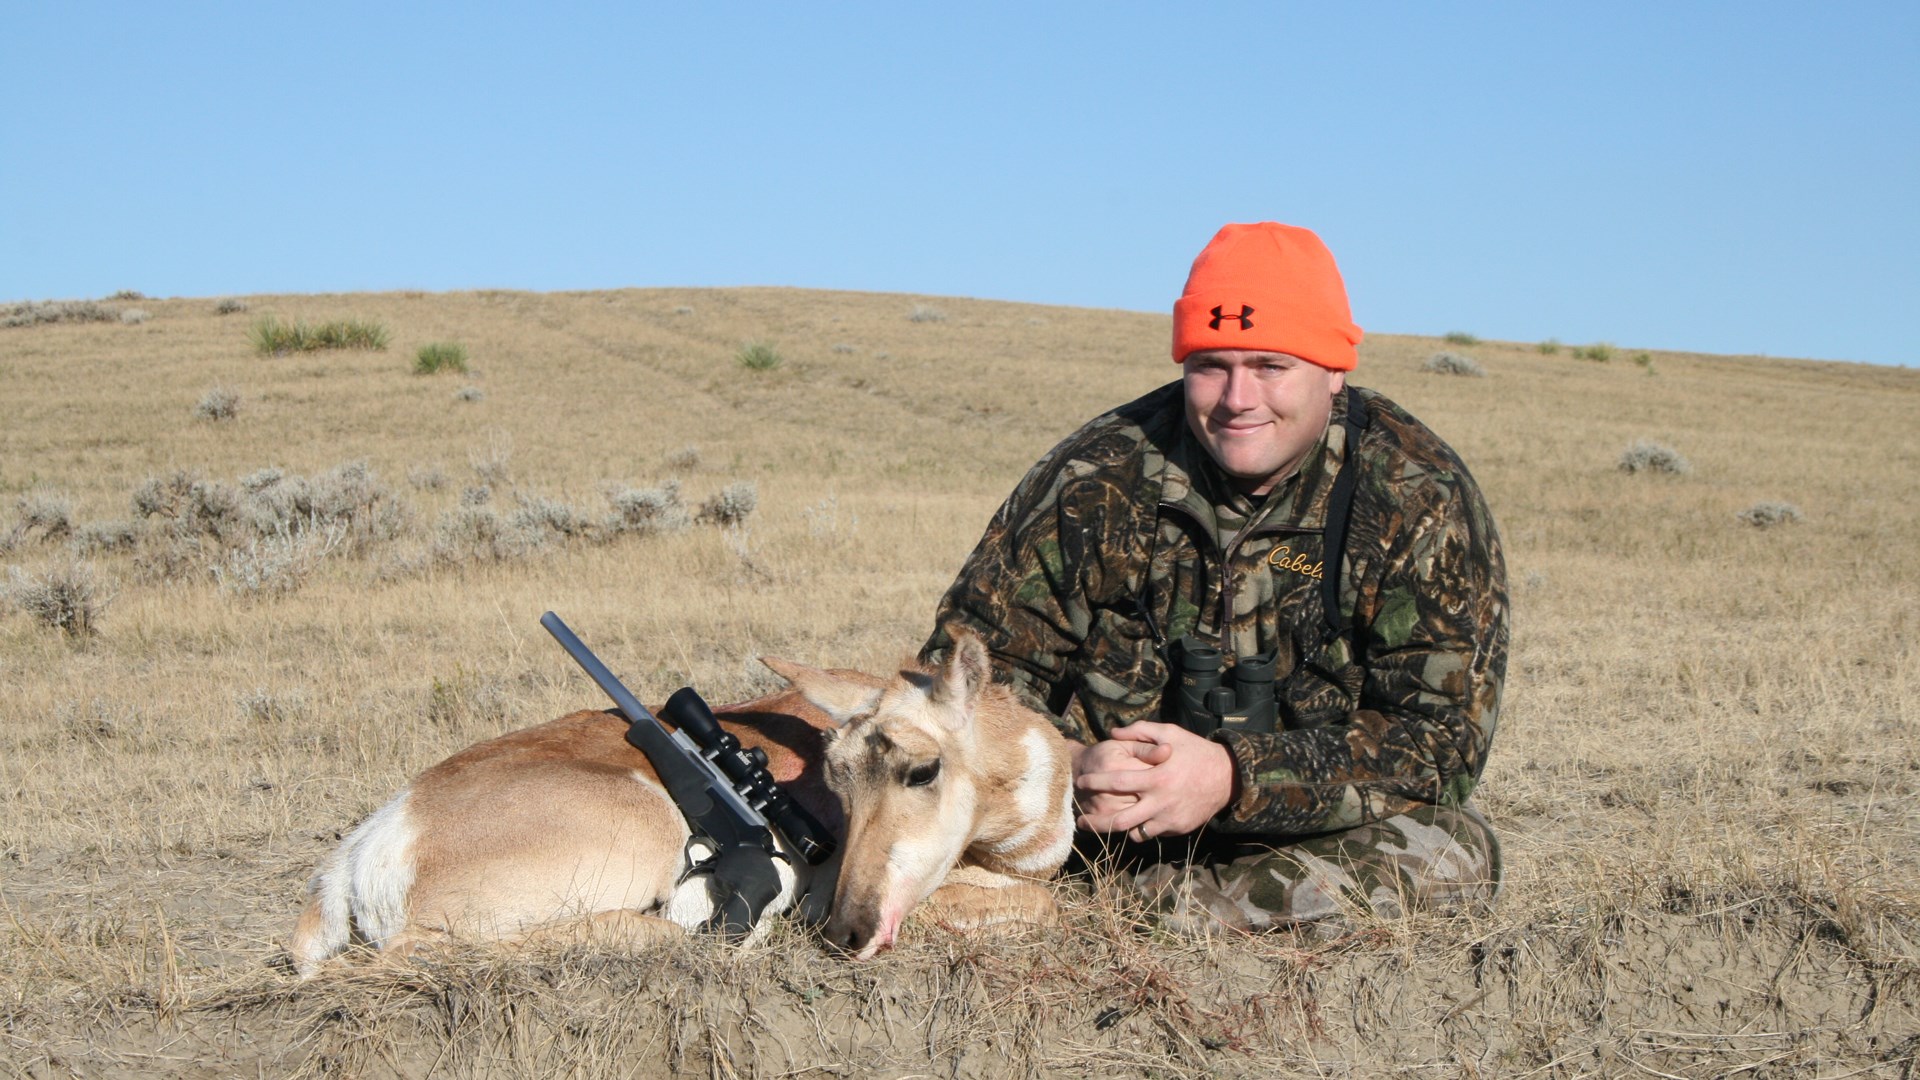
What are your plans once the antelope hits the ground? This had better be established in advance. Since antelope hunting generally takes place in seasonally warm—if not outright hot—weather, spoilage of the meat can occur quickly if it’s not cooled rapidly. Additionally, much care must be taken to prevent the antelope’s oil-coated hair from contact with the meat, otherwise, it can negatively affect the taste of the meat. Further complicating things is the fact that the hair’s hollowness (which helps it preserve warmth in hostile winter temps) also serves to trap body heat in the already hot temperatures. See the problem you’re facing—especially if there’s nowhere to suspend the animal and you desire the self-butcher route, as I do? And, whether hunting with a guide or not, don’t allow the antelope to ride in the bed of the truck, baking in the late summer sun. It will ruin the meat and your desire to eat it moving forward.
Having a box of gloves on-hand will help prevent spreading the hair and oils from the hide to the meat. Gloves are cheap, while ruined meat isn’t. Sharp knives are a must. I also have a supply of contractor-grade trash bags and cooler(s) with ice ready to go. Time is truly of the essence. Once the tag is punched and the photos taken, my breakdown of the animal is exceeding fast, yet cautious. The meat gets top priority, not the head.
If you’re using a local butcher, know the hours and check-in process in advance. That way the process flows smoothly. The same can be said of taxidermists. Have a reputable one researched in advance. In my opinion, antelope mounts from the West are better than those from elsewhere, and why wouldn’t they be; after all, they mount more of them. If shipping the meat and/or head, identify locations to secure supplies and drop off the package(s). Ensure compliance with regulations—especially for air travel or shipping.
Another consideration is CWD. If hunting in an area where mandatory testing and carcass transport rules are in place, abide by them. This is yet another reason to leave an antelope behind for taxidermy work as opposed to preparing it for transport.
After DIY hunting antelope over the past several decades, it’s my preferred method now; I have no desire to pay a guide. But, with that choice comes extra preparation and work. Use what information was outlined in this article and you will have a better experience on your DIY hunt.