I’m not a skeptic by nature. However, I am a realist, and to this point I have, for the most part, been unimpressed with digital, laser-ranging bow sights. When Garmin’s new, fancy-to-do Xero A1i PRO arrived on my doorstep, I was excited but highly skeptical. I’d previously run the original Xero A1 through the paces, and while functional, a few red flags were raised. Still, the new A1i PRO is an updated optic with some interesting features and, knowing Garmin products as I do, this could be a game-changer if some of those past issues have been remedied.
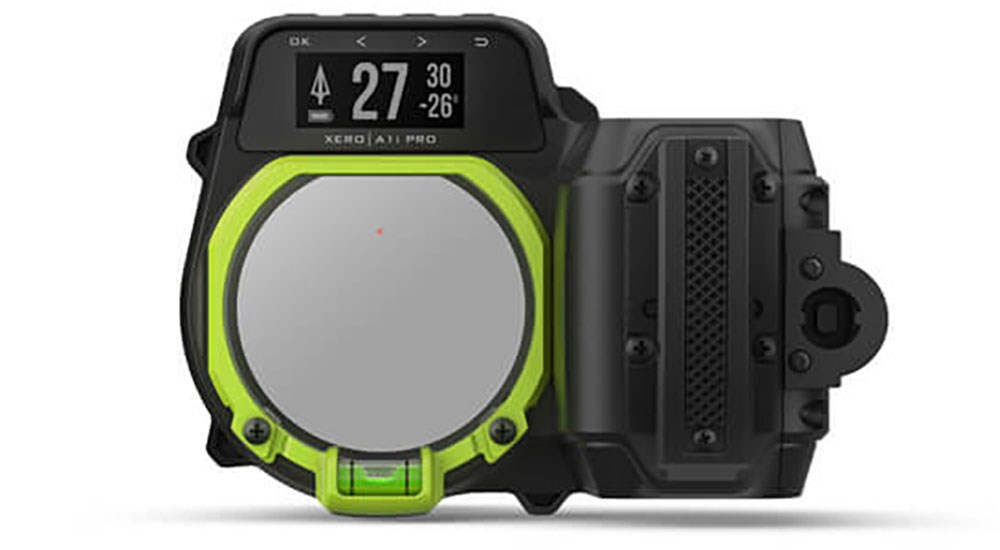
My initial inspection revealed a sight that was clean and void of any nicks, dings or scratches. I was pleased to see the necessary tools needed for assembly and modification were included. The sight seemed to have a robust build, and despite its additional electronics, it didn’t weigh a ton.
Attaching the Xero A1i PRO to my bow was a breeze—just know you’ll need to attach the riser mounting bracket to your bow before attaching the bow sight’s dovetail bar. Once the mounting bracket is installed, simply insert the dovetail, align the fluorescent green markings with one of two mounting positions on the bracket and tighten it down. Archers are a finicky bunch, and the A1i PRO’s dovetail mounting system is simple and secure.
Battery installation was next, and batteries—along with the 5/64 hex wrench needed to open the battery compartment door—are included. Once batteries are installed, you’ll need to connect and mount your trigger. Plug the Remote Trigger Cable into the port and rotate it clockwise until it locks in place. Where you place your trigger is up to you, but I recommend putting it on the outer face of your bow’s grip so you can activate it using your grip hand. I used the included tape to attach the wire to the front of my riser to keep it from getting snagged in brush and debris. Take your time when mounting your trigger, and don’t tape it down until you’re sure it’s in the right place, and you’re certain you can activate it easily at full draw.
Now for what proved to be my favorite feature of the Garmin Xero A1i: sighting-in doesn’t require an engineering degree. Thank you, Garmin. There are only four buttons on top of the sight: Power, Left, Right and OK. After powering the unit on, it took me less than 10 minutes to set and calibrate my 20-yard pin. The Garmin walks you through the entire process via the screen located atop the housing. I recommend including your draw length data, arrow speed and diameter (standard or micro) to help with the exactness of the sight-in process. It worked wonders for me.
When dialing-in this sight, the biggest tip I can offer is: don’t get in a hurry. You dropped some serious coin on this riser-mounted marvel, and you’ll want to get everything just right to get the most bang for your buck. The sight prompts are numerous but not tedious—don’t skimp on any of these steps. You will use the micro-adjust windage and elevation knobs just as you would on a standard sight to set your 20-yard pin, and the Garmin view screen will guide you through the rest, prompting you to verify an exact 20-yard distance and that you’re shooting a bullseye. The sight is designed for accuracy, and I tip my hat to Garmin’s build. Plus, using the Remote Trigger is easy. All you need to do is depress the trigger, hold the reticle on target and release the trigger to get a range readout.
When I first started tinkering with the sight, I was confused by a pair of knobs labeled RAV and RAH. Don’t be. In layman’s terms, these two dials allow you to align the sight’s circular rangefinding reticle with the primary sight pin during the setup process. Don’t hurry this process; it’s simple and explained clearly, but if you don’t get the alignment right, your range readings will be inaccurate.
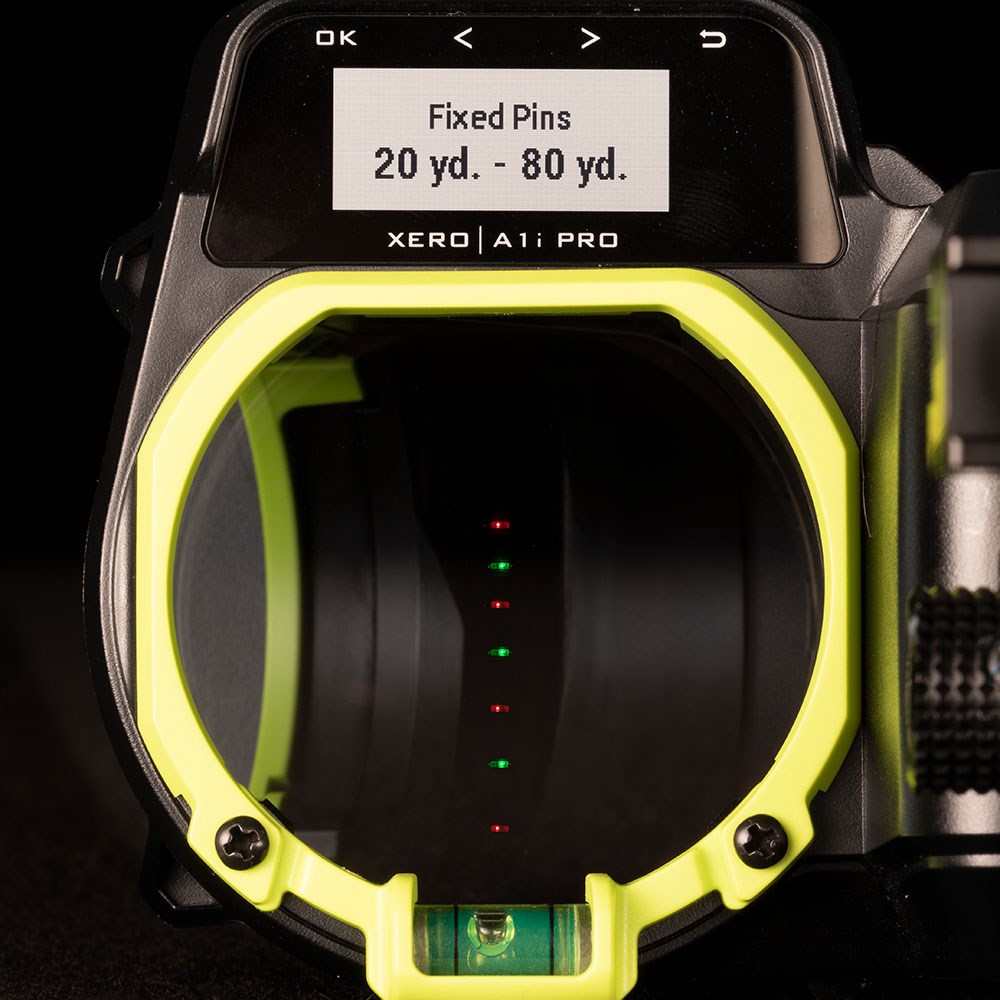
Once your 20-yard pin is calibrated, you can then select a primary pin color (green or red), and the sight will prompt you to move to your greatest comfortable distance and shoot a group of arrows using the pin stack it just created based on the data you entered and the calibration you just performed. For maximum accuracy in final calibration, shoot at your greatest comfortable distance. I shot a three-arrow group with Easton 4MM Axis Long Range arrows at 80 yards, and the group would’ve fit inside a Coke can. This was all the confirmation I needed, and the sight allowed me to validate my pin stack, which, for my setup, provided illuminated fixed pins set at 20, 30, 40, 50, 60, 70 and 80 yards. I checked each pin at each distance, and the results were the same: If I did my job, the arrow was right where it needed to be. You can manually calibrate ranges in your arrow profile if you wish, as well.
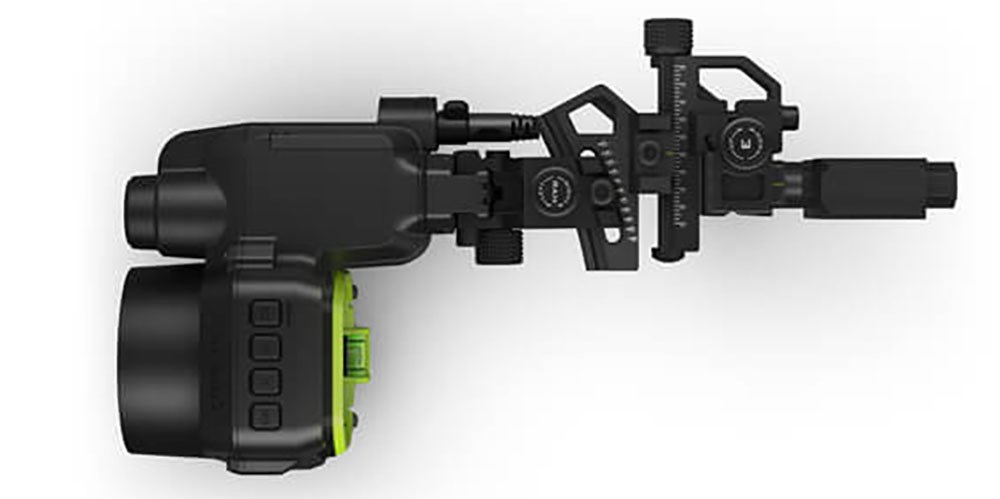
I’ve never been able to sight-in a bow sight from 20 to 80 yards so fast in my life. I set my sight in the fixed-pin mode to display a full pin stack from 20 to 80 yards. Not only does it help extend battery life, but a second push of the trigger while in the sight’s Hunt Mode kicks the Xero A1i PRO into full gear, providing an exact range to your target and an immediate single-pin shooting solution for that range. Brilliant.
I shot the Garmin Xero A1i PRO for a week straight—over 500 arrows—and it’s as accurate as any sight I’ve ever used. Its features are advanced, the machining is excellent, and Garmin took the time to make this bad boy bulletproof. (I also want to note that the sight produced no hum or buzz.) If you’re in the market for the best laser-ranging bow sight on the market, this is it.
Technical Specifications
• Max Ranging Distance: 100 yds. (game), 300 yds. (reflective)
• Dimensions: 9.2" long x 5.0" wide x 3.7" high (includes mount)
• Weight: 18 ozs.
• Batteries: 2 lithium AAA (included)
• Battery Life: 1 year
• Additional Features: quick detach, micro-adjustable rails, flight apex display, dynamic level, Xtra Distance mode, compatible with Garmin GPS devices
• MSRP: $1,299.99; garmin.com


