America is a nation of riflemen. From Marine Corps scout snipers to NRA High Power Rifle Competitions to our 10 million deer hunters, the rifle is part of who we are. Is the shotgun as well? Perhaps, but to a far lesser extent.
This can lead to great frustration for new shotgunners, as deliberately aiming a shotgun like a rifle—rather than relying on instinctive techniques—does not result in success. So, if you’re teaching a new wingshot (or even yourself) the art of the shotgun, start fresh: Have the student forget what he or she knows about rifles, and treat the shotgun as the entirely different firearm it is. Once this is established, here are some basic shotgun tips to get your student busting clays.
Shotgun and Ammo Considerations
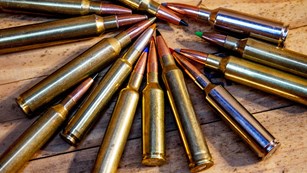
The key for most new shooters is selecting a shotgun and ammo setup resulting in moderate recoil. Opt for low-brass shotshells of 1 ounce or less shot and a velocity below 1300 fps. If your shooter is particularly recoil sensitive, consider a gas-operated, semi-automatic 20-gauge or even a 28; however, with sufficiently light loads many beginners will find the 12-gauge quite manageable.
I disagree with the popular opinion that a .410 bore is a good beginner gun. Yes, its recoil is minimal, but its loose pattern of 175 pellets (1/2 ounce of No. 7 ½’s) is likely to result in missed clays and shattered confidence.
Initial Introductions
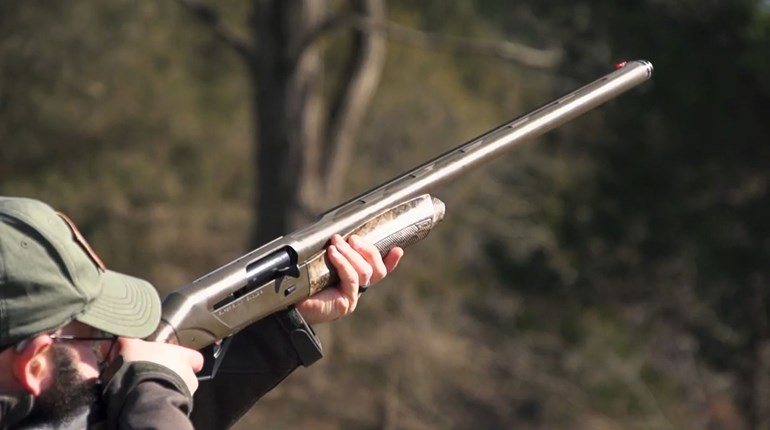
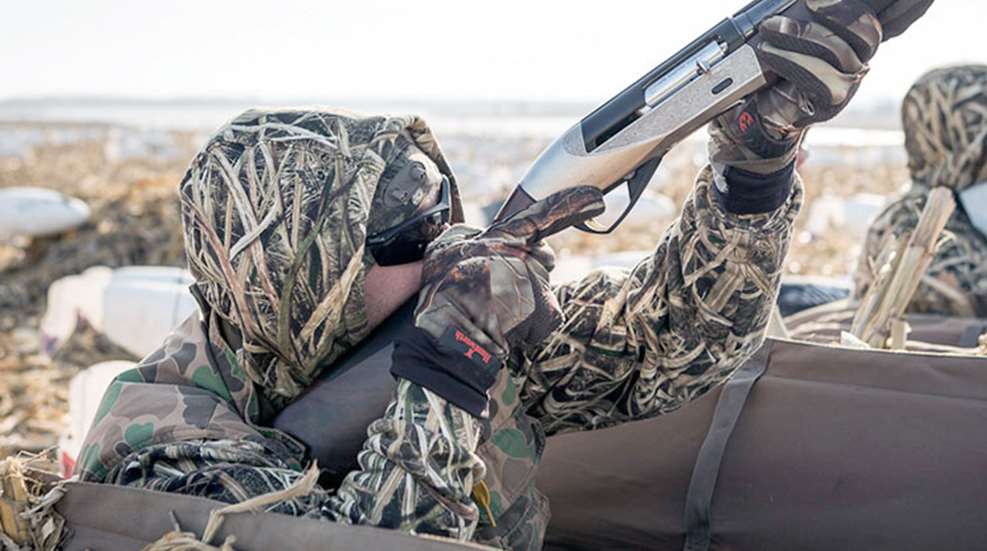
The first step is teaching your student to smoothly mount the shotgun and shoot with both eyes open—the biggest hurdles for those accustomed to rifles. The late shotgun-ballistics expert Bob Brister recommended having new shotgunners shoot a target using a BB gun with its sights removed. Thus the shooter learns the concept of mounting the gun with eyes open and hitting a target by instinctively “pointing,” not aiming. Remember, proper shotgun technique involves looking at the target—never the barrel or bead—and simply allowing the eyes to guide the barrel into position.
Okay, time to get your student comfortable with an actual shotgun. Alternatively or in addition to the Brister technique, place a line of clay targets on a hillside or bank. At a distance of roughly 15-20 yards, allow the shooter to start with a mounted gun and shoot the clays one by one with proper eyes-open form. The rookie shotgunner will likely be amazed that he or she is hitting targets without truly “aiming,” and confidence in the technique will improve.
Once the student is doing well, the drill may be repeated, starting with an unmounted shotgun. Instruct the student to focus his/her eyes on a clay, slowly and smoothly mount the gun to the cheek and fire. If the student misses a few times, no worries, just slow down the mount and try again. Most first-time students will start busting stationary clays rather quickly.
Set Up for Success
Now for the real fun: It’s time to send some clays airborne and center them in a line of shot. Ensure the initial targets are as easy as possible, setting up your student for success, building his/her confidence and ensuring it’s a fun experience—you want the student to continue shooting, right?
The easiest clay to bust is a straight, going-away target. You can opt for hand-thrown clays, but mechanical throwers generally offer more predictable birds. If you’re relegated to a skeet field, shoot only stations one and seven as they offer straight incoming/outgoing targets.
As with the introduction to stationary targets, the student may initially begin with a mounted gun. Many if not most misses are the result of a poor mount, and this removes that step from the equation. Some students will immediately break the majority of the clays; most will miss many targets. Praise your student for busted clays and help him/her shake off misses. “You were right on that one.”
Once the student is consistently breaking clays—be patient, this may take a few trips to the range—targets may be attempted starting with an unmounted gun. The temptation of the student will be to rush the shot, so encourage a slow, deliberate mount. The window to break the clay is a lot wider than many novices realize.
Don’t Over-Coach
Notice I haven’t gone into such wingshooting intricacies as hand positioning, footwork and trigger control. Learning to shoot a shotgun can be intimidating enough without trying to focus on 10 different aspects of technique. Just focus on the absolute basics I’ve described, and ensure your student has a fun experience. Otherwise he/she is likely to suffer from “paralysis by analysis.” If you’ve spent much time shooting a shotgun, then you know how difficult it is to bust clays when you overthink the shot.
Crossing Targets
So, you’ve had a productive trip or two to the range and your student is hitting quite a few straight-away targets. Time to mix things up with crossing birds. Again, preach both-eyes-open form. Your student will likely be tempted to look at the lead—which results in shooting behind targets—so stress the need to focus on the leading edge of the clay.
There are a variety of schools on “forward allowance,” including sustained lead and the swing-through method. These can wait for experimentation another day. I find the easiest to learn is the pull-away method. Instruct your student to look at the clay, match his/her gun barrel’s speed to it, then accelerate ahead and pull the trigger when his/her mental calculator says it’s time. It’s a simple, instinctive, accurate method of shooting.
As in prior drills, the student may start with a mounted gun. Once a number of clays are being broken, it’s time to switch to an umounted gun. This can, of course, be tricky. Often novices rush and sloppily mount the gun at the clay—but the clay is traveling 30mph—so they end up behind it. A smooth mount is therefore of the utmost importance, which is best achieved if your student is committed enough to practice at home. This allows the shooter to maintain intent focus on the front edge of the clay, mount the gun to his/her cheek (in turn the gun is pointed at the clay), and swing ahead of the bird.
The pace of this introduction should be dictated by your student, not any sort of pre-determined timeline. Some will progress quickly, others slowly, while some may require you to go back and review earlier lessons. Keep it fun, and in no time your student will be busting clays and ready for more advanced shotgun games.