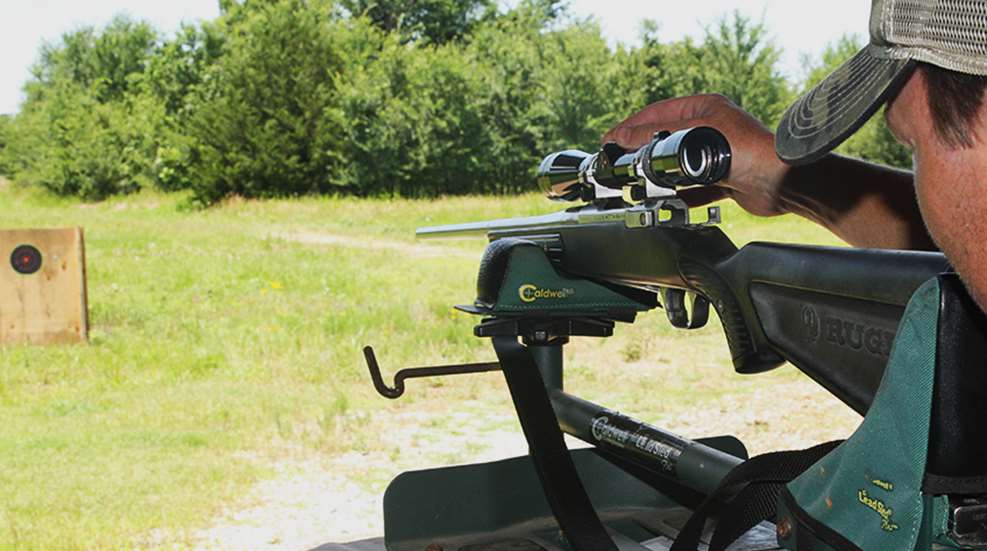
So you bought a new rifle and a scope, but separately, these two precision tools are worthless if they’re not calibrated to each other and used in tandem to guide your bullet to its target. This calibration—to ensure the rifle shoots where the scope is aimed—is called zeroing. Here’s how to zero your scope so you can hit what you’re shooting at.
Ensure the Scope is Installed Properly
Take time to make absolutely sure the scope is mounted tight and properly on your rifle, because if it’s loose or not positioned correctly, you can bank on repeating the following steps. While scope mounting is another lesson altogether, before zeroing, make sure the scope is mounted with 3 to 4 inches of eye relief (the distance from the eyepiece, or rear lens, and your eye), the windage turret (the left/right adjustment knob) is on the right side of the gun, and the reticle (the crosshair) is aligned at a 90-degree axis to the bore.
Next, make sure the ocular focus ring is adjusted to your eye so that the target and the reticle is clear at the same time. Finally, make sure all screws are tight—like ... not crank each screw until it breaks or you feel metal bending, but pretty darn tight. Once you’ve checked this, proceed to the next step.
Bore Sight
Bore sighting is a term for rough-zeroing the scope to the rifle. In other words, it’s a quick way to get the scope and rifle approximately calibrated together so that when you shoot at a paper target, your bullet hole will be somewhere on that target, therefore you’ll know exactly what direction you’ll need to adjust the crosshair for your final, fine-tuned zero.
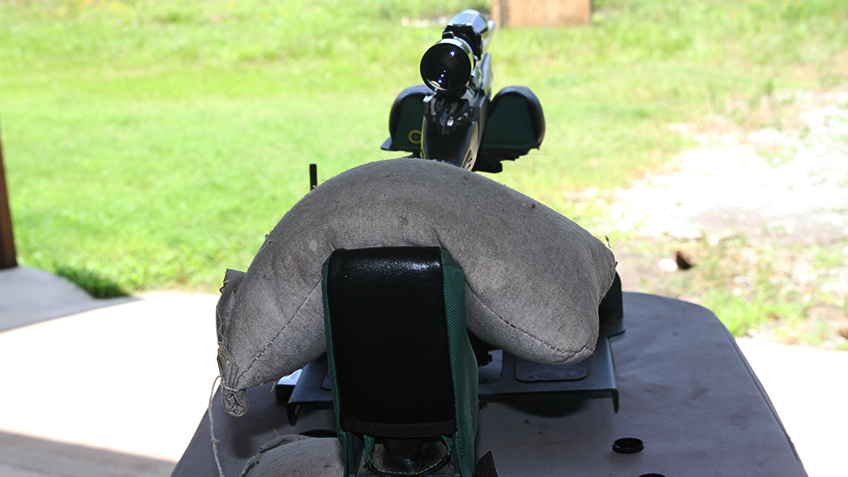
First, use a solid benchrest (shooting from the prone position also works) and sandbags, or a rest like a Caldwell Lead Sled to cradle your rifle so that it points toward the target naturally. Use additional sandbags to secure it so that it rests on its own and cannot be easily moved.
On bolt-action rifles, remove the bolt. For AR-style rifles, remove the lower receiver from the upper receiver (the barrel assembly) entirely and lay the upper receiver in the sandbags. Remove both scope turret covers and place them in a safe spot.
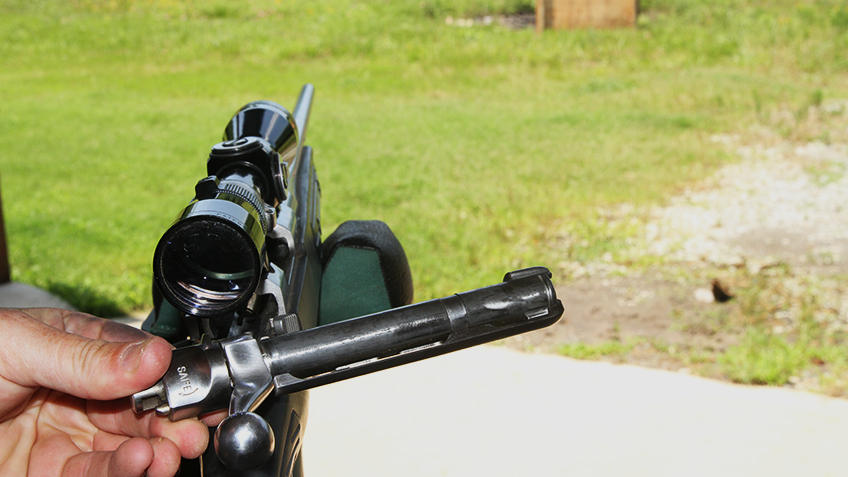
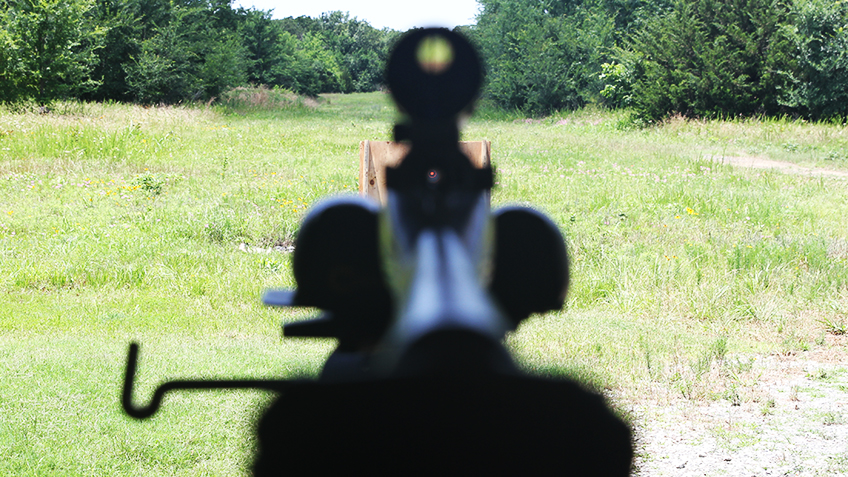
Next, with a large target (a big cardboard box with a quarter-sized bullseye drawn in the middle works well) placed at 25 yards, look through the barrel and center the bullseye exactly in the bore. Trust me on this—start at 25 yards. It will save you time in the long run.
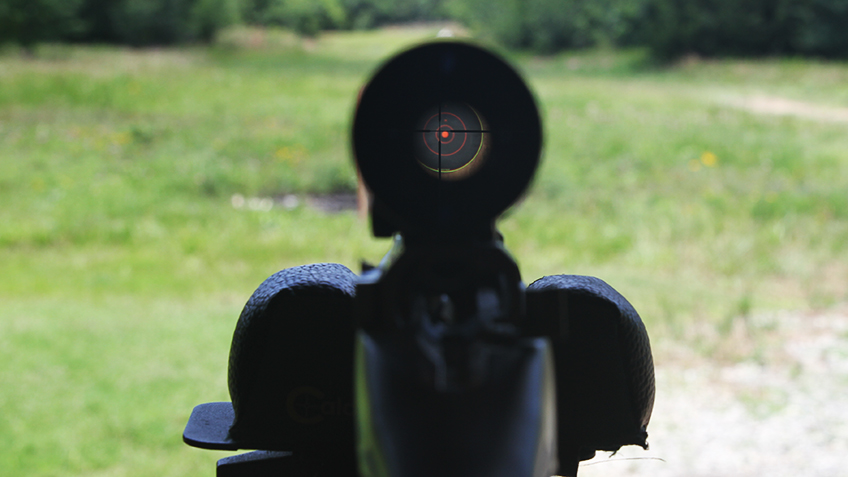
Get the bullseye centered as precisely as you can in the bore, then lock the gun in position with the sandbags. Without moving the gun at all and while keeping the bullseye aligned in the center of the bore, move your head up to the scope and look through it. Hopefully the crosshairs are close to the bullseye, but if they’re not, that’s OK—they soon will be.
The following exercise is best done with a friend, but with practice, you can perform it alone.
While keeping the rifle still and while looking through the scope, rotate the elevation turret (up/down) until the crosshair is on the same level vertically as the bullseye. If the rifle moves while doing this, re-center it on the bullseye and then check the scope again. If you have a helper, have that person rotate the adjustments as you look through the scope by telling them more clicks until the crosshair is moved close to the bullseye. Then repeat the process for the windage dial until the crosshair is directly on the bullseye. You are now “bore sighted.”
To confirm it, replace the bolt (or reassemble the rifle if it’s an AR) and shoot one shot at 25 yards at the bullseye. If your bullet lands anywhere on the target—so you can see where it hit—you’re ready to back up and begin the formal zeroing process. If you’re not “on paper” and you have no idea if the bullet went too high, low, left or right, repeat the bore sighting process.
Choose a Zero Range
While the most common zero distance is 100 yards, there really is no great reason for this other than that it's a nice round number, and because ranges have traditionally been 100 yards long. But there may be a better zero range for you. For example, if you’re a deer hunter and all your treestands are 40 yards away from a trail or feeder where you’ll likely shoot a deer, strongly consider zeroing at 40 yards. If you foresee likely shooting farther than 150 yards, or even 300 yards, then the best all-around zero for most rifles is 200 yards. Therefore, if you have access to a 200-yard range, strongly consider using it to zero your rifle by setting up a target at 200 yards, shooting at it, then adjusting your scope until it strikes the bullseye. However, if you only have access to a 100-yard range, you can simulate a 200-yard zero by sighting in the rifle to hit 2-inches high when aiming at the bullseye at 100 yards. But for this exercise, let's keep it simple and zero at 100 yards. You can always change your zero range later.
100-Yard Zero
Now that you’re bore sighted, shoot one shot at 100 yards. If you hit paper, shoot two more shots. If all of them landed on the target, you should have a three-shot group. If you know you had a bad shot—called a “flyer”—don’t count it and shoot another shot.
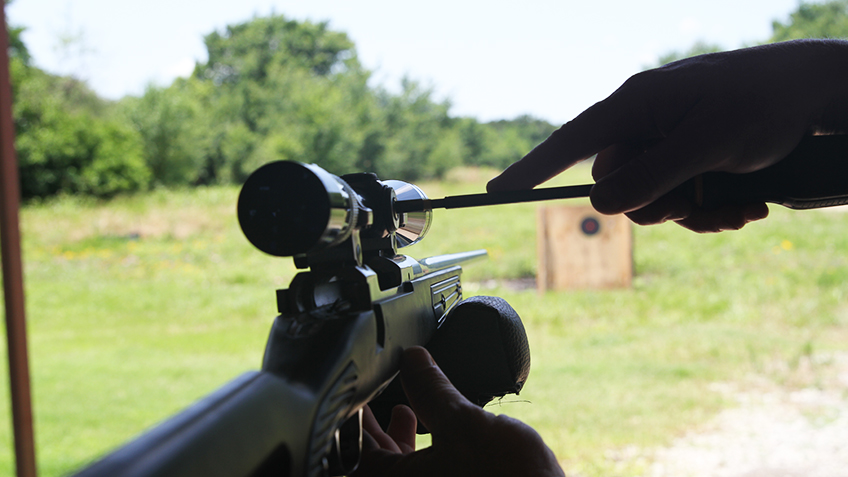
Now that you have three shots on the target, estimate the center of this triangle and measure its distance and direction from the bullseye. Let’s say it’s 3 inches low and 4 inches right of the bullseye. So your “point of impact” (the exact place where the bullet should strike) needs to move 3 inches up and 4 inches left. Because nearly all modern riflescopes have adjustments that move the crosshair “¼-inch at 100 yards,” you’ll need to rotate the scope’s dial four clicks in the direction listed on the scope for each inch you wish to move the crosshair.
For your elevation adjustment in this example, you’d need to rotate the scope’s elevation turret 3 inches up, or 12 clicks. (3 inches x 4 clicks per inch = 12 clicks). For the windage dial, you’ll want to rotate it 4 inches left, or 16 clicks.
Verify Your Zero
Now that the scope is adjusted, shoot another three-shot group. If you did everything right, and shot the rifle correctly, the center of your group should coincide with the bullseye. Hopefully you even shot a bullet or two in the bullseyes! But many times, you’ll need to make another small adjustment. Perhaps the center of you group is still ¾-inch left of the bullseye. If so, give the windage dial three more right clicks, because each click is ¼ inch (or .25 inches) at 100 yards, so 3 clicks = ¾ inch. When you’re satisfied that the rifle consistently “prints” bullets where you aim the crosshairs, your rifle is zeroed.
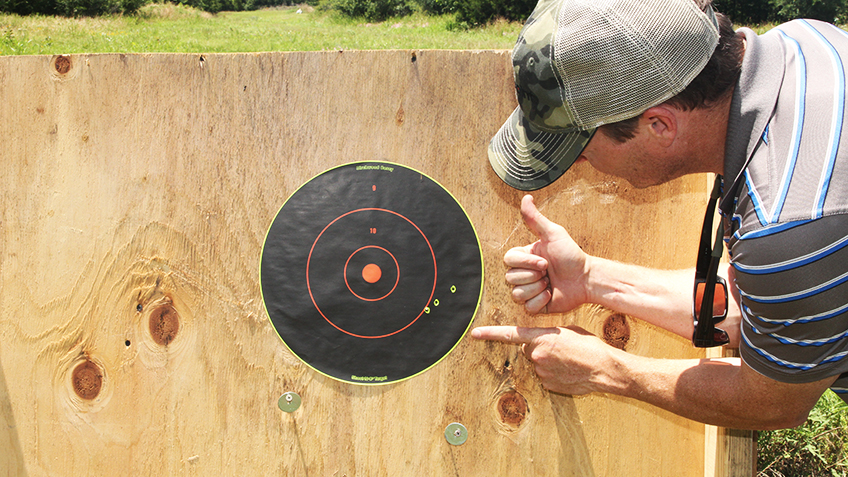
Now place the scope caps back on the scope and write down the range, load and bullet you used so you’ll remember the ammo for which the rifle is zeroed the next time you shoot it. Finally, study ballistic tables or download an app to learn an approximation of where your bullet will hit at lesser and greater distances, then practice at those ranges.
Most Popular