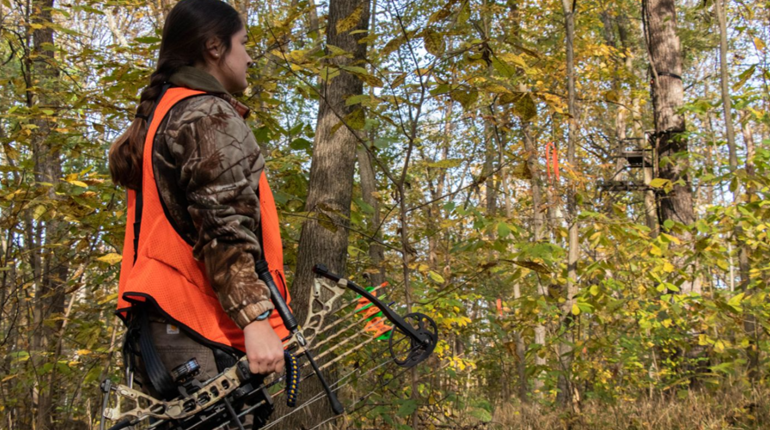
Tuning a bow is not black magic; it is a series of logical steps. Most of today’s bows tune easily when you use the correct initial settings and good shooting form. Use these six methods to tune nearly any bow.
Get Started Right
Snap a T-square on the string and line up the lower edge with the center of the cushion plunger hole (the rest mounting hole). Now, reading the scale found on the T-square, go up just more than 1/8 inch from the bottom edge (for a release aid) and place the lower edge of the nock set (or bottom of the upper knot for a string loop) at this point. Finger shooters should go approximately an eighth inch higher.
Adjust your rest up or down until the arrow is perfectly centered across the cushion plunger hole. Adjust it side-to-side until the arrow is parallel with your stabilizer when you look down on it.
Though obvious, it bears mentioning that you must choose the proper arrow shaft to get the right degree of stiffness for the way you shoot. The manufacturer’s selection guide will get you on track.
I would not use anything other than a full-containment rest like a Whisker Biscuit (if you shoot short, more or less straight fletching) or a drop-away rest. I prefer drop-away rests. They produce the best arrow flight with the least amount of effort.
Paper-Tune
One way to determine the adjustments you need to make to attain ideal arrow flight is to paper-tune your bow. To do this, you need an apparatus that you can stretch your paper across so you can shoot your arrows through it. Find or build a frame with a 2-foot by 2-foot opening. Use posts that are long enough to make sure the area you are shooting through is at the height you are standing. Tape or staple paper across the 2-by-2-foot square and you’re ready to go. An easier way is to cut a 2-foot by 2-foot hole out of the middle of a tall cardboard box, stretch the paper across the hole and then sit the cardboard on a bench or table at the appropriate height. Step back 5 to 8 feet and start shooting.
Adjust Knocks, Rest
If the arrow tears the paper with the tail high, move the nocking point up or down. In theory, it would be best to move down, but theory doesn’t always hold true, especially if the arrow’s fletchings are contacting the rest. If the arrow is tearing to the right or left, move the rest to the side. Experiment by moving in the direction of the tear and then moving it in the other direction if that doesn’t straighten out your arrow flight.
A tail-high paper tear that you can’t eliminate is normally the result of cam timing issues or contact between the rest and fletching. Try eliminating fletching contact first by turning your arrow nocks slightly to affect the way the fletchings move past the rest. If experimentation doesn’t fix the problem, you likely have cam timing issues. Also, if you have a tail-low paper tear, you almost certainly have a cam timing issue. The cams must be synchronized with each other to produce good arrow flight.
There are ways to fix the cam timing if you have a bow press, but that is beyond the scope of this article. Take the bow to a good archery shop for help.
Micro-Tune
If your bow is tuned, but hunting arrows are not grouping with your practice arrows, just move your sight to bring the hunting arrows on target. However, if you want the perfect setup (one that permits you to shoot field points or broadheads with the same sight setting) you need to micro-tune.
Paper tuning is an inexact science. An arrow that punches a clean hole in paper may still be pointing very slightly away from its line of flight upon release, causing small amounts of broadhead planing. If your broadheads hit below and to the left of your field points, for example, move the rest slightly up and to right (just fractions of an inch). Keep this up until the groups overlap. You must re-sight the bow now, but this fine-tuning process should quickly bring the two groups together.
Tune Arrows, Too
If your groups with hunting arrows are larger than groups with practice arrows, you have poorly tuned arrows. Make sure your broadheads align perfectly with your arrow shafts. Place each arrow in a cradle and turn it while comparing the point of the broadhead to a fixed reference mark. The broadhead tip should stay still as the arrow turns. If not, the arrow’s insert (the cut of the arrow) is to blame. Inserts should have a nice press fit into the arrow to assure alignment, and the arrow’s cut should be clean and square with the shaft.
Once you’ve identified problem arrows, set them aside for use only with field points or try to square up the end of the arrow (even with the insert installed) with a device such as the Arrow Squaring Device from G5 Outdoors to bring the heads in line. I do this automatically on every arrow I make.
Check Draw Length
The position of your elbow on your release arm affects arrow flight. It needs to point straight away from the target at full draw. If it points to the side, for example, the bow’s draw length is too long. The release aid will put side pressure on the string and cause poor arrow flight that will be impossible to eliminate by moving the rest.
A Note if All Else Fails
I have owned bows that I simply couldn’t tune. Normally, this occurs because the cams lean to the side, and when you draw the bow they lean even farther. When you release the string, the cams snap back and move the string to the side, taking the tail of the arrow with it. If you are really struggling to tune, be sure the cams remain vertical throughout the shot. If all efforts fail, you may have a lemon.