If any of my friends are reading this, please, pretty please, no more emailing pictures of bloody ducks laid out on the ground or on a tailgate in your driveway. The same goes to you guys who send me photos of gutted deer hanging in the garage. Last but not least, no more ghoulish pictures of severed big-game heads. Animals look a lot better with their bodies attached.
Why my appeal? Because I’ve seen a hundred such photographs already this year. And they all look alike. And frankly, they’re depressing. You can do better. Here’s how.
Keep Up Appearances
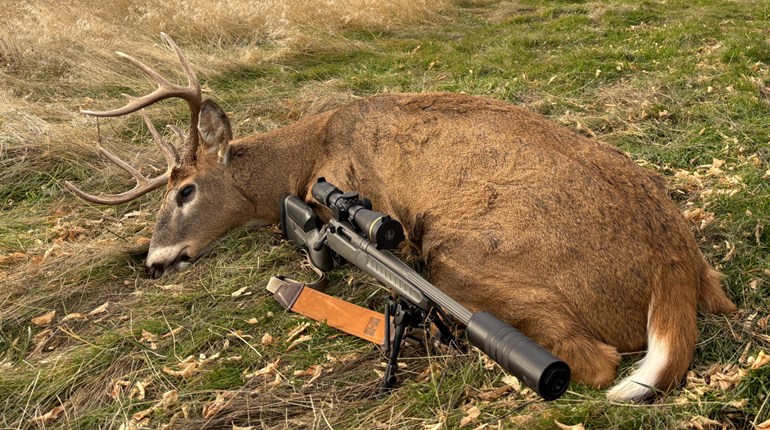
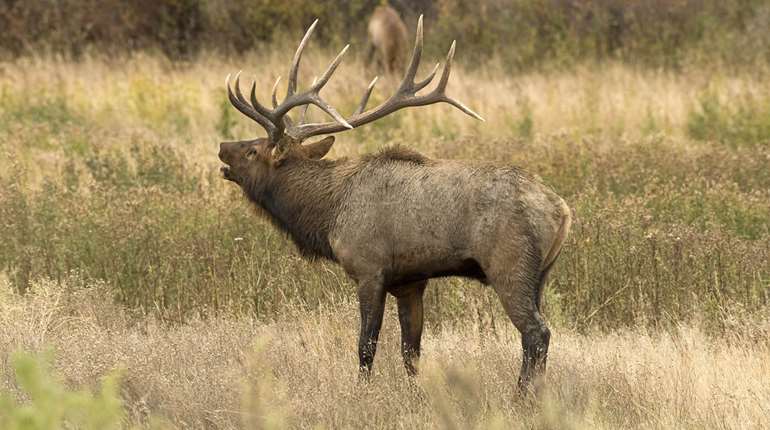
When taking trophy pictures, remember that what you shot is the reason for the picture, so show it in the best condition possible. Carry paper towels to wipe excess blood from the mouth, nostrils and wound. Smooth down fur that’s been roughed up and tuck in its tongue. Before you use your knife, take your pictures. The closer the game looks to being alive and the less visible the blood, the nicer the photograph.
Take pictures from a variety of angles—you’ll find certain ones show antler mass and tines far better than others. Position yourself (or your buddy) about level with the animal’s shoulders, and don’t straddle the animal. Also be mindful of where your gun is pointing in the photo so NRA editors can run it in good conscience.
For waterfowl and upland birds, smooth down feathers and place them on dry ground or carefully in your vest, just like you would if you were planning to mount them. When it’s time to photograph, grab a leg, shake them to fluff up the feathers and to de-rigor them. Wherever practical, hold up the birds where they can be seen so they’re not just lumps on the ground.
Create a Sense of Place
Presumably you weren’t hunting in your driveway or garage, so don’t wait until you get home. Show where the hunt took place—where that buck or bull dropped, the mountains in the background, the decoy spread you used to lure in those geese … . The more detailed the picture, the more memory-generating it will be. Which is why you should never go hunting without a camera in your pack or blind bag and without a tripod nearby.
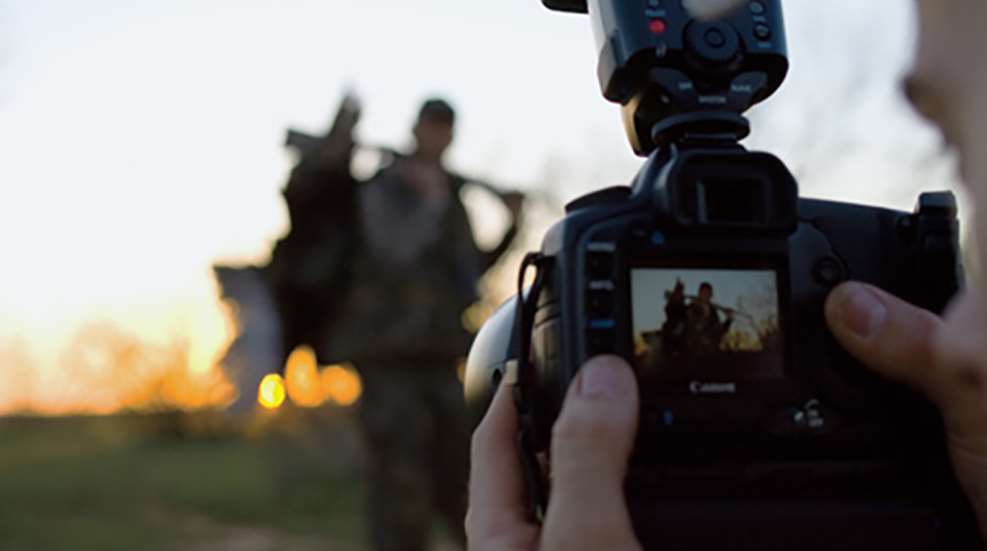
Buy a Good Camera
You don’t need a bulky SLR camera (which has detachable lenses) to get quality pictures. The newer point-and-shoot cameras are phenomenally good, with mega-pixel ratings equal to professional cameras. You can buy new and reasonably priced cameras, for instance, with 12 mega-pixels that are waterproof, shockproof and freeze-proof—qualities surely needed by hunters. The high mega-pixel rating also allows you to zoom in significantly or crop a picture and still get great prints. And almost every camera comes with a software program for enhancing pictures on the computer.
Where’s the Sun?
Think about where the sun is before you compose your scene. On cloudy days you can pretty much shoot in any direction, but on bright days your subject should be facing the sun. Fill flash will give you more latitude and will light up faces darkened by ball caps. Flash will also give your pictures more pizzazz on flat, overcast days.
Basic Composition
Placing the subject dead center produces boring pictures where hunter’s legs are often cut off and nothing but empty sky fills the top half of the frame. Try placing your subject a third of the way into the frame. For example, position your hunting buddies’ heads one-third down from the top of the picture. Then survey the edges of the frame to ensure you’re not cropping out something important. Also, beware of distracting elements like trees in the background that appear to stick out from people’s heads or branches and grass in the foreground that produce blurry lines running across faces. They can ruin otherwise excellent pictures.
Fill the Frame
In general, the more your subject fills the frame, the more detail you’ll record and the more interesting the picture will be. Conversely, take a few wide-angle shots (10-24mm) if the landscape is noteworthy, with the subject to one side of the frame.
One trick professional photographers like is shooting the subject from farther away while using a telephoto lens, like a 135-200mm. The bigger lens will help blur the background, get rid of distracting backgrounds and make the subject stand out. This technique will give your shots a dramatic and fresh look.
Get on Your Subject’s Level
Position your camera at the same level as your subject, or lower; for example, when photographing a buddy with his deer, take the picture from a kneeling, not standing, position. Even if your goose-hunting friends are standing, try a few shots from a lower angle. It will give your photographs a unique look.
Smile Please
No one forced you to go hunting, so you and your friends shouldn’t look like somebody did. If your hunt was worth photographing, then act like it. Seeing happy faces will make you smile every time you look at a picture.
Go Beyond Trophy Shots
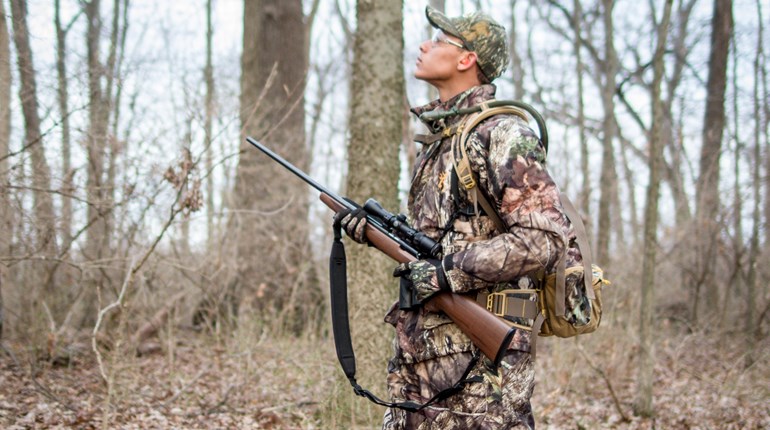
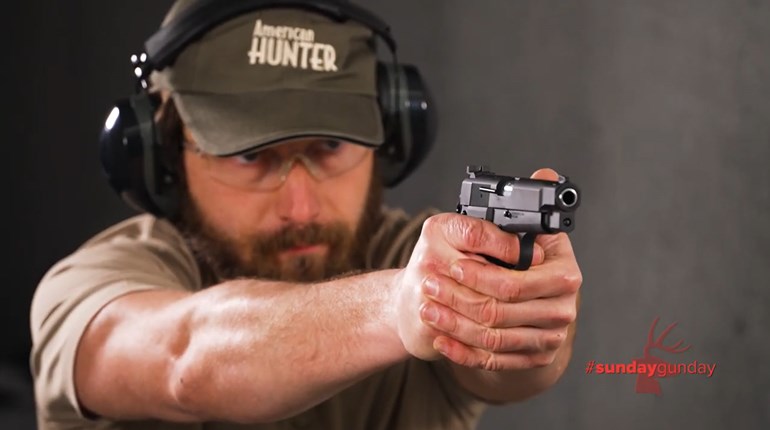
Keep your camera handy to record candid moments of your buddies shooting or laughing or setting out the decoys; your dog retrieving a duck or a pheasant; a doe walking underneath your stand … anything that makes hunting special to you.
Take a few minutes during that pretty low light to hunt with your camera instead of your gun. And try to tell a story. You’ll find these pictures more accurately depict why you hunt and will make them more meaningful than ever.