Loading ammo is easy. What follows are the basics for loading bottleneck rifle cartridges. Straight wall pistol or rifle cartridges are slightly different and will require at least one more die and a couple more steps. The additional steps will be explained in detail in the loading manual and usually with the instructions provided for the dies. Before you start the actual process, mount the press to a sturdy bench or countertop, and layout all of your tools and components in an organized fashion. Wear eye protection and keep your workspace free of food, drink and debris.
Visually inspect your brass for splits or cracks and discard any that are damaged. Small dents are fine, as they will “iron” out when the cartridge is fired. Cases with deep dents should visit the trashcan. The brass should be clean. Any that are heavily corroded should be thrown away.
Resizing the case imparts tremendous pressure on the sizing die, so lubrication is required to prevent the case from sticking inside the die. It is important that the inside of the neck is lubricated as well as the entire outside of the case. That is because the case neck is squeezed down and then an expander button is drawn back up and out of the case to insure that the inside case mouth diameter is correct to hold the bullet. The secret to lubricating cases is to have a very thin film on the entire outside of the case (except the case head) and on the inside of the case neck. Too much will cause damage, such as dents in the case shoulder, too little will cause the case to stick in the die.
The resizing die should be installed in the reloading press according to the instructions supplied with it and adjusted for full length resizing. Next, adjust the stem at the top of the die until the decapping pin is protruding slightly from the bottom of the die. This is the pin that will push out the old primer, and it needs to be out of the die far enough to reach through the case head and remove the primer, but not so far that the locking nut will contact the case head inside the case. Place the lubricated case in the shell holder and slowly pull the handle on the press. Guide the case into the die, but be careful not to pinch your fingers. Cycle the press all the way until the handle hits the stop. This may require a lot of pressure on the handle. Then reverse the handle and remove the case from the resizing die. You will feel the neck expander ball pass through the case neck as you are pulling the case out of the die. Repeat with the next case and continue until all the cases have been resized.
When a cartridge is fired, the pressure causes the brass to expand and flow forward, making the case grow in length. If it grows too long it may not chamber correctly in the firearm or it can cause a dangerous over-pressure situation. The length should be checked with a dial caliper or one of the simple case length gauges on the market. Your reloading manual will list the maximum length allowed at the beginning of the section on your cartridge. If the brass is too long it must be trimmed to length with a case trimmer.
If this is the first time the cases have been reloaded or if they have been trimmed, deburr the case mouth inside and out with a deburring or chamfering tool.
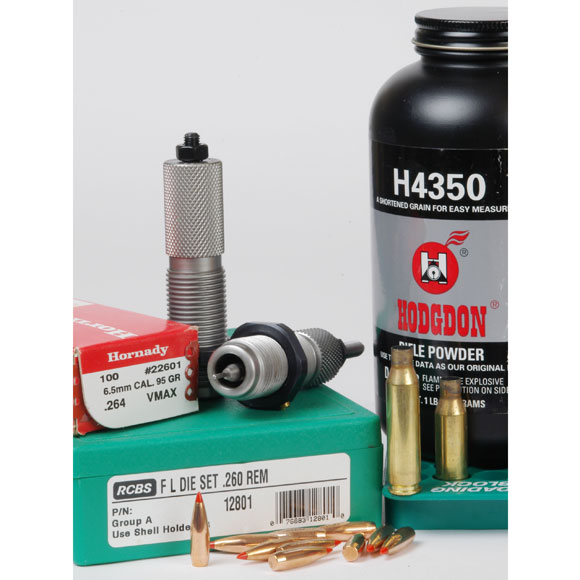
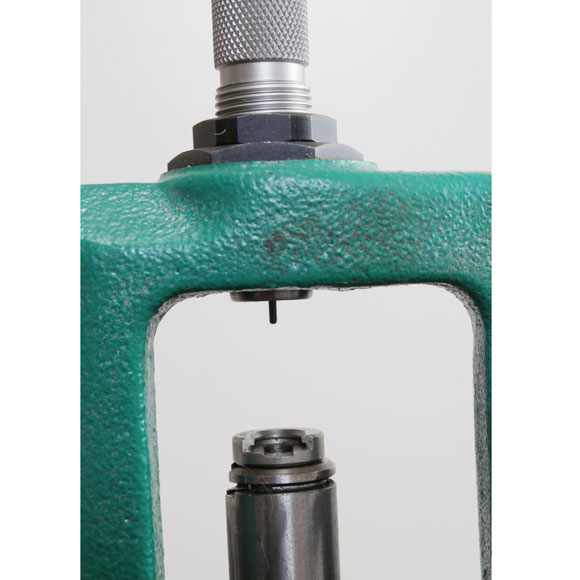
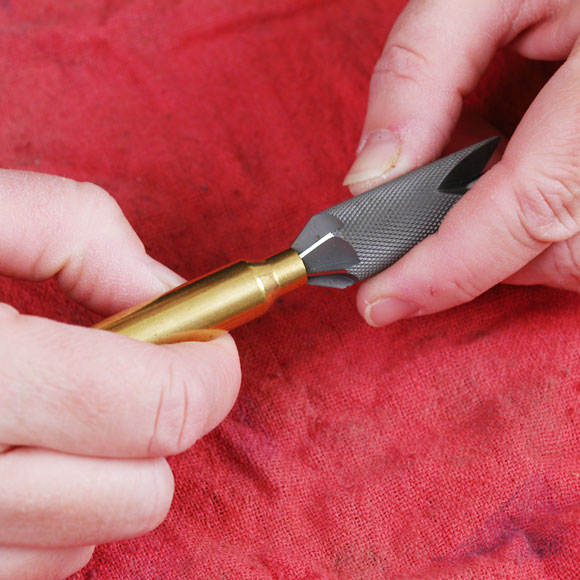
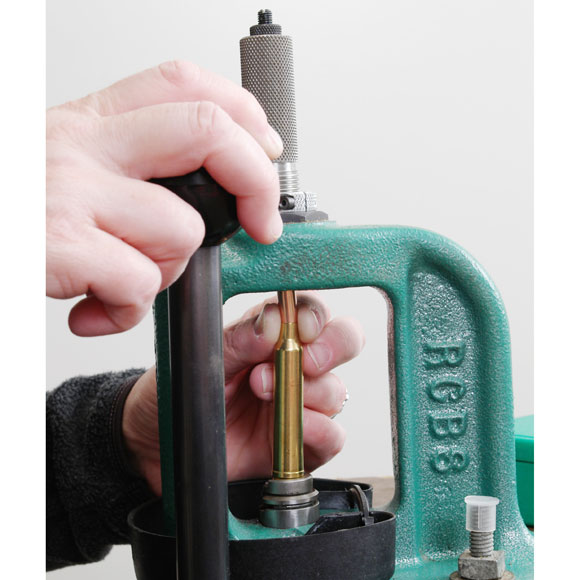
The primer is the small, round, metal cup that is in the center of the case head. It contains a small explosive charge that is sensitive to impact and is used to ignite the powder. When you resized the case you also pushed out the spent primer. The next step is to replace it with a new primer. There are two kinds of rifle primers, standard and magnum, and two sizes in each, large and small. (The same applies for pistol primers, which are slightly different than rifle primers.) Your loading manual will explain which one you need for the load you have selected. This is important. The primer is “press fit” by force into the primer pocket. Most reloading presses have a priming feature to seat the new primer. However, a hand held tool is much easier to use and should be bought when possible. You should seat the primer fully so that the legs of the anvil are all contacting the bottom of the primer pocket. (The anvil is the triangle shaped, three-legged piece of metal you see in the bottom of the primer. Too much pressure will deform the primer, damage the priming compound and possibly cause erratic ignition.)
Select the correct powder charge from your loading manual to fit the case, primer and bullet you are using. It is best to begin with the suggested starting loads. After you are more experienced, you can work your way up to larger powder charges. Weigh out the correct charge of powder on the scale. Measure out a charge with a powder measure that is slightly lighter than your desired weight. Then use a powder trickler to bring the charge weight up to the correct level. However, lacking those tools, you can use a spoon to dribble the powder into the scale pan until you have the correct amount. Then pour the powder into the case using the powder funnel. Stand the charged case up in a loading block. When all the cases have been charged, hold the block under a light and look into the case-mouth to make sure that each powder charge is to the same level in the case and that each one is charged.
The inside of the case mouth will be slightly smaller than the outside diameter of the bullet. The press will push the bullet into the neck and the resulting tension will hold it in place. Install the seating die in the press and follow the instructions on adjusting the bullet seating depth. For now, seat to the maximum cartridge overall length listed in the book. If you do not have a dial caliper to measure the overall case length, use a factory-loaded cartridge as a guide to adjust the seating die. Install the seating die so that it is about 1/8-inch from contacting the shell holder when the ram is in the full up position. Screw the seating adjustment stem back until you can run a loaded cartridge into the die without contacting the stem. Then, with the press ram fully up, turn the stem into the die until it contacts the bullet in the loaded case. Then lock it in place. As long as the bullets are of the same design and shape this will work pretty well until you can buy a caliper. Place a charged case in the shell holder and hold a bullet on top of the neck. Carefully raise the ram while aligning the two to start into the bottom of the seating die. When they are started, slowly work the lever on the press to complete a full cycle of the press. When the ram comes back down a completed cartridge will be in the shell holder.