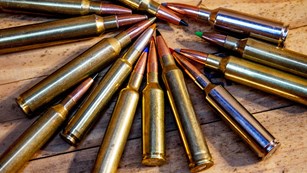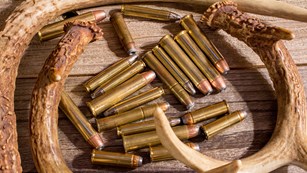
Is that big buck you missed last year still haunting your dreams? Maybe you missed because of that the rough trigger on your favorite hunting rifle. Factory installed triggers are rarely as good as they should be, and any rifle is only as good as its trigger.
One of the easiest DIY projects for any hunter is to replace the trigger on their hunting rifle. You will be amazed at how much better your rifle will feel and shoot. Just think, the buck will be bigger this year, and this time you can be ready.
Step 1: Make sure the rifle is unloaded. Check both visually and by putting your finger into the chamber.

Step 2: Remove the barreled action from the stock by removing the two action screws and separating the two. If they are stuck with a tight bedding job, hold the stock and alternate pulling up on the barrel and the open bolt.
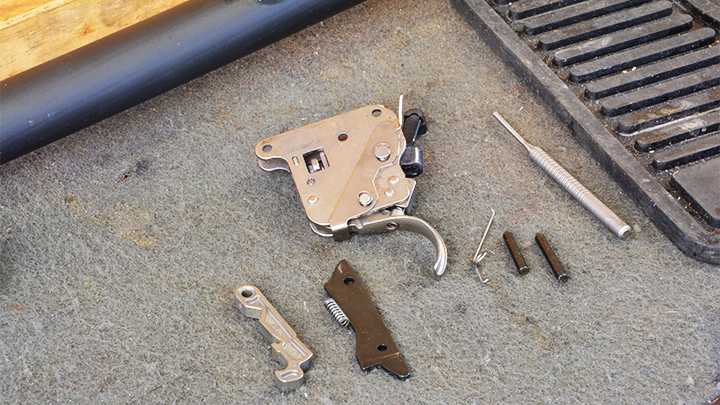
Step 3: Remove the bolt from the action. Move the safety lever to the safe position. Use a correctly sized punch and a small hammer to tap the rear pin out of the action. This also frees the bolt stop and spring. Once the bolt stop is removed it’s easy to remove the front pin and all the trigger parts should now be free.
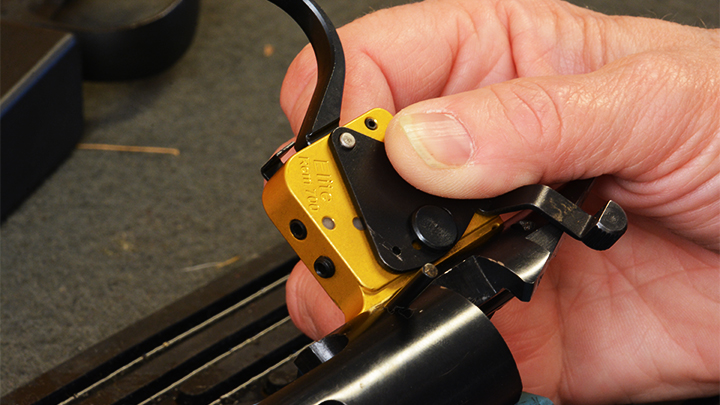
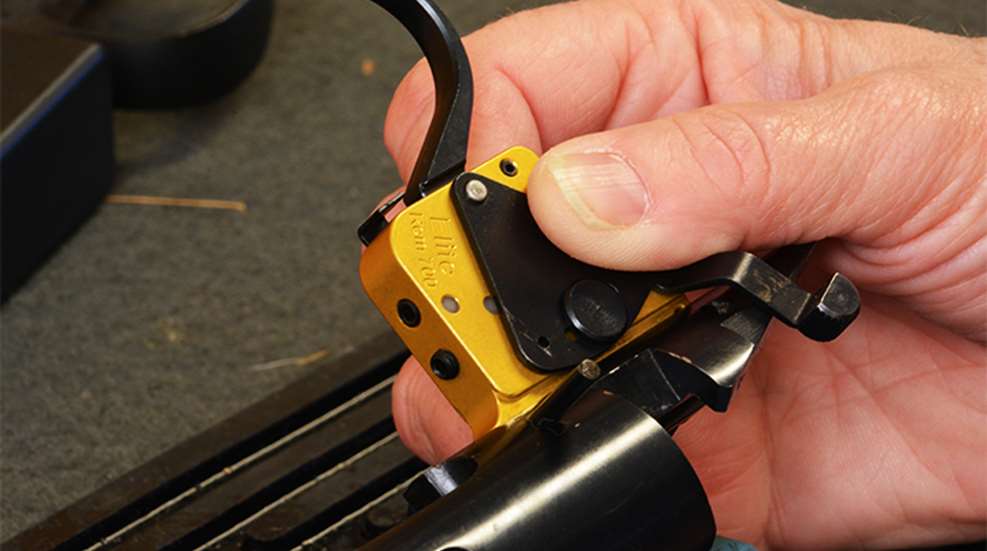
Step 4: Insert the new trigger and tap the front pin into place, but not so far that it contacts the bolt stop. The bolt stop must move freely in the slot and not touch the front pin.
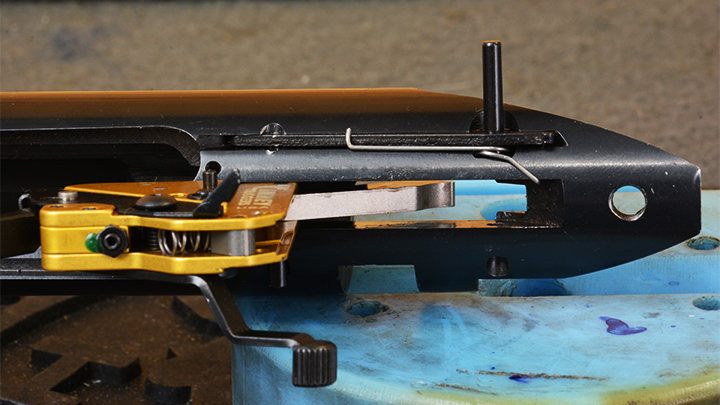
Step 5: Put the bolt stop in place and slide the ring on the spring in behind it. The short arm of the spring hooks into the trigger recess in the action and the long arm pushes on the bottom of the bolt stop. Start the rear pin in from the bolt stop side of the action and push it through enough to hold the bolt stop, then compress the spring by pushing on the top of the ring with a punch or screwdriver until the pin will push through enough to hold the spring in place. Put the trigger in place, making sure the sear is down inside the trigger housing. Insert the rear pin fully. You may need to tap it gently with a punch and small hammer.
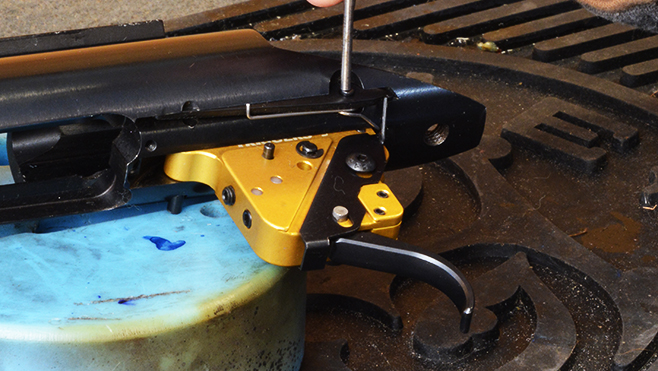
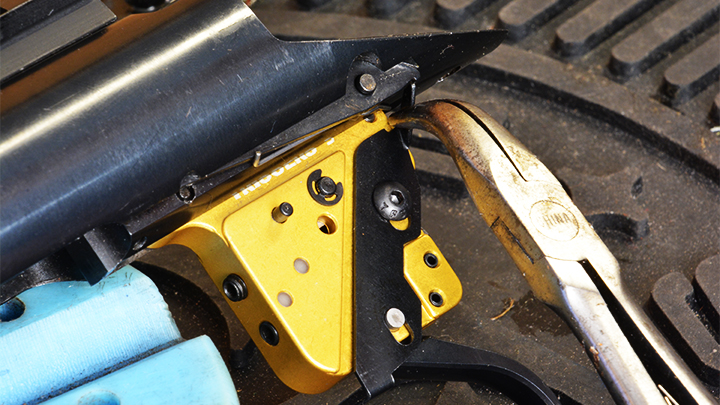
Step 6: Adjust the bolt release so it moves the bolt stop without any binding. Do this by very slightly bending the tip with needle nose pliers so it perfectly engages the notch in the bolt stop. Bend and test. This may take several tries before you get it right.
Step 7: Timney Triggers are often slightly wider than Remington factory triggers, therefore you may need to enlarge the opening on the trigger guard where the trigger protrudes from the stock. A milling machine does the most precise job. Lacking that, a good old fashioned “hand mill” (a file) will also work well for this operation.
Step 8: Sometimes other adjustments must be made to ensure the trigger clears the stock and that the safety operates unimpeded. Use small carving tools, files or a Dremel tool as required to make the necessary adjustments. The key is to make sure the trigger hangs off the receiver without contacting the stock or trigger guard in any way.
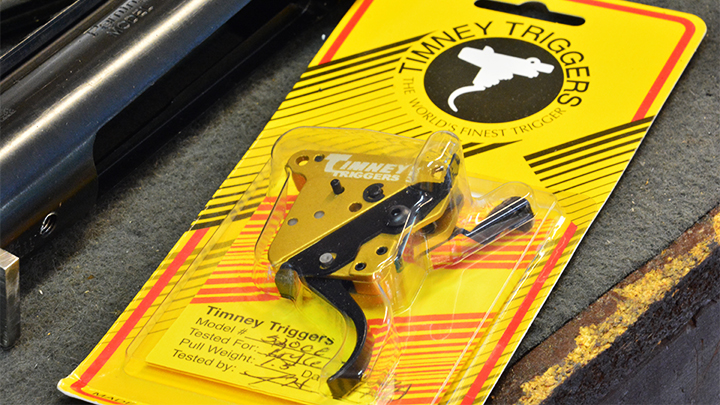
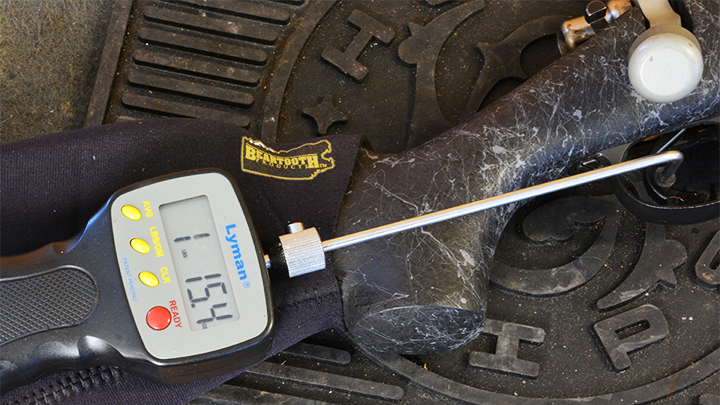
Step 9: The screw on the rear of the trigger adjusts sear engagement. This screw is pre-set and should not be adjusted. The bottom front screw adjusts pull weight. Turning this screw in increases pull weight, and turning it out decreases pull weight. Do not reduce pull weight below 1.5 pounds or ½-pound for the Calvin Elite Series triggers. A dab of fingernail polish on the lock nut helps insure everything stays where it should be.
*Note: For best results, don’t mess with any of the adjustments. Timney ships triggers with a specific pull weight. They do a good job of hitting that number, so order what you want, install the trigger and don’t mess with it.
Step 10: Test the trigger by putting the safety on and pulling the trigger firmly, then push the safety off and make sure the sear does not release when you move the safety. Next, pull the trigger to make sure it will release properly. Do this several times.
Step 11: Cock the rifle and with the safety off, slam the buttstock against the floor forcefully to make sure the trigger does not release. Do this several times. Make sure there is a pad or carpet on the floor so the buttplate is not damaged.
That’s it, go shoot your rifle!
For more DIY projects, check out Bryce M. Towsley’s new book Gunsmithing Modern Firearms. Signed copies are available at brycetowsley.com.