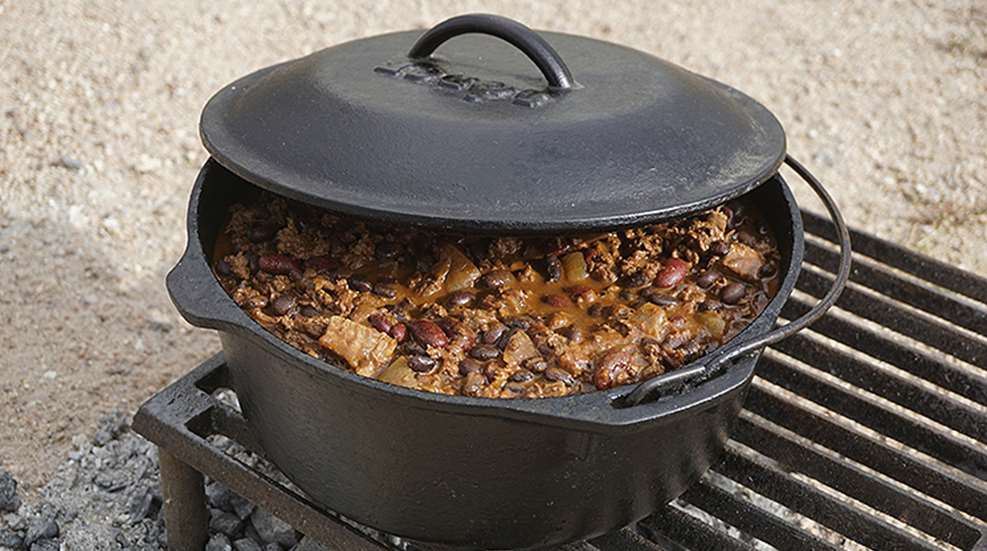
At first glance, the Dutch oven—a heavy, cast-iron pot combined with a tight-fitting lid—looks like a simple affair. In reality, the classic, camp cookware has a bit of magic inside. Call it the original slow cooker, there isn’t much you can’t do with a Dutch oven, which is probably why it’s long been the cooking vessel of choice for hunter, campers and cowboys.
As straightforward as a Dutch oven is, many people hesitate to use them. You wouldn’t think a black pot would be so intimidating. Much of that fear is misunderstanding, or downright bad information. There is a bit of learning curve, but once a Dutch oven is properly seasoned, cooking in one comes natural. All you need are some hot charcoal briquettes and a little understanding of how the Dutch oven works.
Seasoning
One of the best qualities of cast-iron cookware is the “natural” non-stick qualities of a well-seasoned pan. I say natural because cast-iron’s surface isn’t the product of some factory-applied chemical, but instead is created by super-heating a pan coated with flaxseed oil, vegetable shortening or, my preferred seasoning compound, Camp Chef’s Cast Iron Conditioner (an all-natural blend of sunflower, macadamia nut and flaxseed oils). This seasoning process creates an ultra-slick surface that allows food to slip off easily and aids in cleaning the cast-iron after use.
All cast-iron cookware needs to be seasoned before using. Most of the modern stuff does come pre-seasoned, but even those need touched up from time to time. The process is easy, but it does take some time and care. Because the oils are heated to the smoke point, seasoning cast-iron can be a smelly job, so it’s best to do it on a nice day when you can open the window or seasoning the Dutch oven outside on the grill.
1. Wash and dry the Dutch oven thoroughly. Place it over a low-heat burner to ensure the metal is completely dry.
2. Pour a small amount of vegetable/flaxseed oil, melted shortening or cast-iron conditions in the Dutch oven and wipe with a paper towel until only a thin film remains.
3. Place the Dutch oven upside down in a hot oven or grill preheated to at least 400˚. After one hour, carefully remove the Dutch oven and, using tongs and paper towels, apply another thin layer of oil or conditioner to all surfaces. Repeat this process several times, and anytime the non-stick surface needs a touch-up.
Cooking and Temperature Control
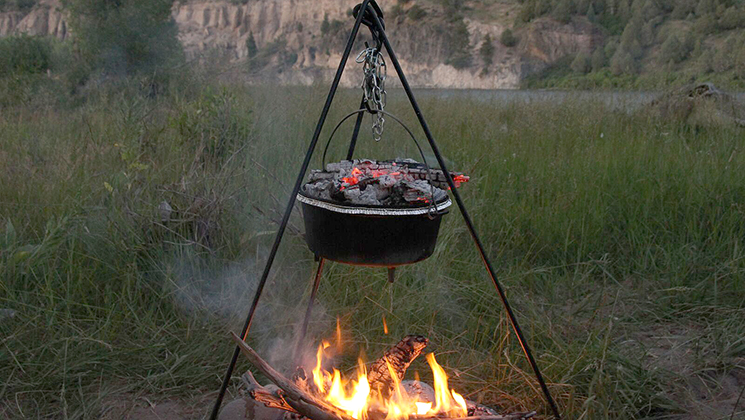
Unlike modern stoves, you can’t just dial up the correct cooking temperature with a Dutch oven. However, with some tried and true methods and the consistent heat source from quality briquettes, it’s just about that easy. A Dutch oven allows hunters to employ many different cooking methods, including baking, roasting/braising and frying. Which method will dictate how to control the temperature.
Baking: Imagine homemade biscuits or the most exquisite dessert—both can be baked in a Dutch oven. The key is the Rule of Three. To get a baseline temperature of 325˚, you’ll need to know the diameter of your oven. This is usually printed on the lid or bottom of the Dutch oven. Take that number and add three to get the number of briquettes needed for the top of the Dutch oven. Subtracting three gives you the number for the bottom. For example, a 12-inch Dutch oven will need 15 briquette placed on the lid of the Dutch oven and nine underneath. Each pair of briquettes will provide an additional 25˚, so add and subtract as needed to increase or decrease the internal temperature of the Dutch oven. If your cooking time is longer than 30-40 minutes, keep a ready supply of hot coals on hand to replace spent briquettes.
Roasting/Braising: Like baking, roasting or braising with a Dutch oven requires double the number of coals as the size of the oven in use, i.e. a 12-inch pot would require 24 briquettes. To get even heat throughout the interior of the oven to roast meat or vegetable, evenly divide the coals between the top and bottom of the Dutch oven. For moist cooking methods, such as braising or simmering soups and stews, reverse the Rule of Three and place the additional coals underneath the oven.
Frying: The heavy-duty nature of a cast-iron Dutch oven makes it a great tool for cooking fried foods. Obviously, the lid is not used so all the briquettes would be place underneath the oven. As a baseline, start with twice the number of coals in relation to the size of the oven and add or subtract as necessary to bring the temperature of the oil up to 350˚. Be careful to use only enough oil to bring the level up one-third of the sides of the Dutch oven.
Cleaning
One of the chief worries people have about cast-iron is how to clean it. There are so many myths and fallacies about how to clean a well-seasoned, with many of the opinions based on old wives’ tales. Now, I’m not going to argue with those who propose hard and fast rules, but I will say with conviction there is no one right way to clean cast-iron. Many methods work, and over the years I’ve adapted what works for me. If you have technique passed down by your grandmother, by all means use it. Here’s what works for me.
1. While the cast-iron is still somewhat warm, wipe it out thoroughly with a paper towel. Often this is the only step necessary.
2. For stuck on foods or sticky surfaces, a plastic scraper, such as those sold by cast-iron companies, works wonders. Carefully use it to scrape all interior surfaces, paying particular attention to the corners and sides of the Dutch oven.
3. Stubborn stains will require a bit more effort. I add a pinch of two of coarse Kosher salt to the pan, along with a teaspoon or so of hot water. Using a paper towel or small piece of aluminum foil, use the salt as an abrasive to scrub away any stuck-on food particles.
4. If you tried all of the above and still can’t get your cast-iron clean, fill the Dutch oven with ½ to 1-inch of water and set it over a high burner or hot coals. Let this water simmer for a few minutes, then remove the Dutch oven from the heat, pour out the water and scrape or wipe away the stain.
5. Once the cast-iron is clean, set it over a warm heat source for a few minutes to dry completely and open the metal’s microscopic pores. Then wipe the entire Dutch oven down with a small bit of oil and store with the lid set slightly ajar.