My main objective in making my own arrows is to increase accuracy. I can do this by fine-tuning components I select and then installing them with ultimate precision. I can really take my time and build better arrows than I would expect to buy off the production line. Small steps can sometimes make a big difference in accuracy. You might be able to save a little bit of money by building your own, but that is not the No. 1 goal. Priority No. 1 is to produce a more accurate projectile. Here is how I do it.
Gearing Up
To make a dozen arrows, you will need a fletching jig, 36 fletchings, 12 raw shafts, a dozen inserts, a cut-off saw (or access to one), fletching cement and nocks. Typically, the inserts and nocks come with the shafts. Depending on the fletchings you apply, you may also need a solvent to clean the shaft and bases of the fletching first. Gorilla Glue makes a great fletching adhesive. Other companies also make dedicated fletching cements but they are essentially the same.
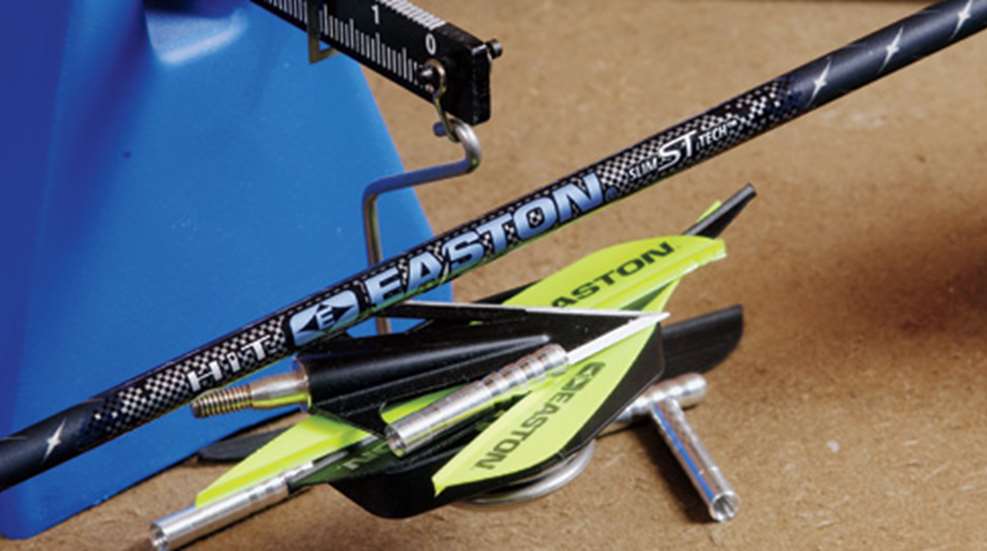
I also use a tool on all my arrows to square up the end of the shaft before and after I install my inserts. The end of the shaft has a big affect on how well the broadhead aligns with the shaft when you screw it down tightly. It has to align perfectly in order for the arrow to fly straight. The best squaring device is the ASD from G5 Outdoors (roughly $40).
A good fletching jig will cost you anywhere from $50 for a Bohning or Jo-Jan jig, to $80 for a Bitzenberger. They will all do the job fine. Arrow cut-off saws are pricey, with electric models costing well over $100. I own one and am glad to have it, but for many years I simply took my raw shafts to the archery shop to have them cut down for a few dollars per dozen. You will find a lot of useful information at bohning.com.
You may consider pooling your money with a friend to buy all the larger tools required since you will not use these items very often.
You next must decide which fletching to use and how to apply it.
Feathers vs. Plastic Vanes
Feathers are lighter but less durable than plastic vanes. They also cause less deflection if they strike the arrow rest as they pass. For this second reason, finger shooters-who typically use flipper-style arrow rests-prefer feathers. For a good feather waterproofing powder, go to gatewayfeathers.com. With the quality of drop-away arrow rests on the market, fletching contact with the rest should be outdated for release-aid shooters.
Heavy on the Helical
Much like rifling, helical fletching spins and therefore stabilizes the arrow. A spinning arrow, for example, is much less likely to wind plane than one that "knuckleballs." Early in my bowhunting career I spent many long hours trying to get my straight-fletched arrows to group together. Out of a half dozen arrows, I was happy if I could get two to hit the same spot at 20 yards. When I switched to helical fletching, my groups tightened. Now, with drop-away rests, you don't have to thread one of your fletchings through the rest, so you can go even heavier on the helical; as a result, I opt for the maximum offset angle in my helical fletching.
The Right Fletching Length
I am always experimenting with fletching. Certain styles are best suited for certain situations. If you're shooting expanding-blade mechanical broadheads you can use shorter fletching (such as Bohning Blazers and NAP Speed Hunters) at any arrow speed and enjoy good accuracy. A few bowhunters using fixed-blade heads use these same short fletchings, as well, but longer, 3- and 4-inch fletchings are the more conservative choice for maximum stability with fixed-blade heads.
Attaching the Fletching
Fletching jigs are indexed to permit you to precisely attach the fletching at 120-degree intervals around the shaft. It is important that you do this precisely. You will shoot more consistently if your finished arrows are perfectly balanced-that means the spacing of the fletching has to be carefully maintained.
Installing the Inserts
It is important that your inserts fit snugly into the shafts with a light press fit. This assures they are well centered, giving you the best possible chance for perfect alignment. If the inserts fit loose, you are in trouble. Set them aside and see if your dealer can get you a different set.
Spin Testing
The easiest way to determine if you have made a good arrow is to attach your broadhead and spin the shaft with the broadhead resting on your hand. You will feel a slight vibration if something is out of line. When that happens, I try another broadhead or a different thin washer between the shaft and the broadhead and spin it again. Once I have an arrow that spins perfectly, I place it in my quiver. With some care, you should be able to get every single arrow to spin true. I never carry an arrow into the field that doesn't spin perfectly.