1. Attach your nocking point to the string so the arrow is roughly perpendicular to the string when you snap it in place. The nocking point is a device that consistently locates this ideal position. Nocking points come in two forms: a brass nock set or a bowstring nocking loop. Some "loops" are actually made of metal, but the easiest to use are a specially made cord that you can buy at any archery shop (see sidebar for installation).
Attach the nocking point so the top of the loaded arrow is 1/8 to 1/4 inch above the center of the rest-attachment hole. You can use a common archer's T-square to locate this point. You will need nocking pliers if you use brass nock sets. I use two stacked nock sets as a guarantee against slippage. The Universal Crimping Tool made by Tru-Fire is a good one.
2. Attach your rest of choice to the bow using the pre-tapped hole in the riser. I favor drop-away rests to make tuning easier, but full-capture rests like the Whisker Biscuit also work fine.
3. The right initial adjustments of the rest will make it much easier to tune the bow later, so snap an arrow on the string and place it on the rest. Hold the bow so the rest attachment hole is at eye level and move the rest up or down until the shaft crosses the very center of the hole.
4. Now, with the bow standing on the floor facing straight away from you, move the rest in or out until the arrow appears to go straight outward from the front of the bow. You can tell this more easily if you have a long stabilizer attached and then line the rest up so the arrow is parallel with the stabilizer.
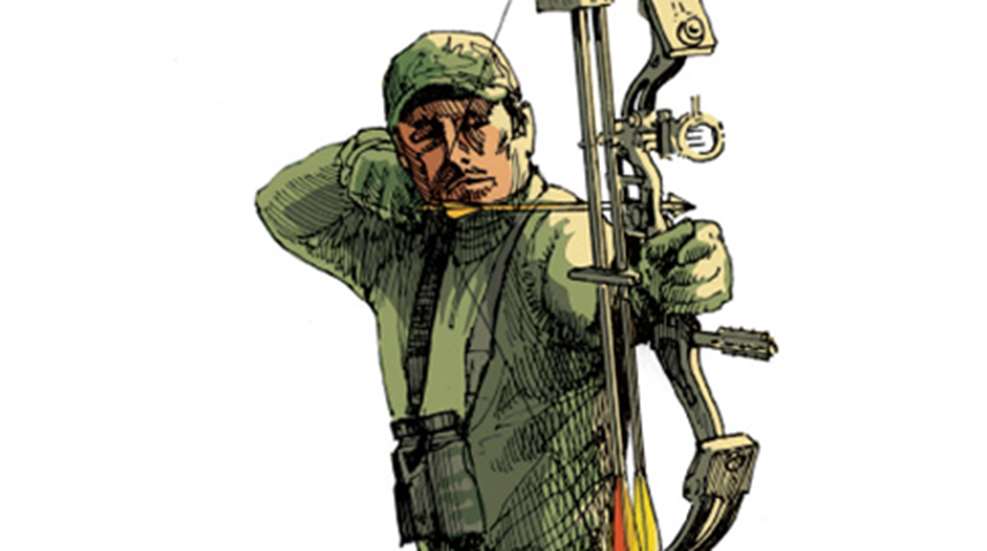
5. Now the bow should be very close to making a perfectly tuned shot. The next step is to attach a sight and to set the sight pins. Using the pre-tapped holes on the side of the bow, attach the sight. Snap an arrow on the string and move the pins in or out until they are just to the outside (left for a right-hander) of the arrow. To start, I would simply move the sight body up or down until it is roughly centered in its range of travel.
6. It's time to take a few shots. Start 8 to 10 yards from the target so you will at least be "on the paper." Use the top pin. Follow your miss with your pin body; for example, if you hit high, move the pin body up; if you miss left, move it left. If you start to run out of travel in the adjustment of the sight body, you can move the individual pins, as well.
7. Move back to 20 yards. Your top pin will be your 20-yard sight pin. Fine-tune its position at this distance.
8. Continue moving back and setting your additional pins. Typically, the sighting-in process takes at least a week of daily shooting, but often it will take twice that long as you continue to fine-tune the pins and the position of the rest.
9. Now it's time to tweak your bow a bit. You will need to paper tune it, but first let's make sure you have all the accessories you attached. When hunting, a stabilizer adds little to the accuracy equation, as it is generally not long enough to offer much stability; however, if your bow tends to tip backward in your relaxed hand, a stabilizer will help to balance the bow. Some also have active elements that will reduce vibration slightly.
10. I shoot without a wrist sling, however, the top shooters and coaches recommend that you use a sling so that you can execute a correct surprise release with a relaxed hand without dropping the bow. Start with one and take it off if you prefer.


