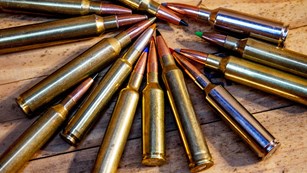
Homemade jerky is a staple with a lot of hunters. Deer, antelope, moose and elk all make excellent jerky. Surprisingly, geese do too. In fact, most any game animal will make palatable jerky.
Jerky is simply meat that’s been treated with spices and a cure, usually salt based, and then dried. In the old days the meat was hung on racks made from willow trees near a smoky fire. In Africa I have watched as the natives hung meat on anything handy—bushes, fences, trees, anything that lets it hang in the sun. In Mexico I saw a steel wire stretched tight between trees that had mountain lion meat hung on it to dry in the sun. There is no right or wrong way as long as the meat can dry without spoiling or cooking.
The standard for most American hunters is to use a smoker, dehydrator or the kitchen oven to dry the meat. But for we northern dwellers there is a less expensive and simple alternative.

A woodstove can make wonderful jerky. No matter if, like me, you depend on the stove to heat your home in the winter, or if you are just spending a weekend at the cabin and have the stove cranked up, why waste the heat? The wood stove is running anyway, why not multi-task and make some jerky? The upside is that the house will smell wonderful at the same time.
Prepare your meat just as you would for any jerky. Slice it about ¼-inch thick. It helps to partially freeze the meat before slicing to firm it up. High Mountain Seasonings sells a jerky board that comes with its own knife. This knife is incredibly sharp. I used my newest one for about ten seconds before I had to stop and raid the Band-Aid box. Be careful, it cuts fast!

The board has raised sides that guide the knife with perfect spacing to give you an even cut. There is a top guide to protect your hands, use it. I know from personal experience if you do the guy thing and don’t read directions that you will bleed. This jerky board is an inexpensive tool that helps ensure the meat is sliced evenly. I have used one for many years and other than a commercial meat slicer, it’s the easiest way to get an even cut on all the pieces of meat.

There are an infinite number of jerky recipes on the market and I have yet to try one that was not good. Just take your pick, Google will turn up lots of options.
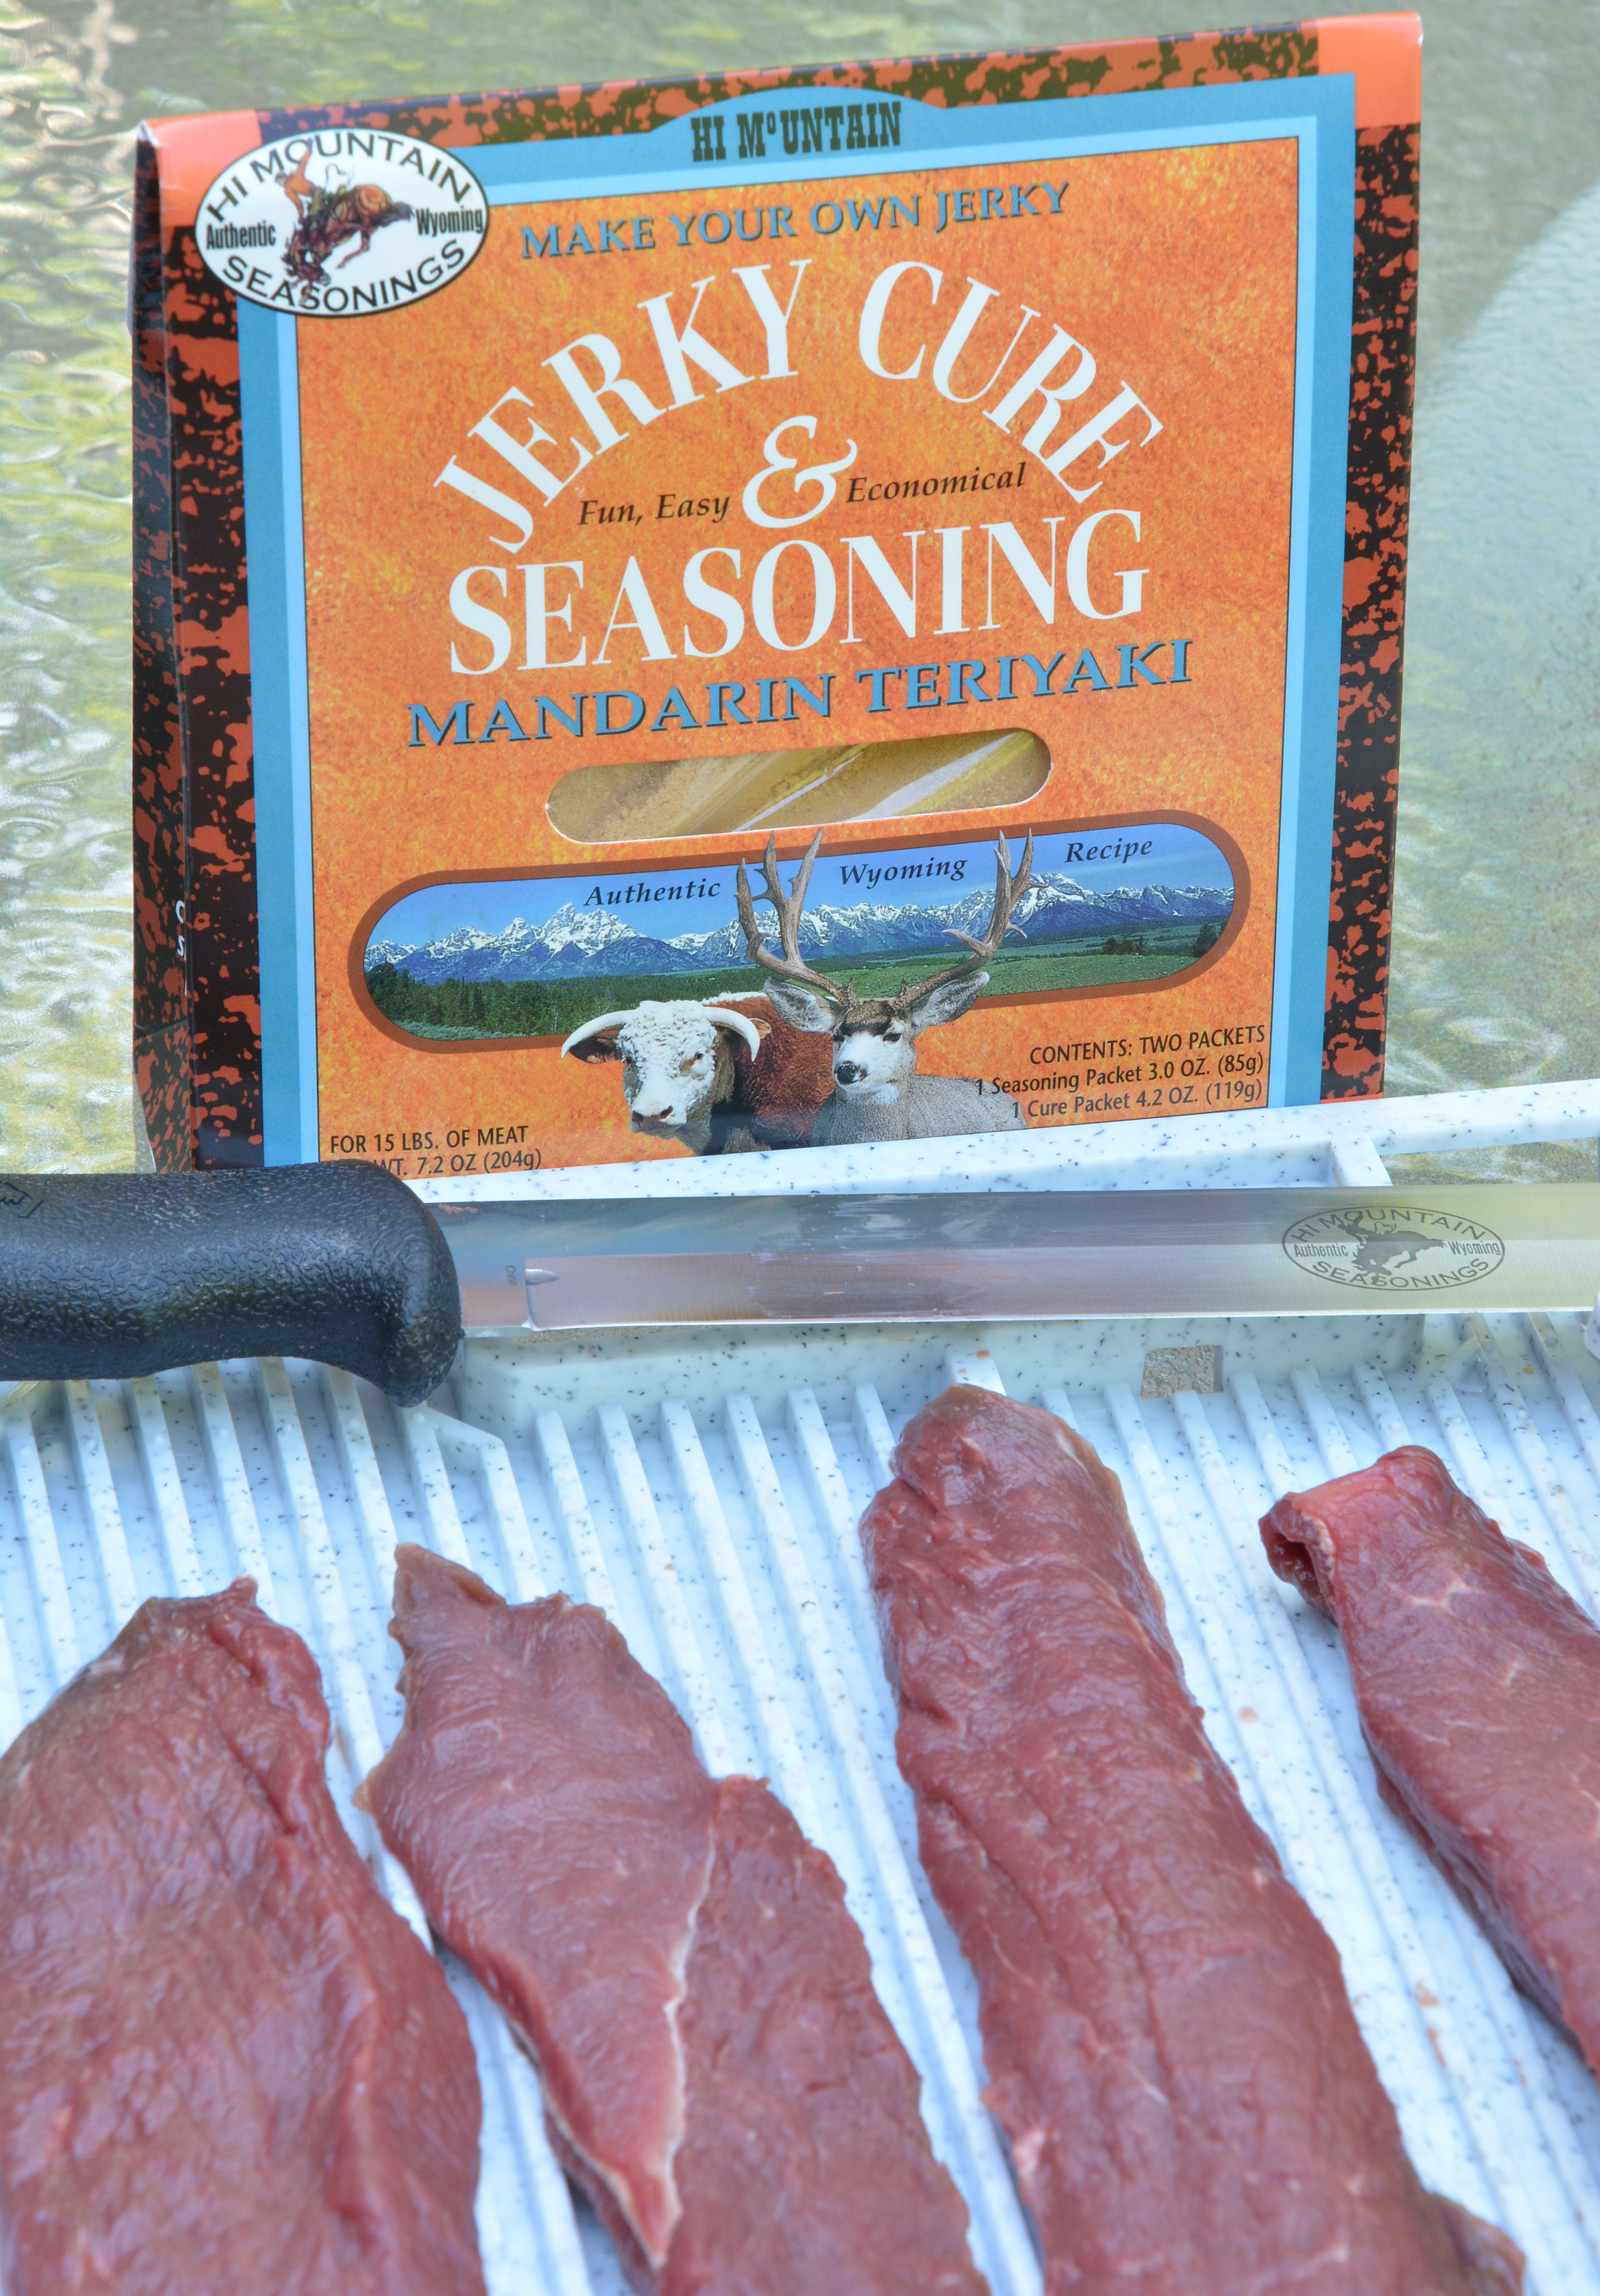
I usually take the easy road and use one of the High Mountain Seasoning jerky kits. These come with everything for seasoning and cure and are easy to use. They have a bazillion flavors. They are all good, but in my never humble opinion, you can never go wrong with anything Teriyaki. Season and cure the meat according to the instructions with the kit or recipe you are using.
The next step is drying the meat. The heat from a wood stove is dry and perfect for this chore. You want a low, even heat, which is what a wood stove provides.
You will need a rack to hold the meat above the stove. These are easy to find at any home supply store. I use baker’s cooling racks that come with folding legs so they can be used at three different heights. The one I like best will keep the rack about an inch above the surface of the stove. The key is to have the rack in the zone where the temperature is 140 to 180 degrees. Use an oven thermometer to find this location. My soapstone stove provides a mild, even heat, but with other stoves you may need to lift the rack up higher.

Simply lay out the meat and let the heat work its magic. Flip the strips every few hours. There is no set time for jerky to dry properly, but it’s usually several hours on the wood stove. It varies with the stove’s heat output, of course. If the stove cools the drying time increases. If you refill the stove and/or open the dampers you may need to adjust the position of the meat. You do not want the temperature over 200 degrees as then the meat will begin to cook, rather than dry.
Although it will likely take longer, start checking after about three hours. I find that with my stove I get good results at about four hours.
To check, cool the jerky piece then bend it 90 degrees. It should bend without tearing, cracking or leaking moisture. If it’s tearing or leaking moisture it’s not done. Give it more time. If it cracks or crumbles, it’s over done. You can still eat it, but it may not have that chewy texture that good jerky should have.
The original concept for drying meat was so it would last without refrigeration. But, good modern jerky retains a little moisture and can spoil if not stored correctly. I keep my jerky in the freezer in a zip lock bag to ensure it lasts a long time.
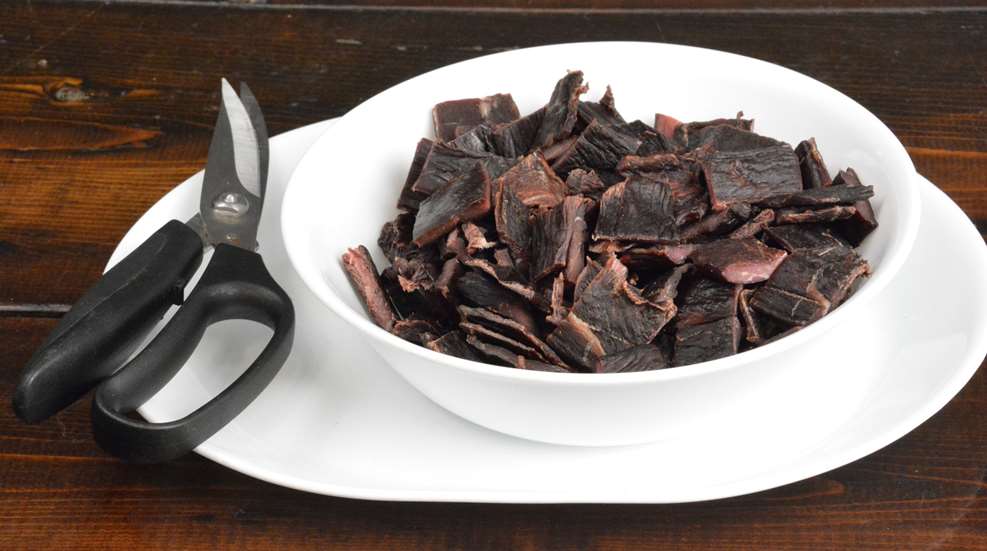
As I like whole meat jerky, which can be tough on the teeth, I use game shears to cut it into bite size pieces before I stick it in the freezer.

Man’s Best Friend Likes Jerky Too!
My dog loves jerky treats, but most of those we find in the store are from China. There have been too many warnings, recalls and reports of sick dogs for me to give this to my best friend. So, I found a better way.
Like most hunters, I clean out my freezer less often than I should. There is always some wild game that somehow was overlooked and has been in there too long. In years past I would throw it out or use it for coyote bait, but no more.
I trim off any freezer burn, then slice the meat into ¼ inch strips and dry it. I usually use my dehydrator, but the woodstove works just as well. I don’t season or cure the meat as you would jerky, just dry it.
I use game shears to cut it into bite size pieces. Then I keep it in the freezer in a zip lock bag. I have been doing this for years and all of my dogs have loved this as a treat. They have had venison, moose, elk, caribou, goose, duck, mountain lion, muskox, bison, oryx, nilgai, blackbuck, axis deer and more. They love it all and it’s a healthy treat for them, rather than wasted meat.