To be safe, comfortable and consistently successful when pursuing waterfowl demands keen attention to detail—especially in the pre-season preparatory period. If you’re reading this article, then you’re mindful of that axiom, but life has a way of stealing our valuable and irreplaceable time, so you’ve probably found yourself fretting about what needs to be accomplished in the short interval between now and the season. No worries; in the subsequent paragraphs, you’ll see a list of to-dos that you need to check off before heading out that first day. And since some of them take extra time or effort to complete, now is the time to begin the process.

Waders
Waders are to the wetland hunter what a tool belt is to a professional carpenter—essential gear. And like other tools, they fall in disrepair due to extensive use, neglect and abuse. Unfortunately, when waders fail, you’ll immediately feel the consequences. Few things bring more discomfort to the waterfowler than a late-season hunt marred by saturated clothes due to an unnoticed wader leak, or walking any distance in sloshing, water-filled boots.
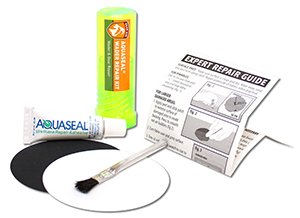 Hopefully, after last season, you allowed your waders to fully dry before storing them, as well as properly stowed them—not tossing them in the corner of the garage for the spiders to claim as their new home. Now is the time to reclaim your waders from the arachnids and inspect them for damage, such as holes and tears. Repair kits are readily available for mending most wader materials, but they become increasingly difficult to attain as the season progresses. I learned this lesson firsthand last season. Believe me, have extras on-hand. For patching my son and I’s neoprene waders, I prefer Gear Aid’s Aquaseal Wader Repair Kit. Repairs made with it have withstood considerable use without succumbing, so I can personally vouch for it. If you find the damage to your waders to extensive to repair, invest in a newer, updated pair. You’ll thank yourself evermore as season progresses.
Shotgun
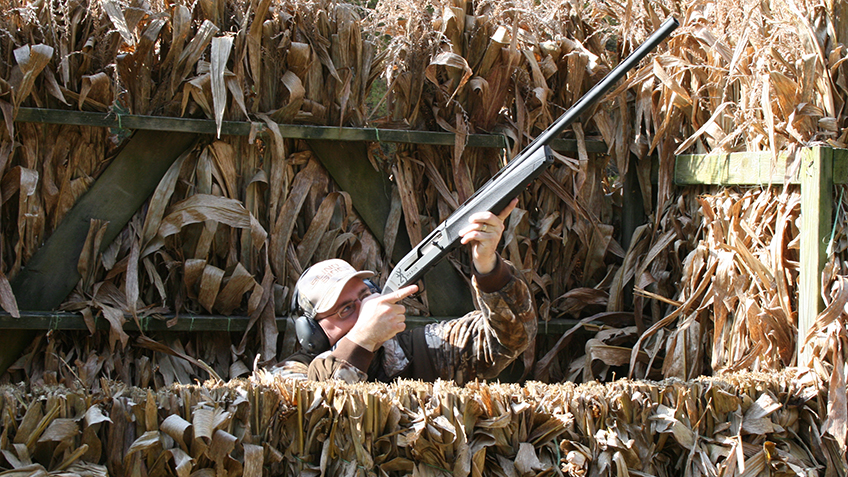
Want to risk ruining a waterfowl hunt with non-stop action? If you do, then go afield with an unreliable or unproven shotgun. I’ve seen this happen too many times to count, and it’s heartbreaking to watch.
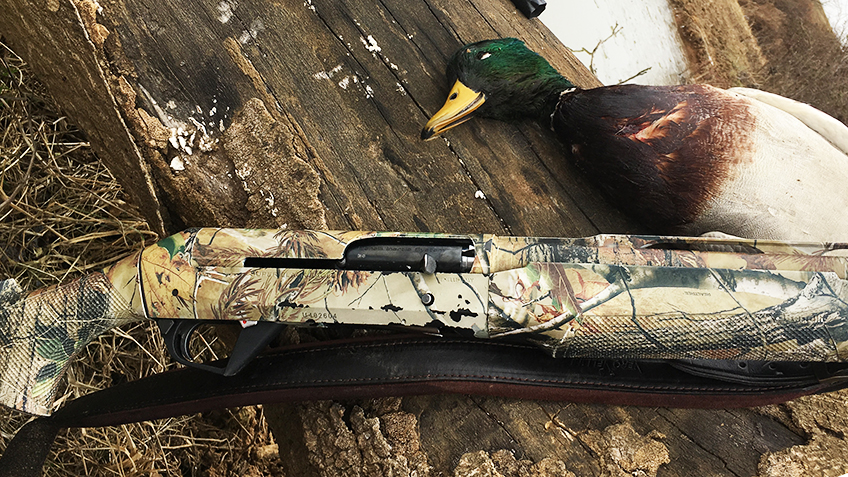
Before the season begins, field strip (not fully disassemble) your shotgun—be it new or one that you already own—per the manufacturer’s guidelines and thoroughly clean it. Or, if you’re uncomfortable with the process, take it to a trusted gunsmith. Regardless of who services the scattergun, ensure that all fouling—especially in the chamber, forcing cone and choke tube(s)—is removed, and there is no debris in the action to affect cycling. For gas-operated, semi-automatic shotguns, the gas system must be meticulously cleaned for unimpeded operated. Lastly, before reassembling the firearm, be sure to lightly lubricate high-friction areas. These will usually be highlighted in the owner’s manual. Once completed, take the shotgun to range (where appropriate) or sporting clays course and fire a few rounds to ensure flawless functioning. If something is amiss, immediately take it to a gunsmith.
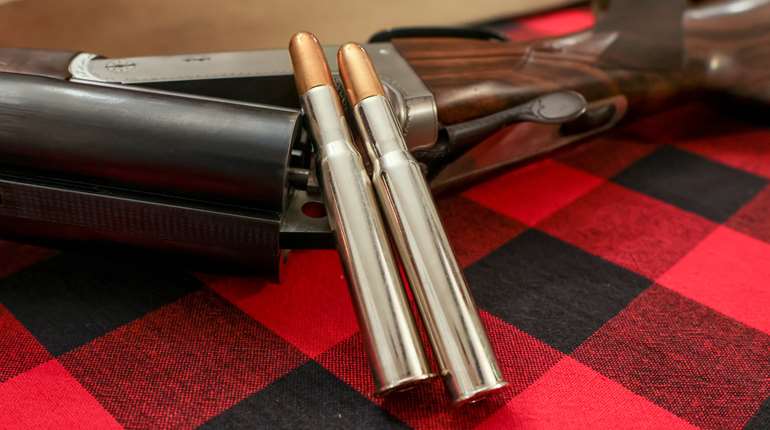
Chokes and Shotshells
A shotgun is only as good as the choke(s) screwed into its barrel(s) and the shells fired through it. And, considering all the costs associated with waterfowling, the price of a quality choke tube and select ammunition pales in comparison. Use what gives you the best opportunity for a kill with every shot.
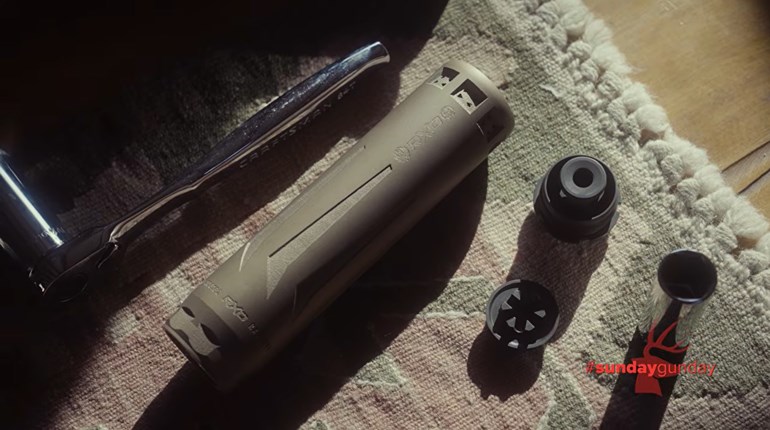
This begs the question, “Are aftermarket chokes required to achieve the best performance?” Maybe, or maybe not. Some firearms manufacturers supply premium-quality choke tubes with their shotguns, and the only way to determine if they fulfill your requirements is to spend time at the patterning board. You might discover that there’s no need to invest in an aftermarket choke, or quite the opposite.
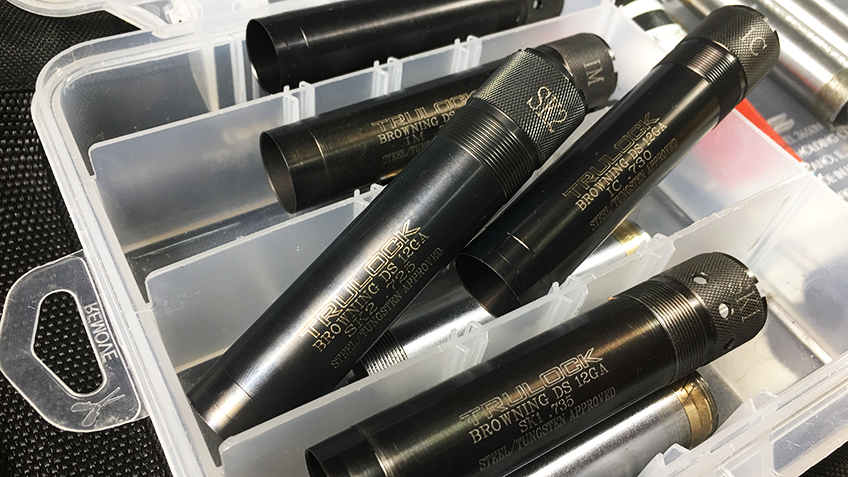
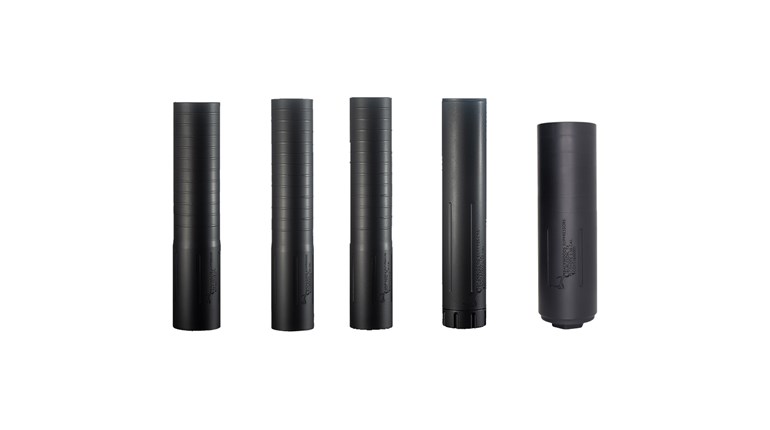
There’s no shortage of companies manufacturing aftermarket chokes; some of the largest are Trulock—among my personal favorites—Carlson’s, Briley, Jebs, Müller, Hevi-Shot, Rhino, Patternmaster, Kick’s and others. Cost is the primary limiting factor here. My advice is, when selecting an aftermarket choke, opt for one that’s extended; the longer parallel section improves patterns, swapping chokes—if needed during the hunt—is fast and easy, and choke identification is swift. Porting helps with recoil attenuation, but increases noise noticeably. Also, follow the manufacturer guidelines for use of steel through their chokes. As steel shot patterns tightly and can easily bridge when traversing the choke, you’ll want a more open choke than you’d use for lead shot. Personally, I think that many hunters use too much constriction with steel, and it unnecessarily costs them birds. Try an improved cylinder or light modified (skeet 2) choke and you’ll be pleasantly surprised by the performance they provide at realistic ranges. Other shot types, such as Bismuth and Tungsten matrix, have different choke requirements. Don’t be afraid to reach out to companies for their suggestions; it could save you a lot of time, effort, money and shoulder discomfort.
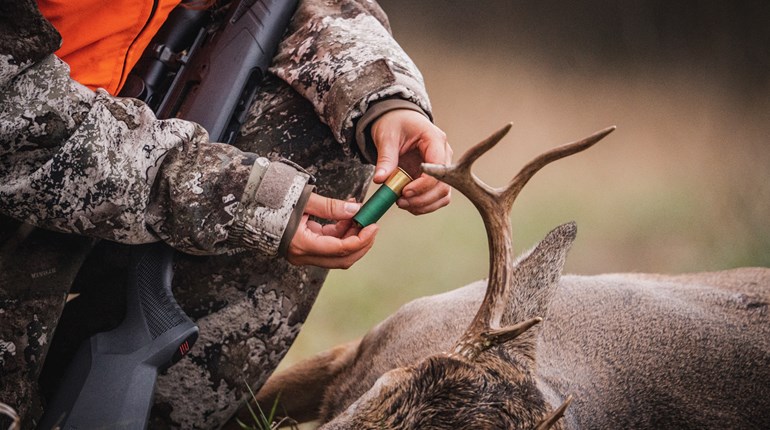
As for shotshells, simple economy dictates that steel is king, not spectacular performance. Regardless of the speed or shape of steel pellets, it’s an inferior shot material; costlier bismuth, tungsten and tungsten-blend shot types are vastly superior with regard to external and terminal ballistics. Still, steel works if employed at realistic ranges. If you’re satisfied with the performance of your current ammunition, by all means, stick with it; however, if you’ve experienced failures or are generally displeased, now’s the time to seek something new. The timing is fortuitous, too, as many ammunition manufacturers offer noteworthy rebates beginning with the pre-season period.
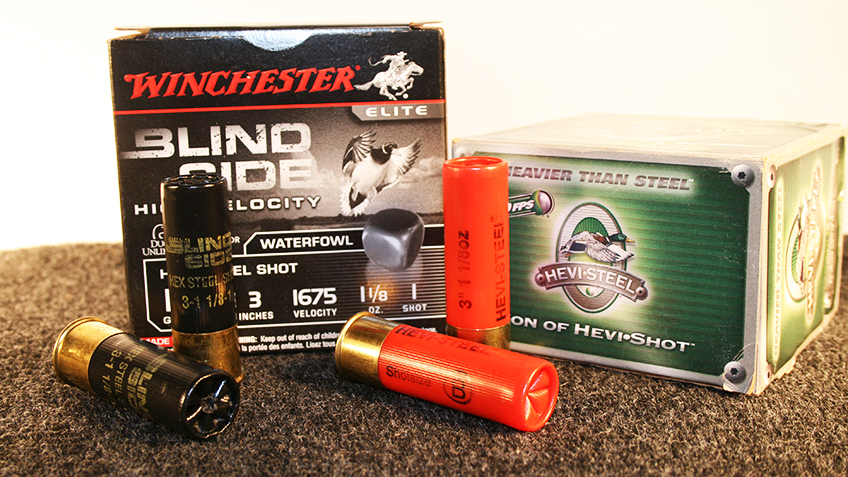
While I still use steel loads occasionally, I prefer to use bismuth, ITX Original-10 and 13—available to handloaders from Ballistic Products, Inc.—TSS, Hevi-Shot and Tungsten Matrix. All have advantages and disadvantages, but cost is the most distinct drawback. To save money, I handload when possible (or am required), as well as make purchases during after-season clearances and when rebates are offered. Play it smart and you can use premium-type, non-toxic shot for similar costs to top-end steel loads. Whatever shells you decide to use, actually pattern them through the choke tube(s) that you intend to hunt with so you’ll have a firm understanding of your limitations with said combination.
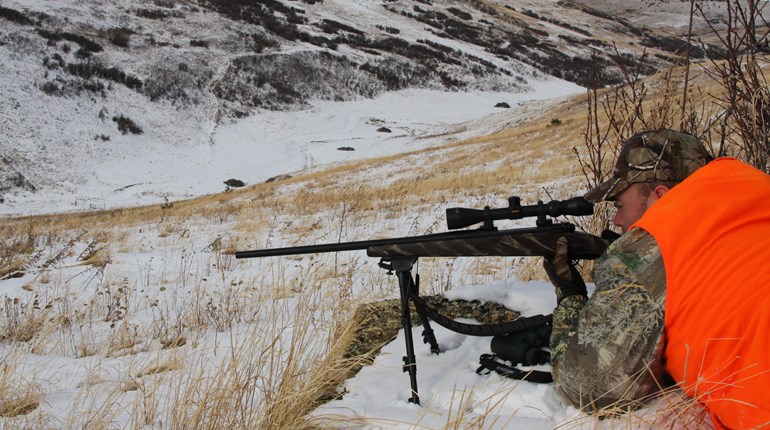
Practice
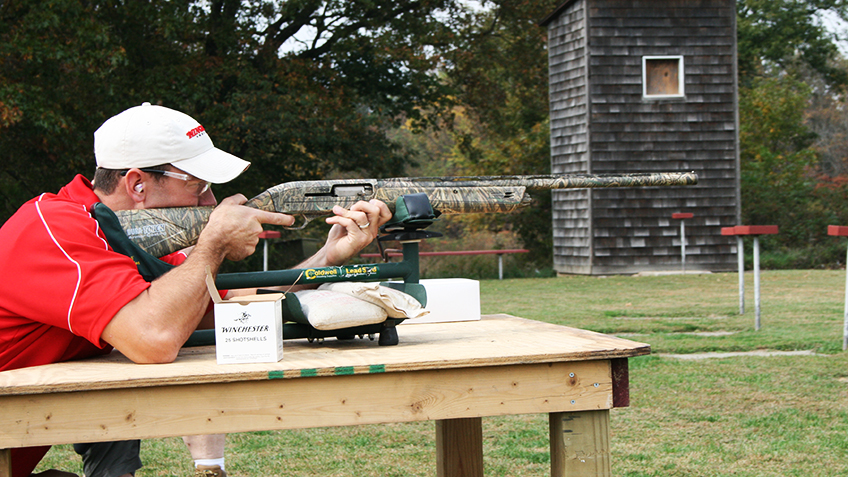
Just as it’s important to function fire your shotgun and pattern it, it’s also critical to spend time at the sporting clays course to build or rekindle your familiarity with it. Heading the blind without practice is the surest way to come home empty handed or worse, wound and lose waterfowl. Neither is defensible. As a National Sporting Clays Association (NSCA) tournament shooter, I can attest that nothing prepares a waterfowler for authentic shots as does sporting clays. While skeet, trap, wobble and hand-thrown targets all help with establishing firearm familiarity, their scope of target presentations limit shooters to either close crossers or outgoing targets, while the sporting clays course gives a variety of presentations that mimic what you’ll encounter in the field—near and far crossers, springing teal, incomers, etc. Good facilities frequently change their courses to continually challenge participants.
In addition to learning consistent mounting of the shotgun, target acquisition and invaluable leads in a variety of environments, by competing in registered tournaments, you’ll continually test your meddle against the best in the sport as you advance in classes, thereby building confidence in your shooting skills while creating new friends. Having competed extensively since March, I feel that I’m thoroughly prepared for waterfowl season than ever. Spend less time worrying about what new gear you’ll be using and spend more time on the range. In the end, that’s what’ll help you bag the most birds.
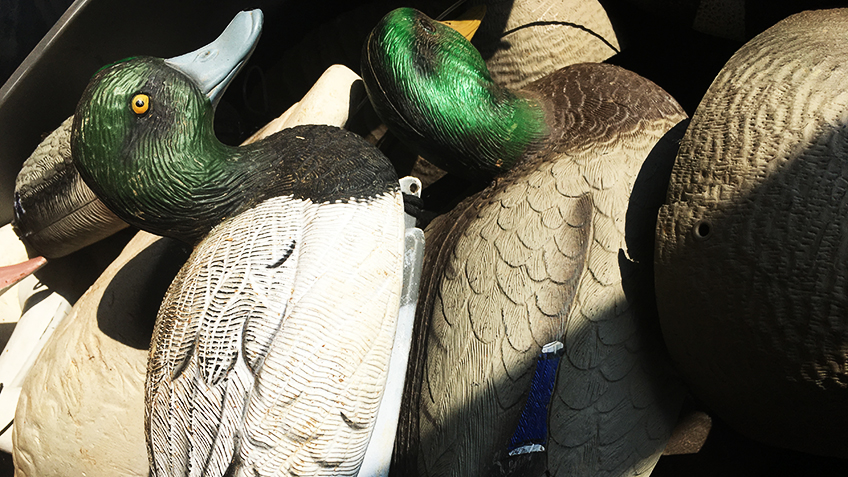
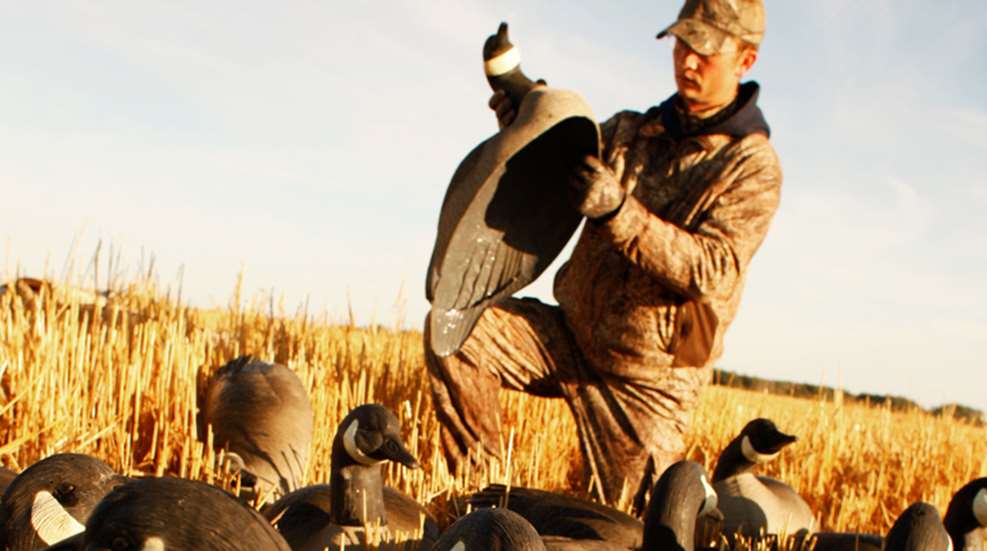
Decoys and Calls
Unless you’re a pass shooter, dealing with decoys is a reality. It should go without saying that your decoys should be in top-notch shape come hunting season; realism is paramount, as you’re competing with Mother Nature and other hunters. Swatches of missing paint can easily be touched up, and dirty dekes are quickly cleaned. However, if the condition of the decoys warrants replacing, do so; it’s simply not worth the time and money to continually recondition subpar decoys. To save money, use the money from sales of older decoys to purchase new ones or diversify your spread. Also, look for pre-season sales and after-season clearances for the best buys. The better you care for your dekes, the longer they’ll last, so use individual compartments as opposed to bulk bags, and store them properly after each hunt.
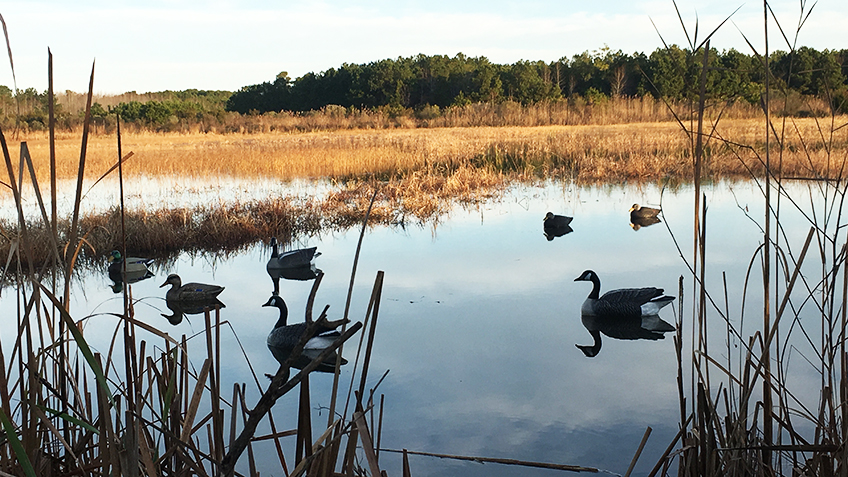
When doing your preseason inspection, look for frayed decoy lines and missing weights and replace them. Moreover, if you found some of your lines to be too short for the waters you hunt, replace them. I had to do so last year mid-season when diver hunting the allotted portion of an unusually deep lake during a quota hunt. Try to plan ahead when possible. Similarly, ensure your weights are of sufficient heft for the waters they’ll be securing the spread. High-flow rivers and tidal waters demand much heavier weights to prevent your decoys from being dragged away. Too much is better than too little. For land decoys, ensure you have all the necessary stakes and that none are broken, and replace as needed. Batteries of motion decoys should be charged, and those with replaceable batteries need to be prepped with fresh batteries. Be sure to keep extras on-hand for the hunt.
As for your calls, make sure they’re clean internally (separate the reeds, too) and fully operational. If a damaged reed can’t be replaced, secure a new call. You want the best sounds to draw in distant ducks.
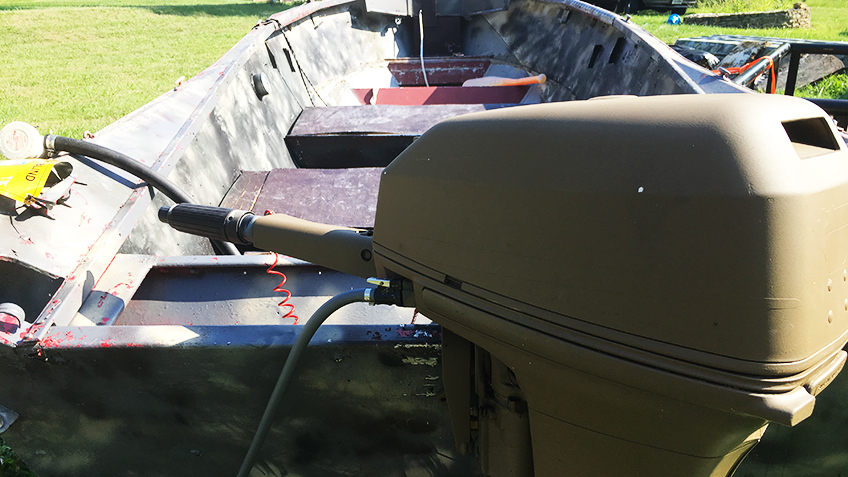
Boat and Motor
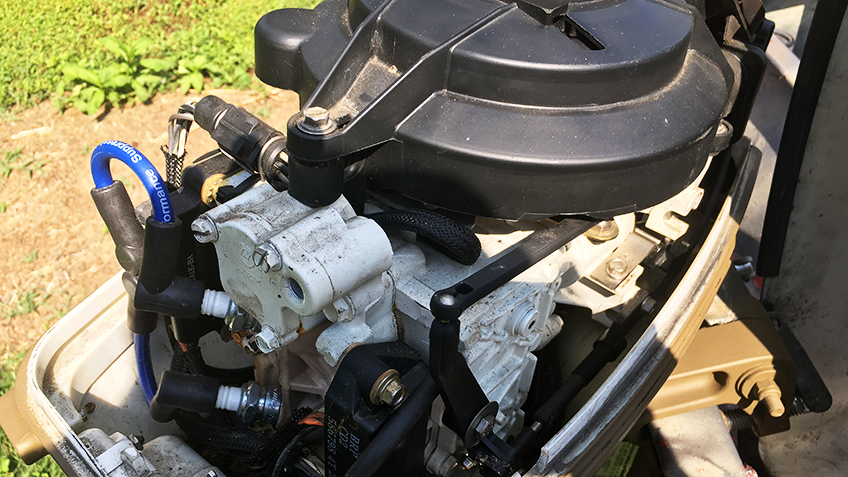
For safety reasons, it’s imperative that your boat and motor be prepared for the hunt. Hopefully you haven’t left your motor sitting since last season—especially with fuel featuring ethanol—otherwise you might have a terribly difficult time starting it. If you did, start with fresh fuel. If ethanol-free fuel is available, always opt for it to prevent costly problems, or run it frequently to always keep the fuel from sitting. A fuel stabilizer is recommended, too.
Hopefully your outboard will start; if not, get it into a shop ASAP. With the summer boating season winding down, mechanics should be able to work on it before the opener, but don’t wait. If you’ve started and ran it on a consistent basis, there should be no trouble with it running. Inspect, lubricate and maintain as recommended by the manufacturer. Even with a “reliable” motor, problems occur, so have an alternative propulsion system on your boat, such as oars or a small electric motor. It sure beats being stranded!
As for the boat itself, thoroughly inspect it for hull damage, including leaks. After an initial satisfactory inspection, take the boat for a stroll on a small body of water—one you can quickly get to safety if there’s an issue. If there’s a leak, you’ll know quickly. Find and repair it before season opens. There’s no place for an unsafe vessel on the water.
Once deemed water-worthy, confirm that you have extra drain plugs and emergency equipment, such as flares (signaling device), an air horn and life jackets for each passenger, as well as a charged cellphone and a first aid kit. All navigational lights must work. Make sure your anchor line is strong and an anchor of suitable weight firmly secured. Check that all lights on the trailer are working, too; there’s no need to get a ticket on the way to the hunt site. I like to touch up the camouflage paint and add vegetation just prior to the hunt.
Blind
Blinds come in a myriad of sizes and shapes, but a constant remains; the blind needs to be safe—especially if elevated above deep water, such as in a lake or bay—and blended in to match the environment. Reinforce or replace lumber to strengthen the blind. On the flip side, if you’re no longer using it, remove the blind—especially structures beneath the water, which are a hazard to boaters—so others can access the area without potentially breaking the law. Even the best decoy spread won’t attract ducks to an ambush that’s obvious from a long distance away. Therefore, your hiding spot needs to be freshened annually with new netting, paint and flora. It’s easy to add mats of grass and sprigs of cedar, etc. Just make sure you’ve trimmed enough away to have clear shots at approaching waterfowl, and eliminate material that’ll flap unnaturally in the wind. Natural looking is paramount. Lastly, remove any trash or remnant hulls from the previous season and properly discard it.
As you can see, there’s a lot to do in little time. With waterfowl season looming, what are you waiting for?
Most Popular