Sharpening a knife is a time-honored skill that many hunters never master. As a result, there’s usually that one guy in camp who gets asked, “Hey Fred, I tried sharpening my knife, but it still won’t cut warm butter. Mind touching it up for me?” Fred will good-naturedly agree, and spend the next 20 minutes “touching up” the knife. But it doesn’t have to be that way; with good technique and a nice stone, almost anyone can put a sharp edge on their knife. Follow the steps below to learn how.
First, let’s talk about replaceable-blade knives. They’ve become really popular among a lot of hunters who never learned to sharpen, because you never need to put an edge on a knife—you just use a blade until it’s dull, then throw it away. Simply clip a new blade in and you’re ready to go. I’ve got a problem with that. Several, actually.
In my opinion, anyone who isn’t willing to invest the time and effort to learn how to sharpen a knife has no business in the woods. For centuries, hunters and woodsmen have relied on their skills to keep them alive in the field and bring home meat for their table. We owe it to them to keep those skills alive.
Another pet peeve is the “use it and toss it” mentality. A good fixed-blade hunting knife won’t leave used-up razors in its wake, will last your lifetime and possesses a balance and feel that a replaceable-blade knife can never rival.
Safety is another concern. Replaceable-blade knives are surgically sharp and can break under stress. A friend of mine was recently helping a buddy quarter an elk. As his young friend removed the hindquarter, his blade snapped, the broken portion zinging upward to rupture his eyeball, instantly rendering him permanently blind in that eye. Another friend was processing a mule deer and put his blade right through his boot and deep into his ankle without even knowing he did it.
Okay, I’ll climb down off my soapbox. Let’s look at how to sharpen a knife.
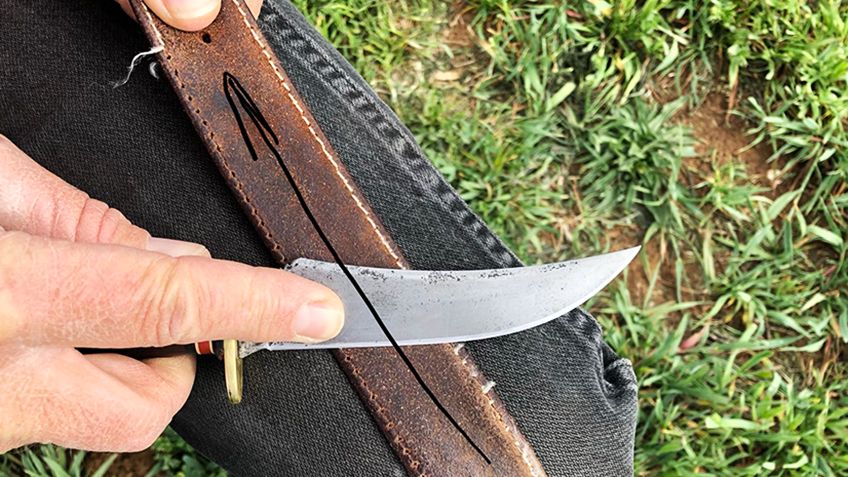
Understanding Angles
The more acute your edge’s angle is, the sharper it is. In other words, if your edge resembles a skinny slice of pizza, it can get sharp. However, severely acute edges (super skinny slice) don’t hold an edge well when abused. A more obtuse edge (medium slice) will not get quite as sharp, but will stay sharp longer. Too obtuse (fat slice) will never be very sharp. Try to find a happy medium for your backcountry knives. An angle of about 22 to 25 degrees is ideal.
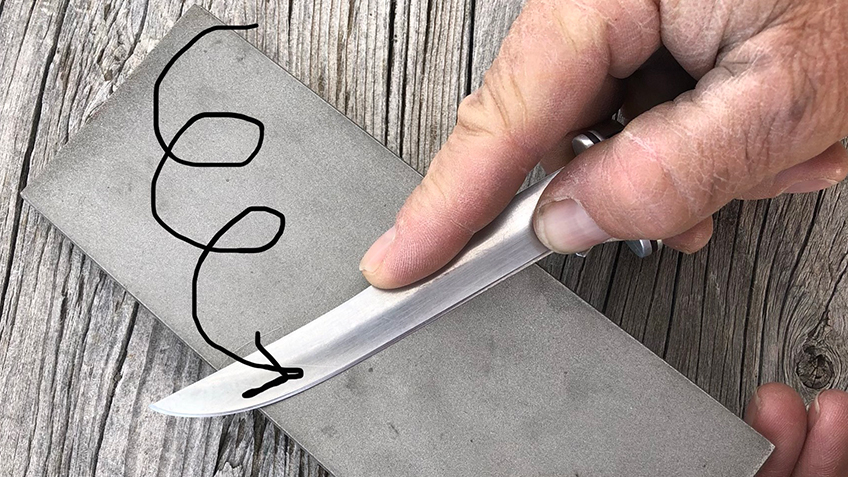
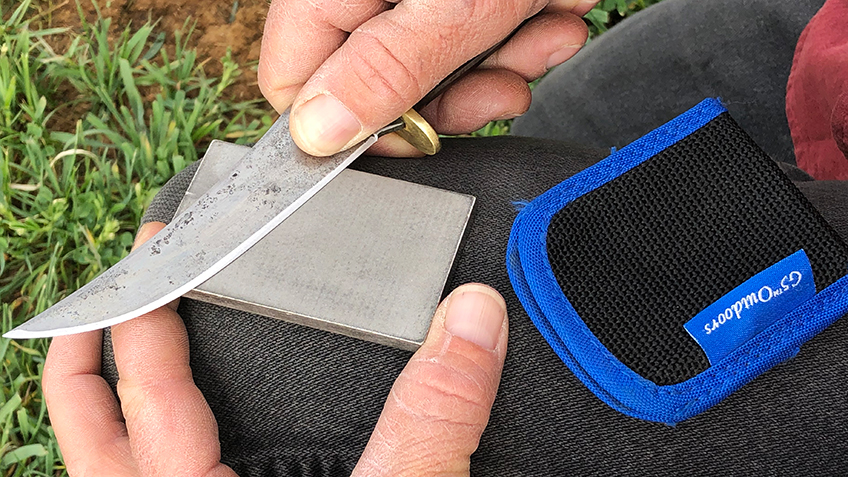
Grind a Good Angle
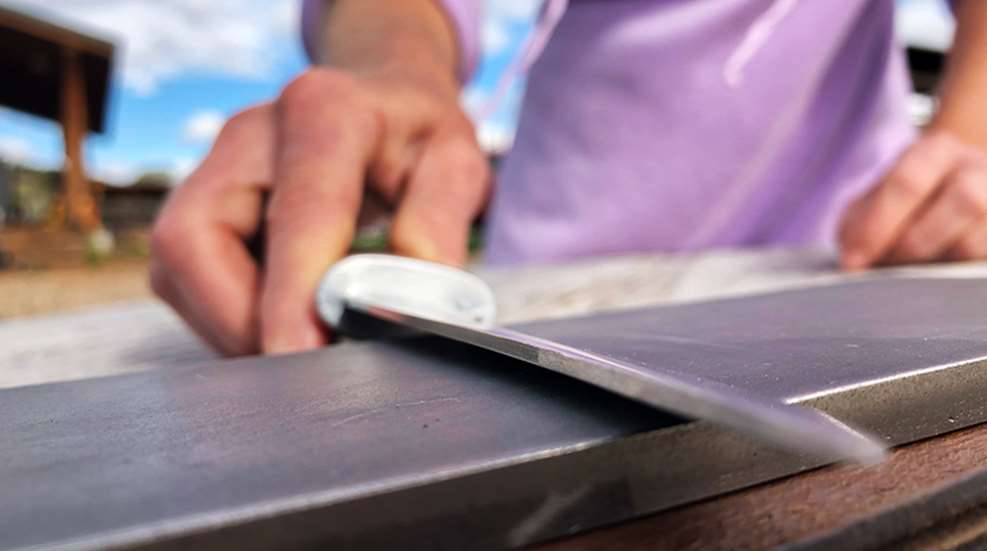
Use a circular motion to grind both sides of your edge on a medium or coarse stone until you have a long, smooth, even grind on each side. When a small burr shows up along your edge it is evidence that your grinds have met in the middle. Make sure you have good clean grinds along both sides of your edge, and that the burr reaches the full length of the edge. Be careful to always maintain your 22 to 25 degree angle.
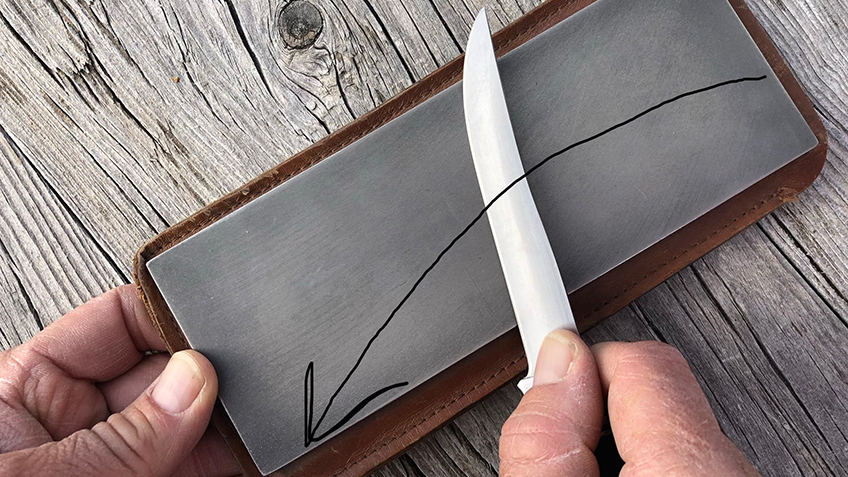
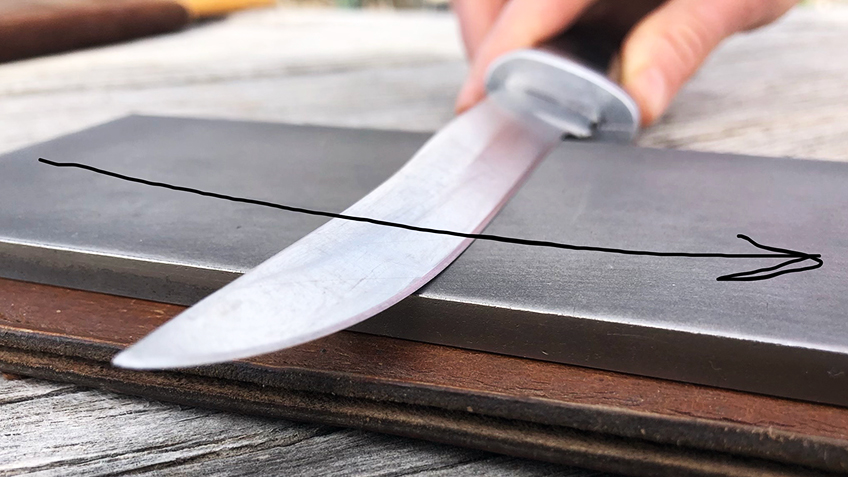
Hone Away the Burr
Next, use a fine stone to hone your edge until the burr is gone, as well as any grind marks from the coarse stone. Use smooth, steady strokes to draw your blade across the stone as though you were trying to shave hair from it. Give it about six strokes per side. Make sure you stroke the entire length of your edge evenly. Next, do five strokes per side, then four, until you are down to one stroke per side. Exercise care to maintain the same angle that you ground earlier.
Finish Your Edge
Now that you’ve ground a good angle on your blade and honed away the burr and grind marks, it’s time to finish up your edge. To do this, take three gentle strokes on each side on the fine stone, alternating sides every stroke. Maintain your angle, but add just the very slightest bit of angle—in other words, raise the back edge of the blade the tiniest bit higher off the stone. Be sure to keep pressure very gentle. Once done, your edge should be sharp enough to shave hair.
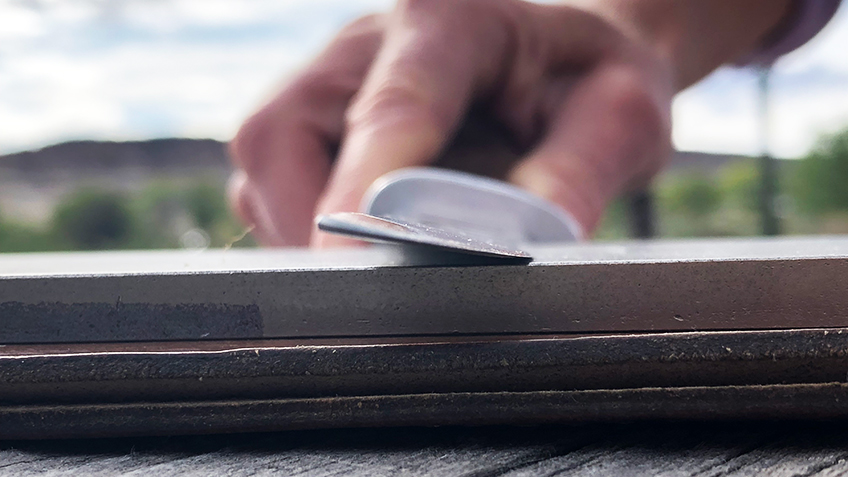
Strop the Edge
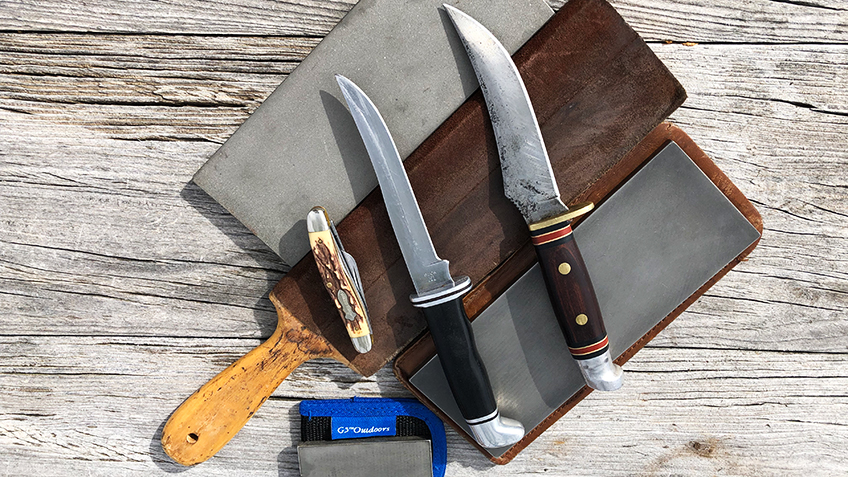
Stropping a knife is a forgotten technique that aligns any leftover microscopic variations in the edge. It’s what folks used to do to keep their straight razors, well, razor-sharp. You’ll need a flat piece of leather, ideally backed with a flat piece of wood and permeated with fine buffing compound. A belt will work, though, or even the upper part of a cowboy boot. To strop your blade, draw the edge backward across the leather. Alternate sides each time, and keep the angle really low, so the blade is lying almost flat on the leather. Repeat this a dozen or so times.
Touch Up Your Edge
Your edge will last pretty well, but you may want to touch it up occasionally during a big processing job. Just make a few light, alternating strokes on a small fine stone—being sure to maintain the correct angle—and go back to work.
Tips for Maintaining a Sharp Edge
Here are a few mistakes that will dull your hard-won edge, and you should avoid them like an anti-hunting mother-in-law.
• Don’t cut hair. When you’re skinning a game animal, don’t cut through the hair toward the skin when starting the skinning process. Instead, insert the point of your knife under the skin, then cut upward and outward while making your cuts. Your knife will stay sharp three times as long.
• Avoid bone. Your knife will give up its edge in short order if you cut against bone, for instance when circling the lower legs as you start skinning. It’s better to insert your blade and make your cuts from underneath. If you must cut against bone, save that task for last when the job is almost done.
• Don’t stick dirt. I’ve seen a lot of guys stick their knife in the dirt as a way to clean it, keep it safely out of the way or just keep it handy for the next time they need it. This is a bad idea! Dirt will ruin the edge on your knife really fast.
• Don’t let a buddy touch up the edge—ever. Nine out of 10 guys will ruin the angle on your edge, making it duller than it was before. Take a moment, give your back a rest and touch up the edge yourself.