Love it or hate it, long-range hunting is here to stay. There are those who say the essence of hunting is to get close enough to smell their breath. I can’t say that’s wrong, but the reality is many of today’s hunters find a challenge in long-range shooting. More reality: sometimes a long-range shot is the only option. Rather than debate the ethics of any of this, I would simply say that if you want to shoot big game at long range you have a moral and ethical obligation to build the skills needed to ensure you can make a killing shot every time you pull the trigger.
You can’t just buy the equipment, watch a few YouTube videos and assume you are ready. If you want to try hunting at long range, you need a plan—and plenty of practice—to prepare for it.
■■■
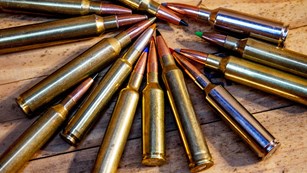
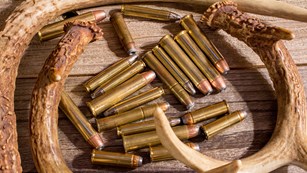
First, make sure you have enough gun. Many of the cartridges used for long-range target shooting do not carry to extended ranges terminal ballistics that are adequate for big game. Most hunting bullets require around 2000 fps velocity on impact to reliably expand. In addition, following convention, the bullet should carry 1,000 ft.-lbs. of energy on impact for deer-size game and 2,000 ft.-lbs. for elk and similar critters. So check the ballistics at the distance you anticipate as your longest shot and make sure your cartridge can deliver.
Let’s assume you have your rifle, ammo and optics already picked out. The scope should have some kind of a ballistic reticle for holdover. It may also have target-style knobs to allow easy adjustment for elevation and windage. The reticle will be much easier to use if it has minutes of angle (MOA) or milliradians (mils) for the spacing. Usually, the adjustment knobs are graduated with the same type of measurement as the reticle.
Both are a measurement of a section of a circle. A minute of angle is 1/60th of a degree. It spans 1.047 inches at 100 yards. Since it’s an angular measurement, 1 MOA increases with distance; it spans 2.094 inches at 200 yards, 3.141 inches at 300 yards and so on. Usually, shooters round to the nearest inch and call it close enough, which makes the math much easier.
A milliradian is an angular measurement that is defined as a thousandth of a radian. A radian is a complicated mathematical concept in which the arc of a circle with the same length as the radius of that circle subtends an angle of 1 radian. The definition of a milliradian is based on a unit circle with a radius of 1 and an arc divided into 1,000 mils per radian, hence 2000π or approximately 6283.185 milliradian in one turn.
What does that mean in English? Damned if I know. All that came from the Internet.
The thing to remember is, this is the metric system for shooters. One mil spans 10 centimeters at 100 meters and 1 meter at 1,000 meters.
Both of these systems work for long range, but the MOA system is easier for most of us to understand because it corresponds to inches. Also, the MOA scale will usually allow more precise adjustment than mil-based scopes as they tend to have courser adjustments. Ultra-long-range shooters like mils because the scale lets them reach out farther with more adjustment in the scope, but MOA scopes will work past any ethical hunting distance.
Hunting-style reticles also will work. They try to replicate the “average” trajectory of a hunting cartridge, but are much more difficult to deal with.
There are two ways to deal with bullet drop at long range: using a holdover reticle or dialing in the correction with the scope’s elevation adjustment knob. For hunters, the holdover method is the best as it’s much faster. On the other hand, dialing is a bit more precise. My advice is to learn both until you are intimately familiar with them and can do either method when stressed under pressure. Having a cheat sheet (dope card) attached to the gun helps because the performance of our brain is directly inverse to the size of the antlers on the target.
While I am covering both here as the article progresses, I strongly advise that you learn each technique independently of the other. Pick one method and stick with it until you have all your data and know it well. Then start over and use the other method until you have all your data and are well acquainted with how it works.
■■■
We need a starting point. Find an app or a website with a ballistic program. Most ammo, bullet and optics makers have them on their websites. There are also plenty of free apps. If your optics company has one to match the scope and reticle you have, all the better. You will need to know the velocity of your load and the ballistic coefficient of your bullet. Both should be on your ammo maker’s website. Put in your information and run the numbers. You will need to pick a zero. Many long-range target shooters use a 100-yard zero, which is convenient to work with, but for hunting a 200-yard zero is usually much better because with most modern cartridges it allows you to shoot at big game out to 300 yards, give or take, without making any adjustments in the scope.
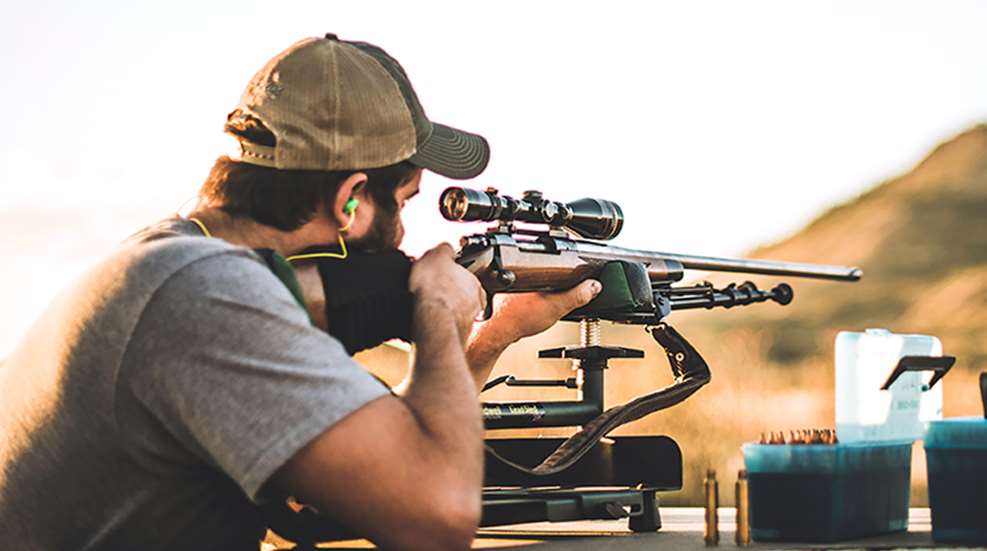
Once you have a printout it’s time to hit the range. Do all your shooting from a solid support. Make sure you have good support for the rifle, both for the fore-end and the buttstock. Use sandbags or a commercial rifle rest. Improvised rests like a backpack or rolled-up blanket are not good enough. I much prefer to shoot from a bench, but prone can be solid enough if you use a bipod or sandbags for the front support and a toe bag for the rear.
Confirm your selected zero by shooting a three-shot group. Always use a group, not just one shot. Adjust this zero until it is perfect. This is important as everything to follow will build on this foundation, so take the time to get it exactly correct.
When developing the initial data, I like to use 100-yard intervals for target spacing. Once that is established, I’ll use 50-yard intervals to refine the data.

This of course takes many range sessions. Long-range shooting is a skill, and you must work hard to acquire it. That means burning a lot of ammo. If you are not willing to do that, then you are ethically obligated to not shoot live animals at long range. On the other hand, it’s a lot of fun; practice should not be much of a chore.
Once the zero is perfect, move out 100 yards to the next target. In this situation, that would be 300 yards. The drop here is minimal, but let’s work it up rather than just hold on the deer’s backbone as you might otherwise. Go to your data, either in MOA or mils to match your scope.
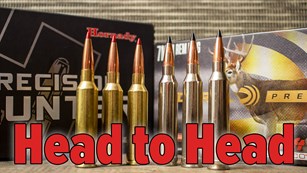
To work along here, let’s use the new Hornady .300 Win. Mag. 200-grain ELD-X Precision Hunter load. Hornady lists the muzzle velocity as 2860 fps and the BC as .597. With a 200-yard zero, your ballistic chart shows you have to come up 2.2 MOA (or .6 mil) at 300 yards. Depending on the spacing of the marks in your reticle, you need to find that point, and that’s what you hold on the target.
If you are dialing, you would move the elevation knob the amount needed. For example if the scope has quarter-MOA clicks, you’d come up nine clicks. That’s actually 2.25 MOA but close enough. If the adjustments are in .1 mil, you’d dial up six clicks.
Using the correct holdover, or the center crosshair if you dialed up, carefully shoot a group on the target. The center of the group should be exactly on the aiming point. If it is left or right, it’s one or more of four problems: wind blowing your bullet; an imperfect zero; your scope is not aligned properly; or you may be canting the rifle. If it’s up or down, find the difference and correct with holdover or dial-up. Say you are hitting 3 inches low. That’s 1 MOA (more or less) so make the adjustment in your holdover or dial it in. Shoot another group. If it’s centered, write down the information and move on to 400 yards. If it’s not centered, repeat the process.
Paper targets work best here because you can see and measure every single bullet impact. Steel targets are great for practice and are much more fun to shoot at, but it’s harder to find the exact impacts, even if you paint them often. Use a big target to find the impacts. If the data you used is off a bit, you cannot correct for the difference and find your “real world” holdover unless you know where the bullets are impacting.
At 400 yards, the .300 Win. Mag. chart says the correction will be 4.8 MOA or 1.4 mils. If you’re using the holdover method, you must find the location on your reticle that corresponds to the new amount of holdover needed, and that will be your aiming point. With a reticle having 1-MOA spacing, the hold will be just above the fifth line below the center crosshair. With a reticle having 1-mil spacing, the 1.4-mil holdover needed will put your hold about halfway between the first and second lines.
If you’re dialing up, do not forget the correction you have already dialed for shooting at 300 yards. The numbers on the chart are based on your zero. So, assuming there was no additional correction needed at 300 yards, you already have 2.2 MOA dialed into the scope and must add another 2.6 MOA, or 10 clicks.
With the indicated holdover or dial-up, shoot a three-shot group. Check the target, and if the center of the group is not where you were holding, make the needed corrections and repeat the process.
■■■
Barring other factors like a variable wind, your groups should grow predictably. That is to say a rifle that shoots 1-inch groups at 100 yards should shoot 2-inch groups at 200 yards, 3-inch groups at 300 yards and so on. Groups often are a bit larger than that due to a wide range of factors, but any large variation would indicate an issue with your equipment or shooting technique. Usually it’s your shooting. Remember every mistake is magnified as the distance grows. A half-inch mistake at 100 yards becomes a 2-inch mistake at 400 yards. This is a good way to judge your execution of the shot. If you find the groups are growing more than they should at distance, go back to the fundamentals of shooting and make sure you are doing everything correctly.
Another factor is parallax. If you are going to shoot at long range you should have an adjustable-parallax scope, not a fixed-parallax model. Learn how to adjust and use it with every distance change.
Always write down your holdover or dial-up information. Use a notebook so you can keep it with you each time you shoot. Also record temperature, barometric pressure, humidity, precipitation, time of day, lighting/cloud cover and wind.
Fire groups at 100-yard intervals and record data until you reach the maximum range at which you intend to shoot game. Let’s say it’s 600 yards. With the example .300 Win. Mag. load, the retained velocity at this range is 2006 fps, which is about right to be certain of bullet expansion. The energy has dropped to 1,787 ft.-lbs., which is fine for deer-size game but a bit below the threshold for elk. So 600 yards is a very reasonable maximum distance if you have the ability to hit the kill zone every single time.
If you have a rifle capable of 1-MOA accuracy—not one or two lucky groups, but a rifle that will shoot groups no larger than 1 MOA every time—the group size at 600 yards will be just over 6 inches. This is the usual size given for a deer’s kill zone, so, again, this is a reasonable stopping place.
Once you have done all this, go back and do it again. Don’t be surprised if the numbers change. All those ambient factors I suggest you record can have an effect on bullet flight, particularly wind, which is never constant. Plus, we as shooters have good days and bad days. That’s why you record it all in a book. You can look at the results of running this shooting drill several times, and after a while you will see a pattern. It will tell you that on X day, with Y conditions, you will probably need to use Z for a holdover or dial-up at your selected target distance.
When you’ve shot enough to have that data and can make first-shot, cold-bore hits in the kill zone of the target every single time—at all distances you plan to shoot game—you are ready for long-range hunting.