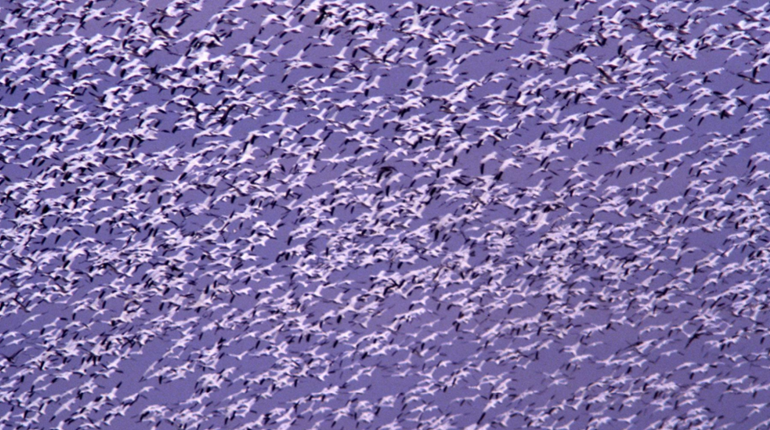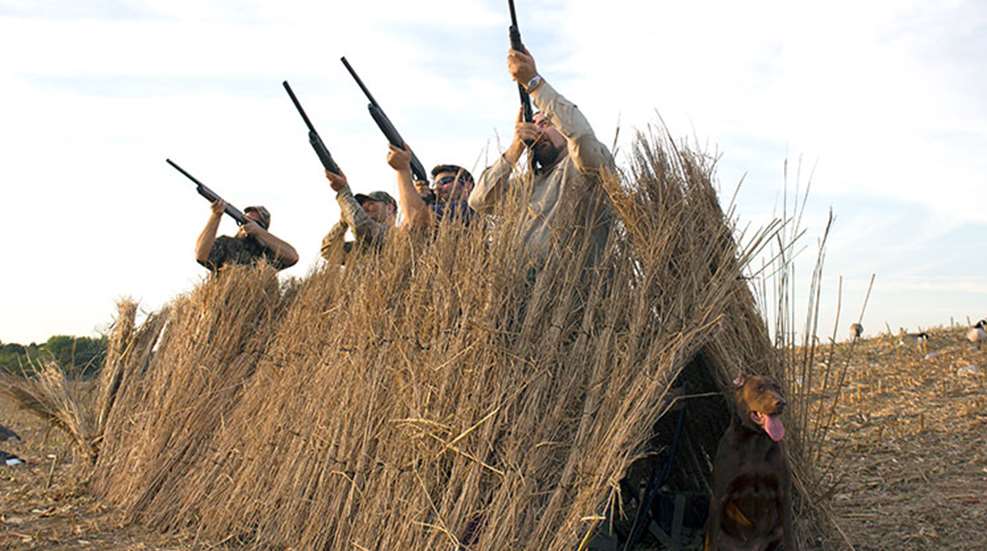
How many times throughout the waterfowl season do you find that perfect field—the “Mecca” where hundreds of hungry birds are flocking in to feed? How many times once you find that food source does the field look like the fairway on the 18th hole of your local country club? This scenario happens to me at least once throughout the season, and I always ask the same question: "Man we could get some good shooting here, but how are we going to stay hidden?"
Educated birds, especially Canada geese that have been hunted and shot at since they left their breeding grounds, may have caught on to layout blinds. In short, sparse, or non-existent stubble situations layout blinds can resemble "humps" in a field, and in my experience nothing will flair birds quicker than two or three square-looking "humps" in a field. I am sure if you had a room full of waterfowl hunters and asked how many folks hunt from layout blinds, 99 percent of them would raise their hands. But how many would raise their hands when asked if you hunt from an A-Frame? Not many. And perhaps that’s the key. If birds are catching on to the same old tricks, perhaps it’s time you try a new one. An A-Frame blind, which can resembles a tuft of tall, un-cut grass in a field or a brushy swamp's edge, may be your answer.
Sure, you can buy a fabricated portable A-Frame, if you don’t mind spending $400-$500. But there’s a DIY version that’s just as effective and will leave you with some money leftover for decoys. Here is a very simple guide to building a portable A-Frame blind for under $100. Consider it your next off-season project.
Items you will need:
Stubble
I used about half a pick-up truck of cut ornamental grass (usually best to look for it in winter/early spring). I got my mine for free from my neighbor, just had to do the cutting and clean up. If local free grass isn’t available, you can purchase raffia-type grass from some of the major waterfowl gear companies. But I strongly suggest you search for the free stuff, as it blends better with natural surroundings. Plus, who wants to spend money on grass?
• Cost: Free
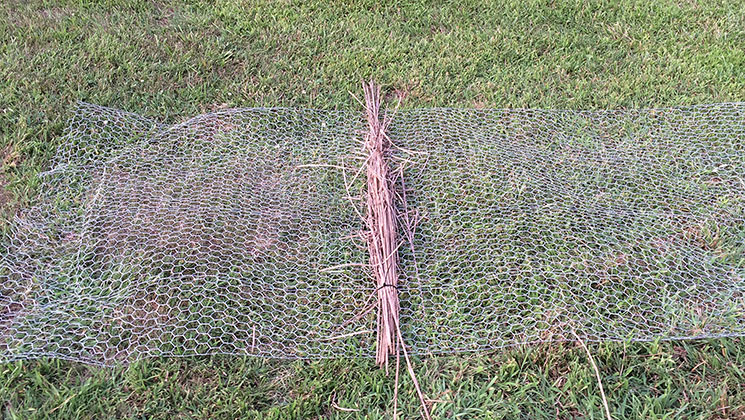
Steel Poultry Netting
I used a roll 25′x4′ but any size will work. I have found that the longer you make your blind, the better it seems to work. You can also use plastic construction netting for this, however it won’t be as rigid in the end and may require a few more metal T-posts to set up.
• Cost: $20.00
300 8-inch Nylon Cable Ties
I bought a pack of 300 and had plenty of leftovers. Chances are, if you’re like my hunting buddies, you probably have some lying around from past projects. String or paracord will work, too, but is a bit more time consuming.
• Cost: $20.00
6 metal T-Post’s
Again any size will work. I used 4-foot posts and they seem perfect. Just long enough to hold the blind, but not too long as to get in the way or rising and swinging on birds. Here’s a tip: an old tennis ball or rag wrapped around the end of each post will prevent the sharp metal edges from doing damage to your face when you rise in excitement for the shot (lesson learned).
• Cost: $5 each x 6 posts = $30
Beavertail Haul Sled
This is optional, but these sleds are the perfect size to fit all the completed components and easily (debatable, but still better than hauling four layout blinds!) drag them into the field. It’s also useful after the hunt to haul out a heavy, four-man limit of birds!
• Cost: $100 (optional)
The Build
1. Gather you stubble and make sure you have plenty of it.
2. Cut Poultry Netting to desired length. These will become the sides or “walls” of your blind. I cut mine in half to make a 12-foot long blind. It will hide 3-4 hunters comfortably.
3. Lay one half of poultry netting flat on the ground.
4. Spread a thin layer of stubble across netting. This seems to help fill in any gaps.
5. Take small handful bundles of your stubble and zip tie them directly to the netting. I like to use two zip-ties per bundle, one near the top and one near the bottom. It’s best to ensure that your stubble bundles extend over the top of your netting, this will help hide you from overhead and passing birds.
6. Repeat step 5 until your entire length of netting is covered with stubble.
7. Repeat steps 3-5 for the other side of your blind.
8. Roll stubble filled netting up when finished and secure with a bungee cord or paracord.
The Set-Up
1. Load the two stubble nets and T-posts into the sled and drag to your desired "X." I also keep a mallet in the sled to help me pound the stakes into frozen ground when necessary. Any extra space can be used to haul decoys or other gear.
2. Take your posts and spread them apart about 3-4 feet.
3. Imagining each post is the leg of an "A," angle them towards where the hunters will be sitting (between the legs) and pound them into them ground until secure.
4. Leave about 4 feet of space between the front of your blind and the back, just enough space for a hunter and a chair, then repeat step 3 on the back side to create the frame of your blind.
5. Unroll the netting and gently place it on the front and pack posts. You are basically draping the poultry netting over the posts, which should hold it in place. You may have to reset your posts if you find it’s sagging in some areas. Leave plenty of extra netting at both open ends of the blind so you can “wrap” the netting around the open area to help hide you from circling birds. Place your seats in the middle and get ready to shoot.
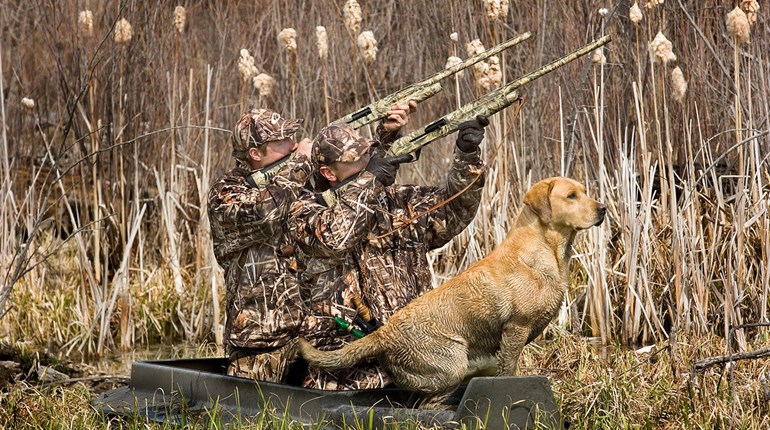
Two things that I really like about this blind, besides the fact that geese and ducks seem to finish well when hunting from it, is its portability and its ability to be used in almost any situation from pond edges to the middle of harvested grain fields. Despite the color of the grass you used, a small amount of natural vegetation added to the blind will help blend it in to any surrounding. It is so much easier to keep your eye on in-coming and circling birds from an A-Frame than it is from a layout blind. Also, shooting from an A-Frame is much easier, especially for those birds that may flare to the left or right or don’t finish the way you had planned.
Lastly, and maybe most important, is comfort. I don’t know how many times we have gotten busted by birds because someone, myself included, needed to stand and stretch due to sore backs from a layout blind. When hunting out of my DIY A-frame I bring my favorite stool along and can hunt out of it all day. Even if I do need to stand up to stretch, only my upper body is exposed, and I can quickly duck right back down into it without being seen.
So why not try and make one of these portable blinds in the off-season and see if it helps to increase your success next year.