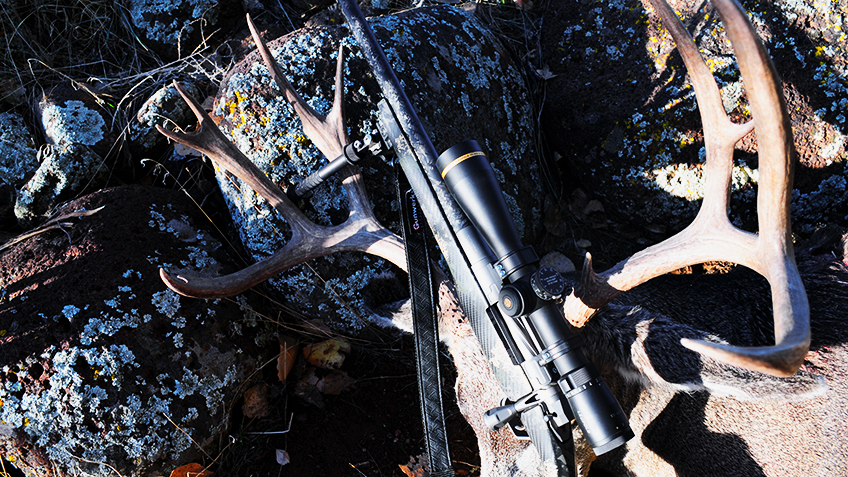
Six days I’d been hunting one big mule deer buck; six days of cat-and-mouse maneuvers among the sagebrush and pinyon/juniper breaks of southern Utah. I’d seen him twice since dawn broke on opening day, but had no shot either time. Now I was just seconds into the third encounter, but the buck was 350 yards away, and just a bit of his body showed above the sage as he browsed toward a small coulee. The shot opportunity was small, but it was all I had, and all I was likely to get. Belly-down behind my Gunwerks rifle, I reached up and dialed my turret to read 350 yards. Settling my crosshairs on the tiny visible portion of the buck’s vitals, I pressed the trigger—checkmate.
When hunting the wide-open spaces of the West, being able to dial the turret on your scope so you can hold the crosshairs directly on vitals for a shot is a huge advantage. No more holding “a body-width over his back.” Just range your quarry, dial the appropriate “come-up,” aim at the vitals and shoot. Last year alone, I ranged and dialed for my shot on three of the four big-game animals I harvested, and each was a first-shot kill. Let’s take a detailed look at how to set up your own rifle, scope and turret to dial for challenging, extended-range shooting.
Turret Techniques
There are several good ways to set your rifle and scope up to dial for distance. You can simply use the MOA or Mil turret that came on your scope paired with a drop-chart or ballistic app on your phone. You can get a yardage-marked turret made specifically for your setup, or you can use one of the new “smart” rangefinders that compute all the ballistic and atmospheric elements and give you the correct come-up. Here’s a look at all three methods, with their strengths and weaknesses.
MOA/Mil Turret and Ballistic App or Drop Chart: This method is good for target shooting, and you’ll use it while working up your DOPE card (I’ll explain that later). It’s precise so long as you know exact atmospherics, but it’s slow. You have to range the animal, enter or scroll to the appropriate info on your app or chart, dial the come-up into your turret, and then shoot. The method works and I’ve used it a lot, but it’s slow and deflects your focus from your quarry.
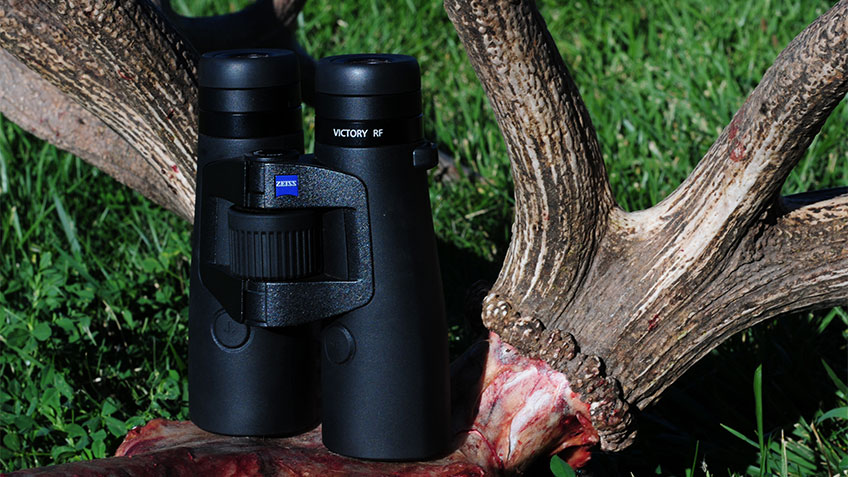
MOA/Mil Turret and Smart Rangefinder: Another great system involves an MOA or Mil turret and a ballistic-capable rangefinding binocular, like the new Zeiss Victory RF. You enter your ballistics into the rangefinding bino via Bluetooth or mini SD card. Then, when you range a target, it calculates elevation, pressure, temperature, angle and your ballistics in a millisecond and gives you the range and a dial-to solution. All you have to do is turn your turret and take the shot. The disadvantage to this system is that it’s dependent on sophisticated electronics and interfaces. If something fails, your system is kaput.
Yardage-Marked Turret: In my opinion, the best all-around system for hunting is a turret that’s laser-engraved with yardage marks; meaning you simply range your target, crank the turret to the matching yardage and take the shot. One disadvantage to this system is that the turret doesn’t compensate for angles should you need to take a steep uphill or downhill shot. Using a rangefinder that produces angle-compensated, or “true ballistic range” yardages easily remedies this. The second disadvantage is that each turret is designed for specific atmospherics. If you travel to hunt different elevations (more than 2,000 ft. different), you’ll need a different turret for the new location. But this system is very fast and simple—perfect for those challenging opportunities at big game.
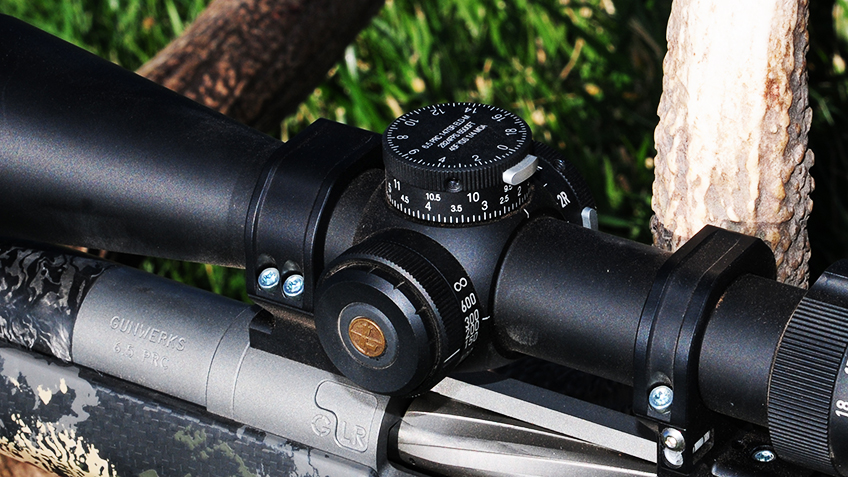
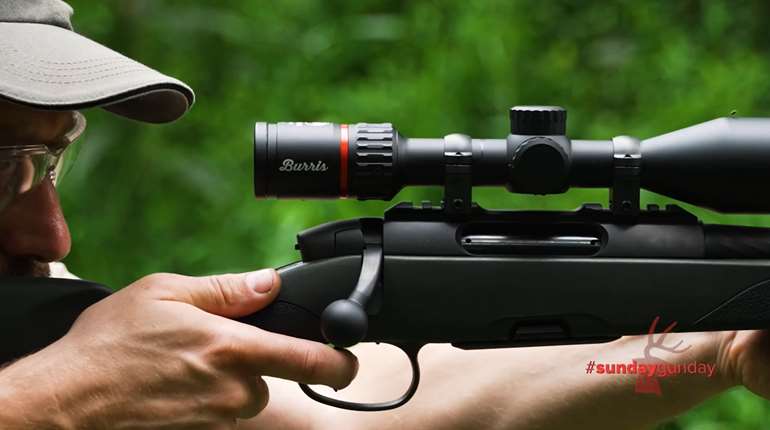
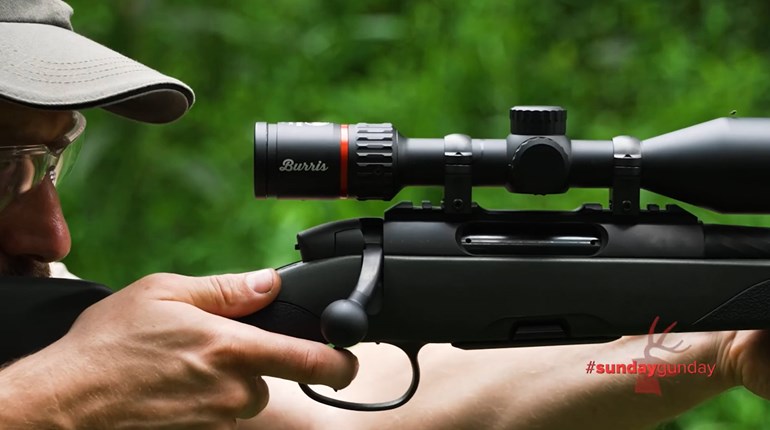
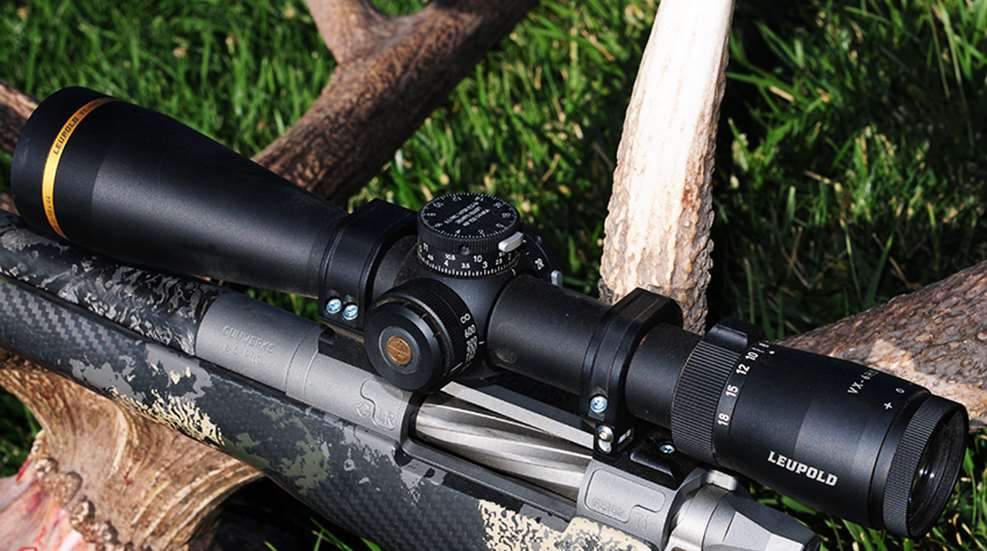
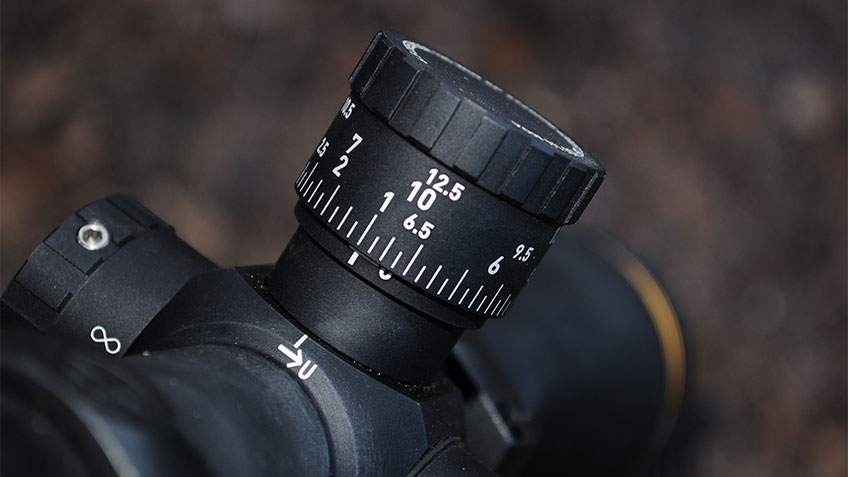
Of course, combining the systems creates the perfect marriage. Check out my turret in the photo above: it features two rotations of yardage markings around the circumference and MOA markings around the top rim. Leupold made it perfectly to my specifications, and it enables me to cross-reference the systems for a foolproof setup. Most optics manufacturers offer custom-cut turrets for their scopes, or you can order a custom-made turret for your scope from a turret company like Kenton Industries.
Start With the Right Rifle
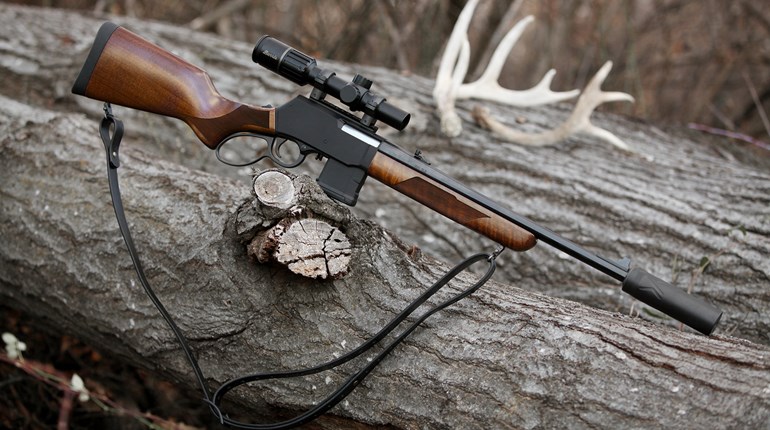
The obvious foundation to a good setup for western hunting-type shots is your rifle and caliber. So let’s take a quick look: A good long-range rifle must be accurate, stable and chambered in an aerodynamic caliber. I like my rifles lightweight because I do a lot of mountain hunting. Ideal chamberings for long distance western hunting include the 6.5 Creedmoor, 6.5 PRC, .280 Ackley Improved, 7mm Rem. Mag., .28 Nosler, .300 Win. Mag., and .300 PRC. They’re aerodynamic, meaning they maintain downrange energy and velocity well.
You can use your old faithful rifle in .270 Win. or .30-06 Sprg., but it’s not likely to be as stable or as accurate, and those wonderful old cartridges aren’t designed to be as aerodynamic—they’ll have a shorter maximum range. Still, a good scope that is set up right can double your effective range, even with those calibers.
Choosing a Riflescope
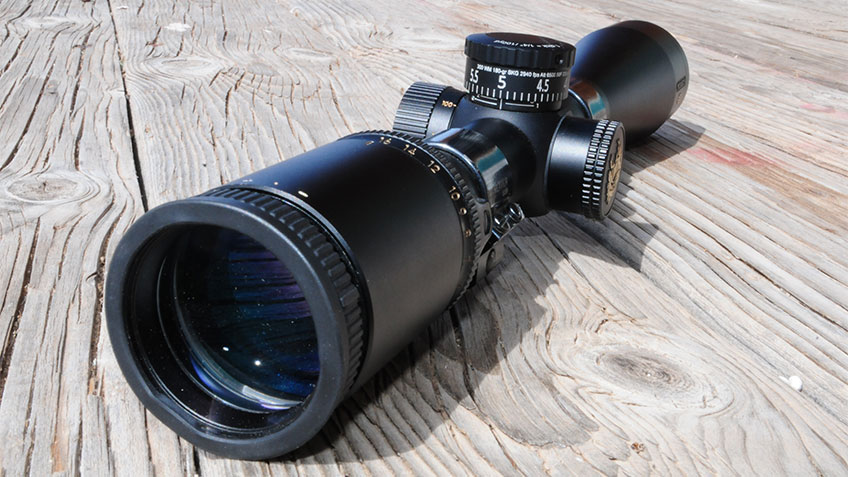
The next part of your dial-for-distance Western hunting setup is the scope. This is like the Hemi in the muscle car—it’s what makes everything else work. So don’t scrimp on research or funding when you’re scope shopping.
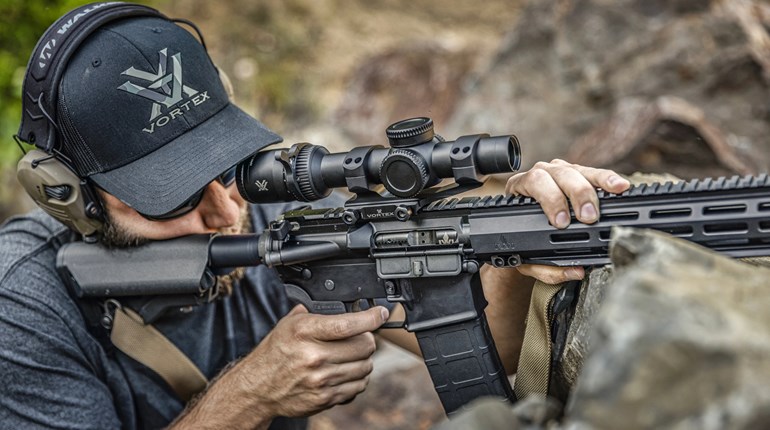
Almost all optics companies build scopes with adjustable turrets, but not all scopes are created equal. Some have giant turrets that are awesome for target work, but stick out like a fat Eiffel tower when you’re hunting. Some have fantastic glass but limited adjustment range. Some don’t dial repeatably. Some are too heavy for hunting applications. Some don’t have a zero-stop type mechanism (which in my opinion is essential). You get the picture. Shop carefully, and buy the best scope you can afford. Mount it in sturdy rings atop a 20-MOA steel base, which sets the scope up to utilize most of its internal adjustment range to dial for distance.
Find the Best Ammo
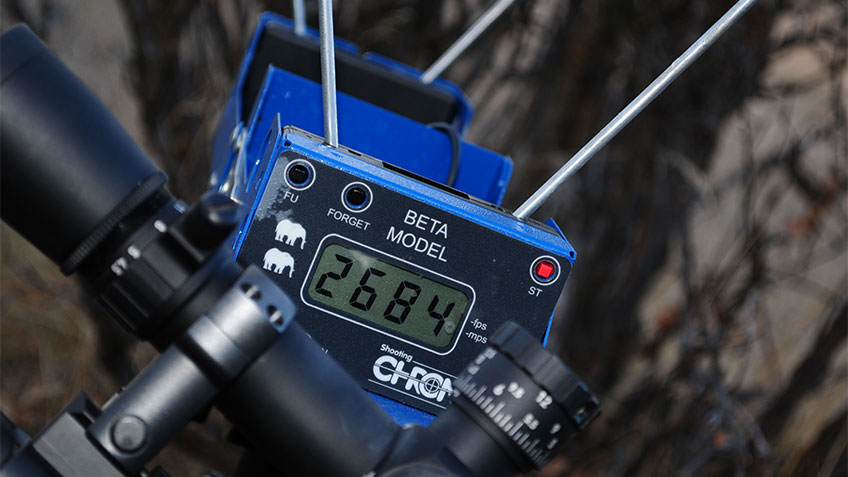
Now that you’ve got your rifle and scope ready, it’s time to sort out which long-range ammo shoots best from your rifle. Get a box each of Hornady ELD-X, Federal Edge TLR, Nosler ABLR, Winchester Expedition Long Range Big Game, Barnes LRX and Norma Bondstrike ammo. They’re not all available in every caliber, so just get as many that are available in your caliber. Shoot at least three, 3-shot 100-yard groups with each kind of ammo over a chronograph (you might rent one at your local gun range, or buy a simple “Shooting Chrony” for around a hundred bucks). When you’re done you’ll know which kind of ammo is most accurate from your rifle, and boasts the most consistent velocity. Ideally, your 3-shot groups will average well under one MOA (one inch at 100 yards), and have low ES (extreme spread) and SD (standard deviation numbers). Choose the ammo your rifle likes best.
Develop your Dope
Okay, you’ve got your your scope mounted and your rifle’s favorite diet figured out. Now it’s time to learn how your setup behaves at long distances. You need some Dope. (No, no, not that kind of dope.)
Dope is an acronym standing for “Data on Previous Engagement.” You’ll need your own Dope, developed from your rifle, optic and ammo. Here’s how to go about collecting it:
- First, zero your rifle at 200 yards. Pre-compensate for spindrift (yaw caused by the bullets rotation) by zeroing your group 0.75-inch left of center.
- Download a ballistic calculator app like Ballistic AE onto your smartphone or device. Enter all of your ballistic data into the app, including bullet diameter, weight, BC (ballistic coefficient) and velocity.
- Now enter your environmental data, including temperature and elevation where you zeroed your rifle. Set your barometric pressure to 29.92 (Standard).
- The app is now ready to generate a chart that’ll tell you how many minutes of elevation to dial to hit long-range targets. Hit save.
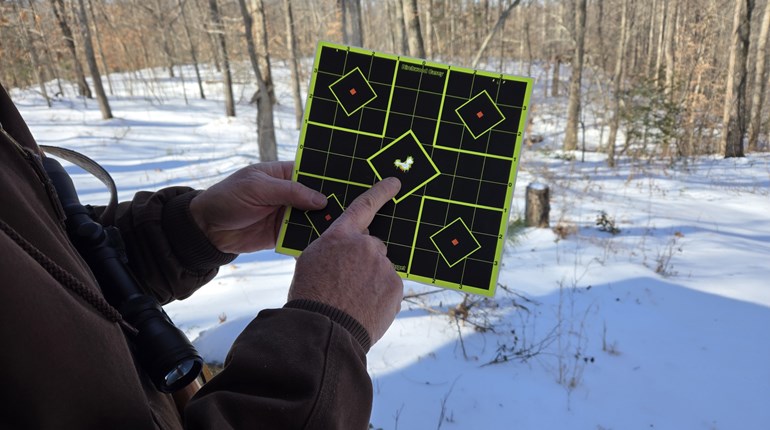
- Pick a wind-free day and go to a range where you can shoot out to 800 or 1,000 yards. Shoot a careful 3-shot group at a target 400 or 500 yards distant, using the recommended come-up from your app.
- Note your group’s position in relation to center. Let’s say your group averages 0.5 MOA low of center.
- Shoot another 3-shot group on a target 800 to 1,000 yards distant, using the appropriate come-up. Note your group’s position. Let’s say this group is also 0.5 MOA low of center.
- Go back to the ballistic data inputs on your app and adjust the velocity up or down until the suggested come-up on the chart matches your Dope.
Doing this is standard procedure, and is called “Verifying” or “Validating” your data. There are other, more precise (and more complicated) ways to adjust your data, but for our purpose, just use the velocity input.
For example, let’s say your suggested 500-yard come-up was 6.5 MOA, and your suggested 1,000 yard come-up was 23 MOA. Since both groups impacted 0.5 MOA low, your actual come-ups should have been 7 MOA and 23.5 MOA.
If you decrease your velocity input until the 500-yard come-up is 7 MOA, and the 1,000-yard come-up is around 23.5 MOA, the rest of the data will be correct as well. Hit save. (As a note, your 500- and 1,000-yard groups may not be exactly the same amount off of center. For instance, your 500-yard group may impact 0.5 MOA low, and the 1,000-yard group 0.75 MOA low. So long as they aren’t drastically different, just average them and adjust your velocity accordingly.)
Order Your Turret
Now that you have your Dope, ordering a yardage-marked turret customized to your rifle, scope, ammo and atmospherics is as simple as calling or writing the manufacture, giving them the info, and waiting for your package to arrive. Here’s what your order should look like:
Please send me a custom turret for my (plug in your make and model scope). Here are my ballistics, validation numbers, and atmospherics (plug in your own).
- Caliber: 6.5 PRC.
- Bullet: 143 gr Hornady ELD-X (They’ll know diameter and BC).
- Velocity at zero range is 2930 FPS.
- Zero Altitude 650 feet.
- Zero Temperature 70 degrees.
- Zero Range 200 yards.
- Verified Target at 500 yards, come-up was 7 MOA.
- Verified Target at 1,000 yards, come-up was 23.5 MOA.
If you want a second turret for, say, a Rocky Mountain elk hunt, just give them the same atmospherics as above, and add the average temp and elevation where you plan to hunt. They’ll do the rest.
Once your custom turret arrives (and after you do your little celebration jig) just carefully remove the original turret and replace it with your custom turret. Double-check your rifle’s zero with the new turret. Now you’re set to dial for distance. All you need to do is range your target, dial to the appropriate yardage mark, and make the shot. Simple as that. The more you practice, the better you’ll get with your setup. Just remember, after shooting at a distant target, always dial back to your zero. If you don’t, some giant buck or bull will jump up right in front of you and you’ll miss him because your scope is still dialed for a 500-yard shot. Make a habit of cranking that thing back to zero.
Keep in mind that this setup is good—very good—for average to medium-long range; say up to 600 or 700 yards. Beyond that, other factors like spindrift, aerodynamic jump and Coriolis effect exert powerful influence on your shot. Those are subjects for another time, and most folks have no business shooting at game beyond those ranges, anyway.
Which introduces my closing statement: Now that you’re set up to dial for distance, don’t be fooled into believing that you’re Billy Dixon or Annie Oakley. Good long-distance shooting, even on steel targets, takes hard work and extensive practice. Long-distance shots on game are exponentially harder, because you need to make a first-round hit on a dynamic target in unknown conditions. Unless you’ve practiced until you are morally certain you can make that hit, do not take the shot.
But that’s the awesome part: You get to do a ton of shooting between now and then.