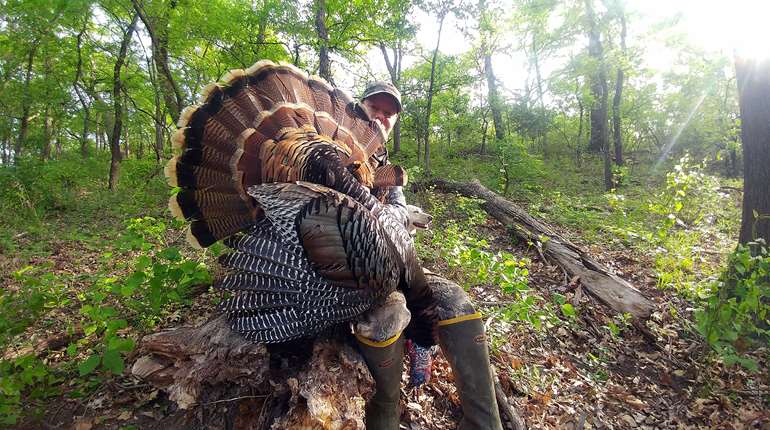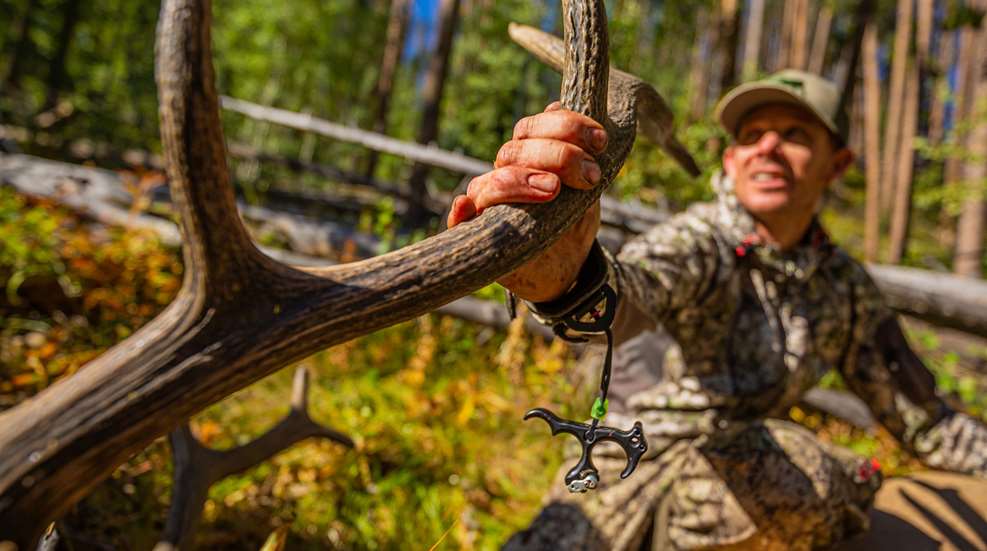
The terrain was terrible. The slope was a slippery blend of scree and crumbly dirt. I fell twice. Thank God for rotting pine logs, which stopped my tumbles. This was, without question, the most extreme elk dirt I'd hunted and my bow felt awkward. The bow's weight, as did its length, became more noticeable each day. Thirty-four-and-a-half inches between the axle pins isn't ultra-long, but the cams stick up another two inches beyond the pins, which adds length. The aluminum riser was heavy, and I'd outfitted the bow with tank-tough accessories, which meant more weight. I love to bowhunt elk. It's an addiction that I live out for 30 days in September. So, after the above bowhunt, I started building my bows specifically for elk hunting.
Now's The Time
If you're kicking around a September elk mission or looking to upgrade your current compound rig to a more mountain-friendly make, now's the time. Elk season is months away, but don't procrastinate. Give the following intel a read, get to your nearest trusted pro shop, test a few bows and some gear, and spend some money.
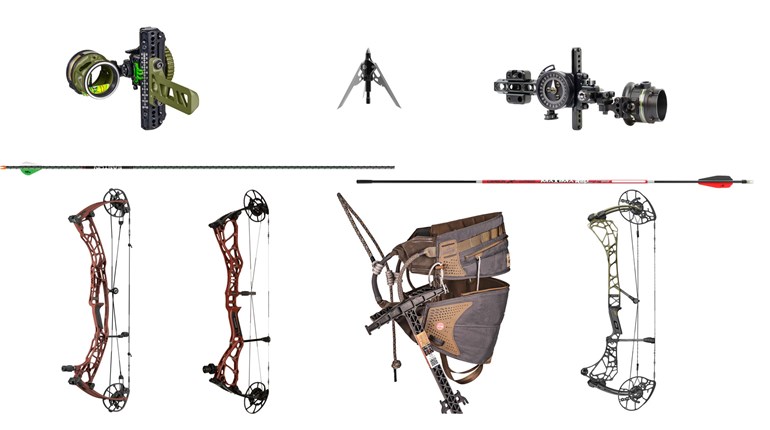
The Bow
This isn't an advertisement for a bow company. That won't do you any good. My advice for a bow that will carry well daily in daunting terrain is to focus on maneuverability and lightness.
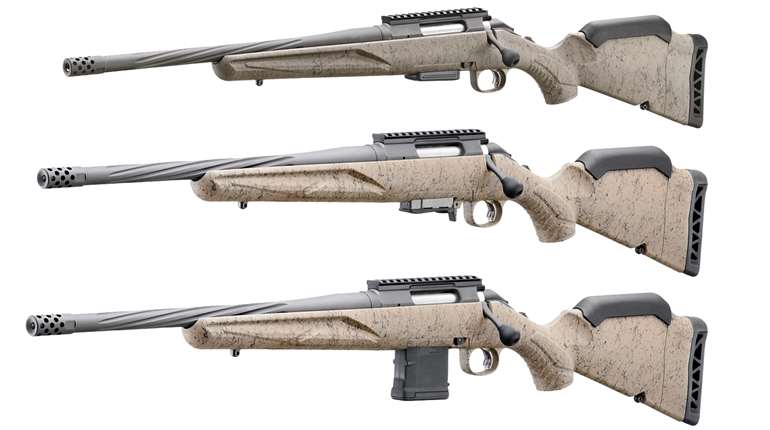
Savvy bow manufacturers offer options—flagship and standard models that heed the short and light call. Bow shots on elk are typically close. My average, and I've run arrows through many elk, is 23 yards. The top pin is always the goal. For this reason, I prefer a bow with an axle-to-axle rating between 29 and 32 inches. Bows in this axle-to-axle category carry well and are easy to maneuver. I also prefer a bow that's not overly heavy. Accessories (more to come) add weight, and mass accumulates when you fill your quiver with arrows and broadheads. Beginning your elk bow build with a lighter-weight bow will save you in the long run.
After shooting all three bows below, my 2025 elk go-to's, if I were in the market, would be, in no particular order:
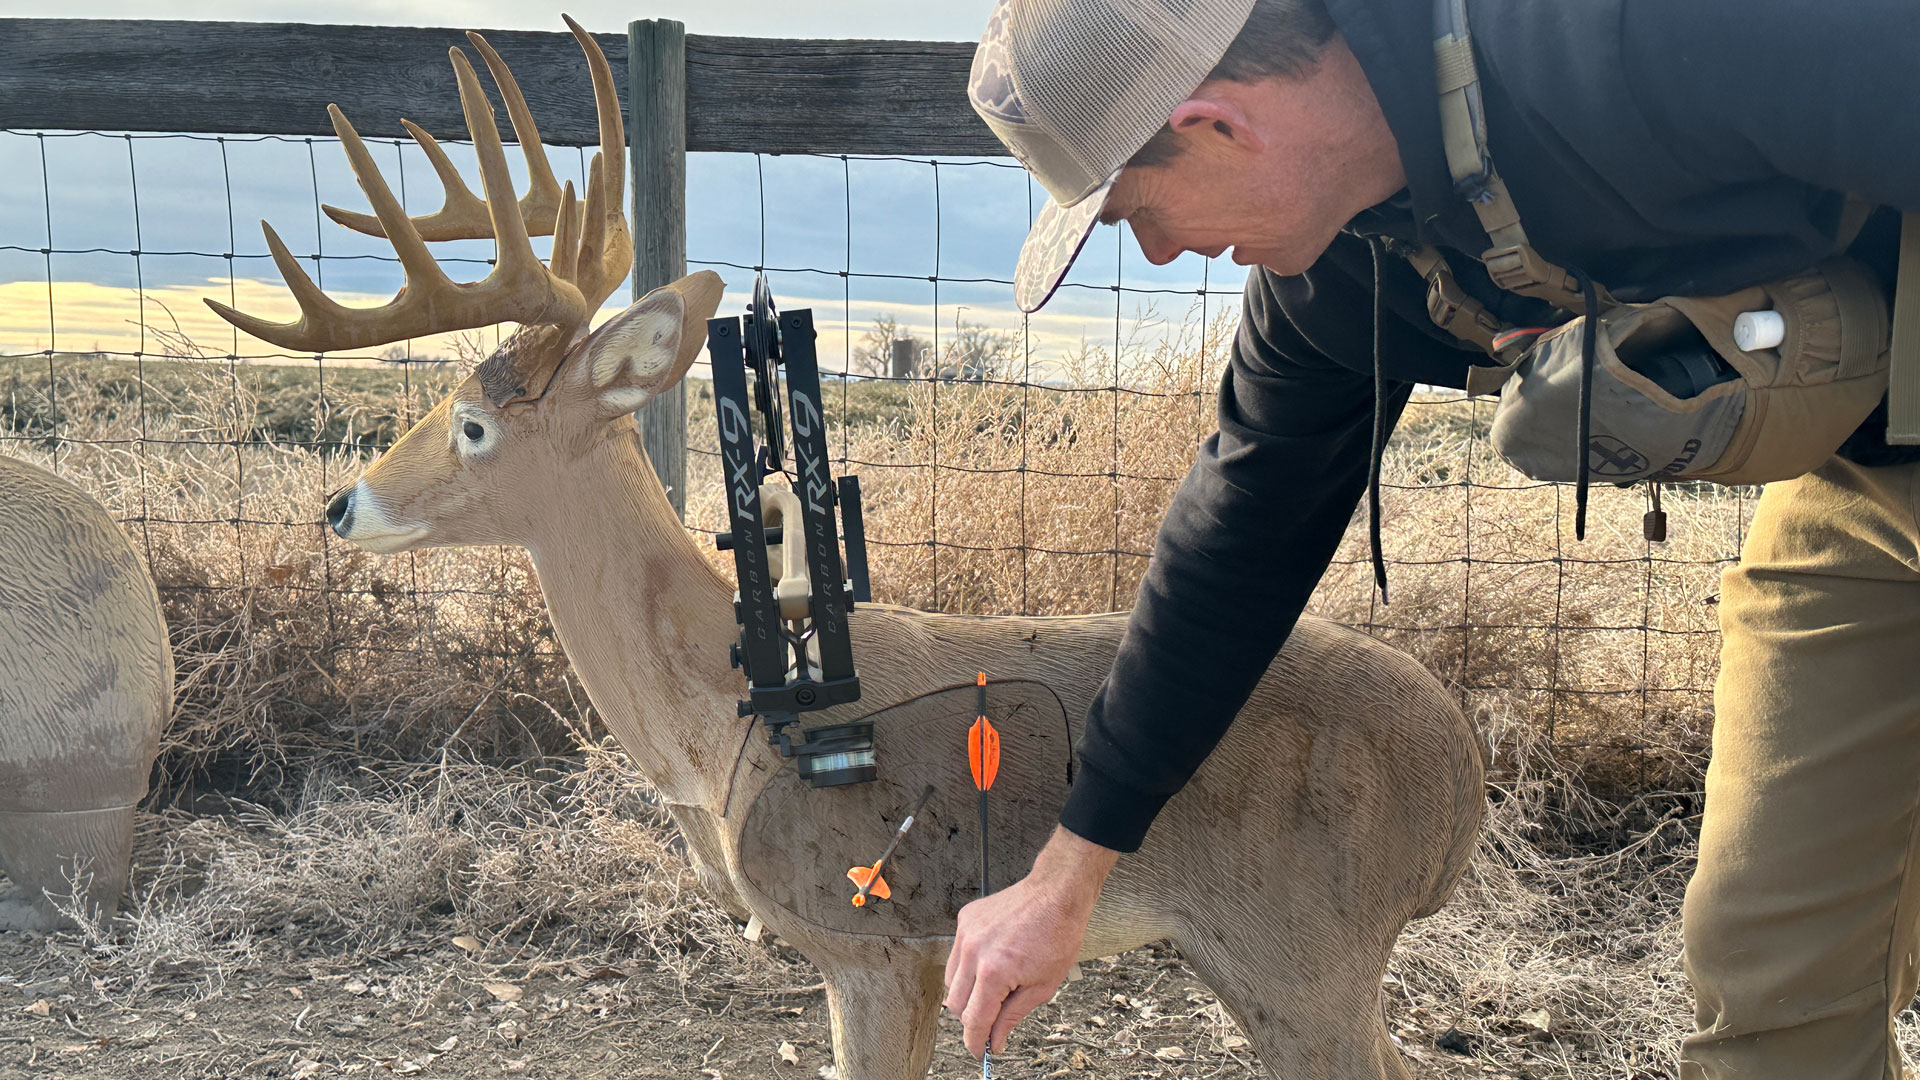
Hoyt Carbon RX-9
- 30 inches axle to axle
- 4 pounds
- 342 fps ATA
Mathews Lift X 29.5
- 5 inches axle to axle
- 99 pounds
- 348 fps IBO
Xpedition Xlite 32
- 32 inches axle to axle
- 8 pounds
- 342 fps IBO
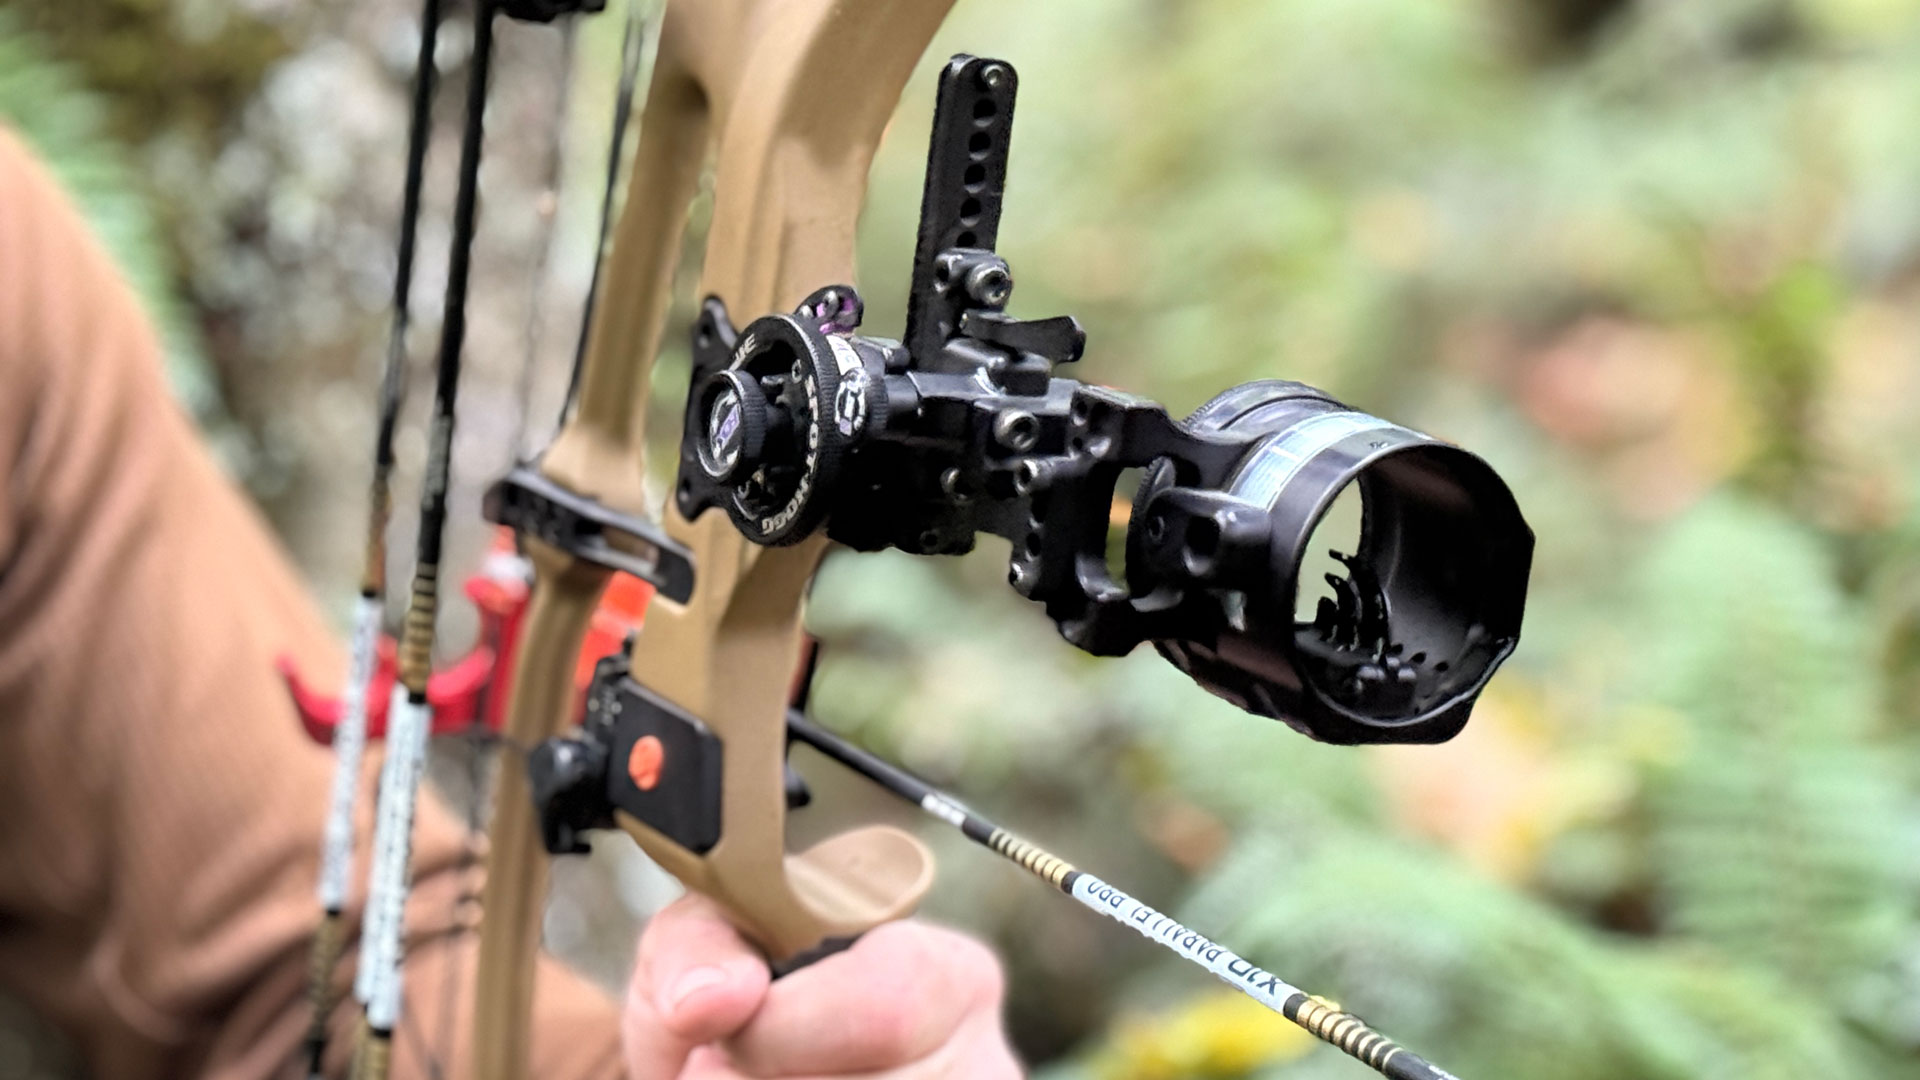
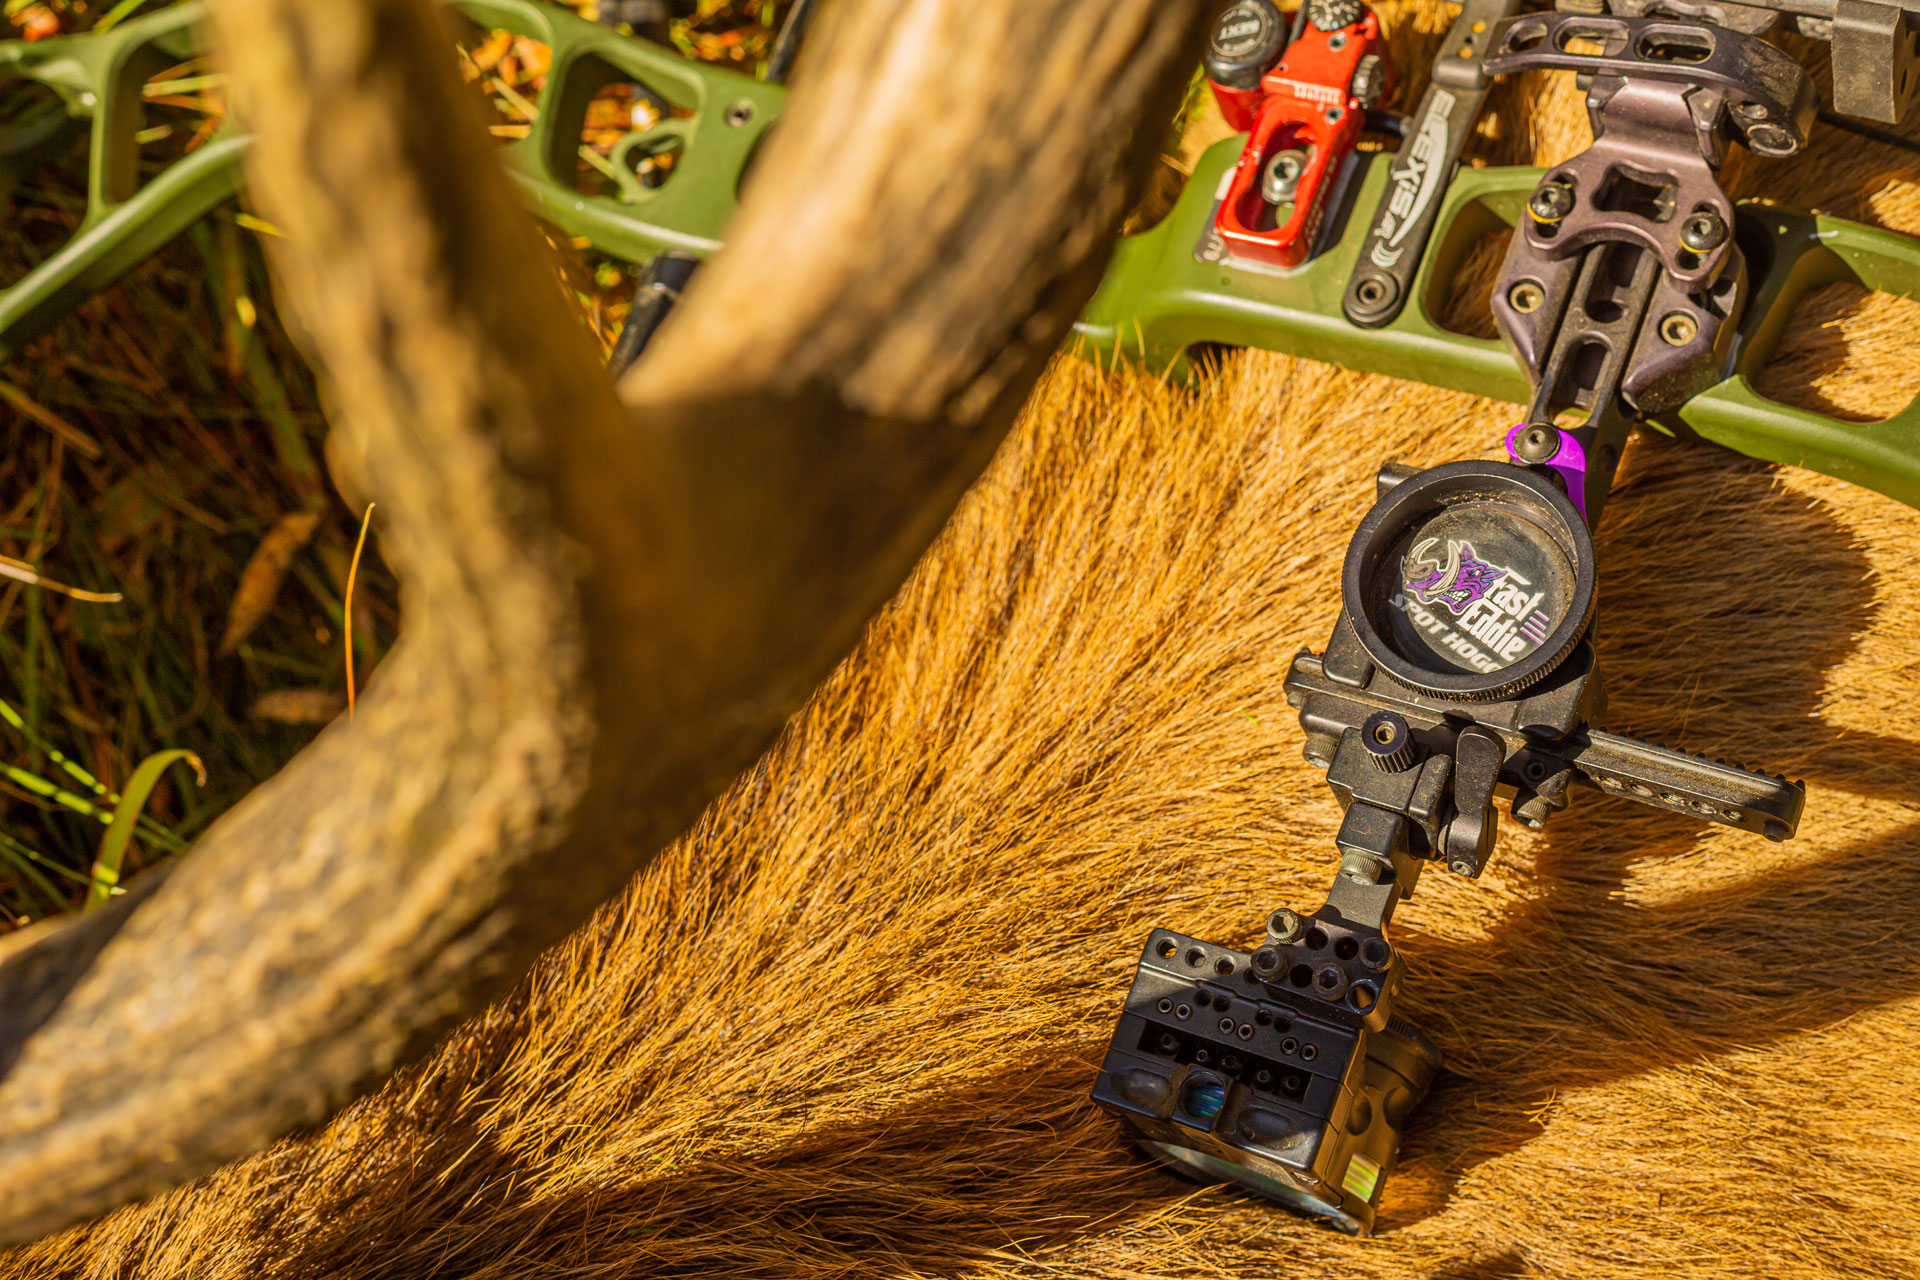
Sight & Rest
In elk country, you need a German tank tough sight that doesn't add a ton of weight to your bow. The sight must be second and third-axis adjustable as steep-angle shots are common in elk country. Pin brightness is paramount, and if you opt for a slider sight (which I recommend for dial-to-the-yard accuracy) the rack and pinion need to be buttery smooth.
When hunting elk, I prefer a three- or five-pin sight. Single-pin sights are excellent. However, too many times, I've stopped a bull at 20 yards only to have him spook and run to 40 yards. Often, with rutting bulls, there isn't time to let down and re-dial.
My reason for preferring a multi-pin slider sight is practice. Before any hunt, I execute double-distance practice sessions daily. Double-distance practice means practicing twice as far as your maximum bowhunting shot.
Sixty yards is my maximum effective range on elk, so I practice regularly at 120 yards. I need a sight I can dial to 120 yards to practice at longer distances. This is the reason I prefer a moveable sight.
I prefer a sight that mounts to a Picatinny rail or some other device mounted to the face of the riser. Bowhunting has gone to direct-to-riser accessory attachment, and I love it. Direct to riser means the mounting bar, mounting block and mounting screw are gone. This saves a ton of weight.
My top three elk sights are Spot-Hogg's Boonie PM (Pic-Mount) 3 Pin, Black Gold's Pro HD QuickLink 5 Pin, and UltraView's Picatinny UV Slider.
The rest is the only piece of equipment that will directly contact your arrow, making it an ultra-critical accessory.
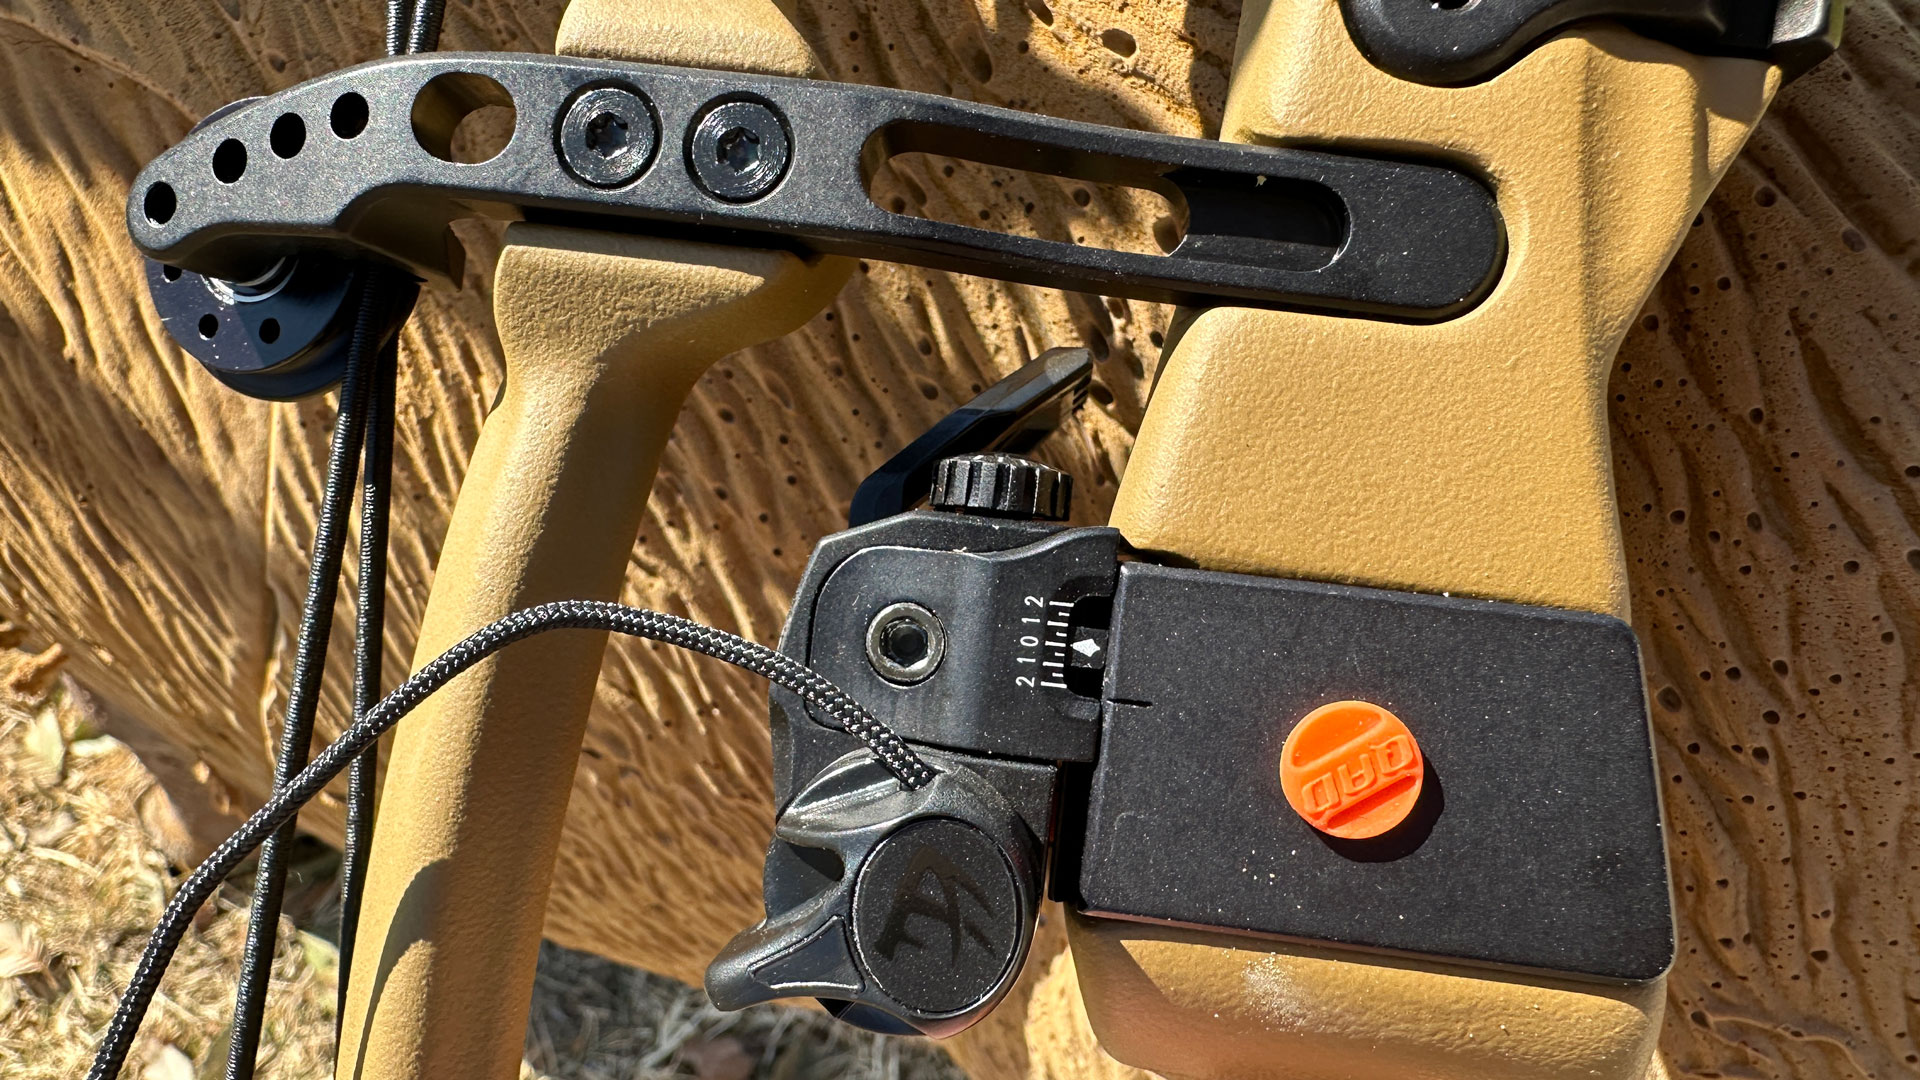
Regarding the rest, I prefer a cable-driven rest to a limb-driven rest. However, that choice is purely personal. There are some remarkable limb-driven rests on the market. In terms of weight, I look for a rest that needs no mounting bar or mounting screw.
A few years back, Quality Archery Designs developed the Integrate Mounting System. This system, via a pair of dovetail slots integrated into the back of the bow's riser, allows for secure, clamp-style rest mounting. With the rest mounting bar and mounting screw removed, weight is reduced. The direct clamp-to-riser connection allows for exact tuning, and there is little to no chance of the clamp loosening.
My go-to rest is QAD's UltraRest MX2. I love the addition of the rubber dampeners in the launcher arm and the rubber Berger button plug. The rest is easy to tune and is remarkably durable.
If I were to go the limb-driven route, my go-to would be Ripcord's Ratchet Limb Driven. I've used this rest in a cable-driven model with excellent success. I love the full-capture bar and the whale tail launcher blade.
Quiver & Stabilizer
Quivers and stabilizers are two non-sexy accessories that get little love and attention. However, both greatly affect bow balance, weight, and overall shootability, so don't skimp on these bow-mounted accessories.
I like an adjustable quiver that hugs the bow's riser. That quiver must also sport at least one gripper to hold micro-diameter arrows tight and produce zero post-shot noise/vibration. Many bowhunters must have a quiver that detaches. That's fine. However, when bowhunting elk, there often isn't time to remove the quiver. Doing so creates excess and unnecessary movement. Learn to shoot with your quiver on. I also prefer a four or five-arrow quiver to help keep weight down.
You can't go wrong with TightSpot's Airlock. TightSpot makes bulletproof quivers, and this four-arrow holder has a fighting weight of 8.75 ounces and has a quick-detach mount.
Going with a quiver crafted by your chosen bow manufacturer is also never a bad idea. I've had great luck with Hoyt's Superlite 2-Piece Arrow Quiver—the four-arrow model weighs 7.3 ounces. Mathews' LowPro Detachable Quiver is also a win.
Bowhunters get silly about stabs. We aren't shooting a 3D competition or preparing for a spot-and-stalk mule deer or pronghorn hunt. For this reason, I skip the offset mount and back bar stabilizer for elk. I run an 8-inch stabilizer. Remember, the goal is the top pin.
I've grown fond of Cutter Stabilizers' Elevate Pro 8, an 8-inch stabilizer whose weight can be customized. I order the 3-ounce weight set, and typically, I only add two circular-sized weights. I also like Hoyt's 8-inch 4.2-ounce Stealth Pro Series.
It's important to know that the purpose of a stabilizer is to promote good bow balance. I get this with an eight-inch stabilizer. Anything less than eight inches, and you'd be just as good not adding a stabilizer to your bow.
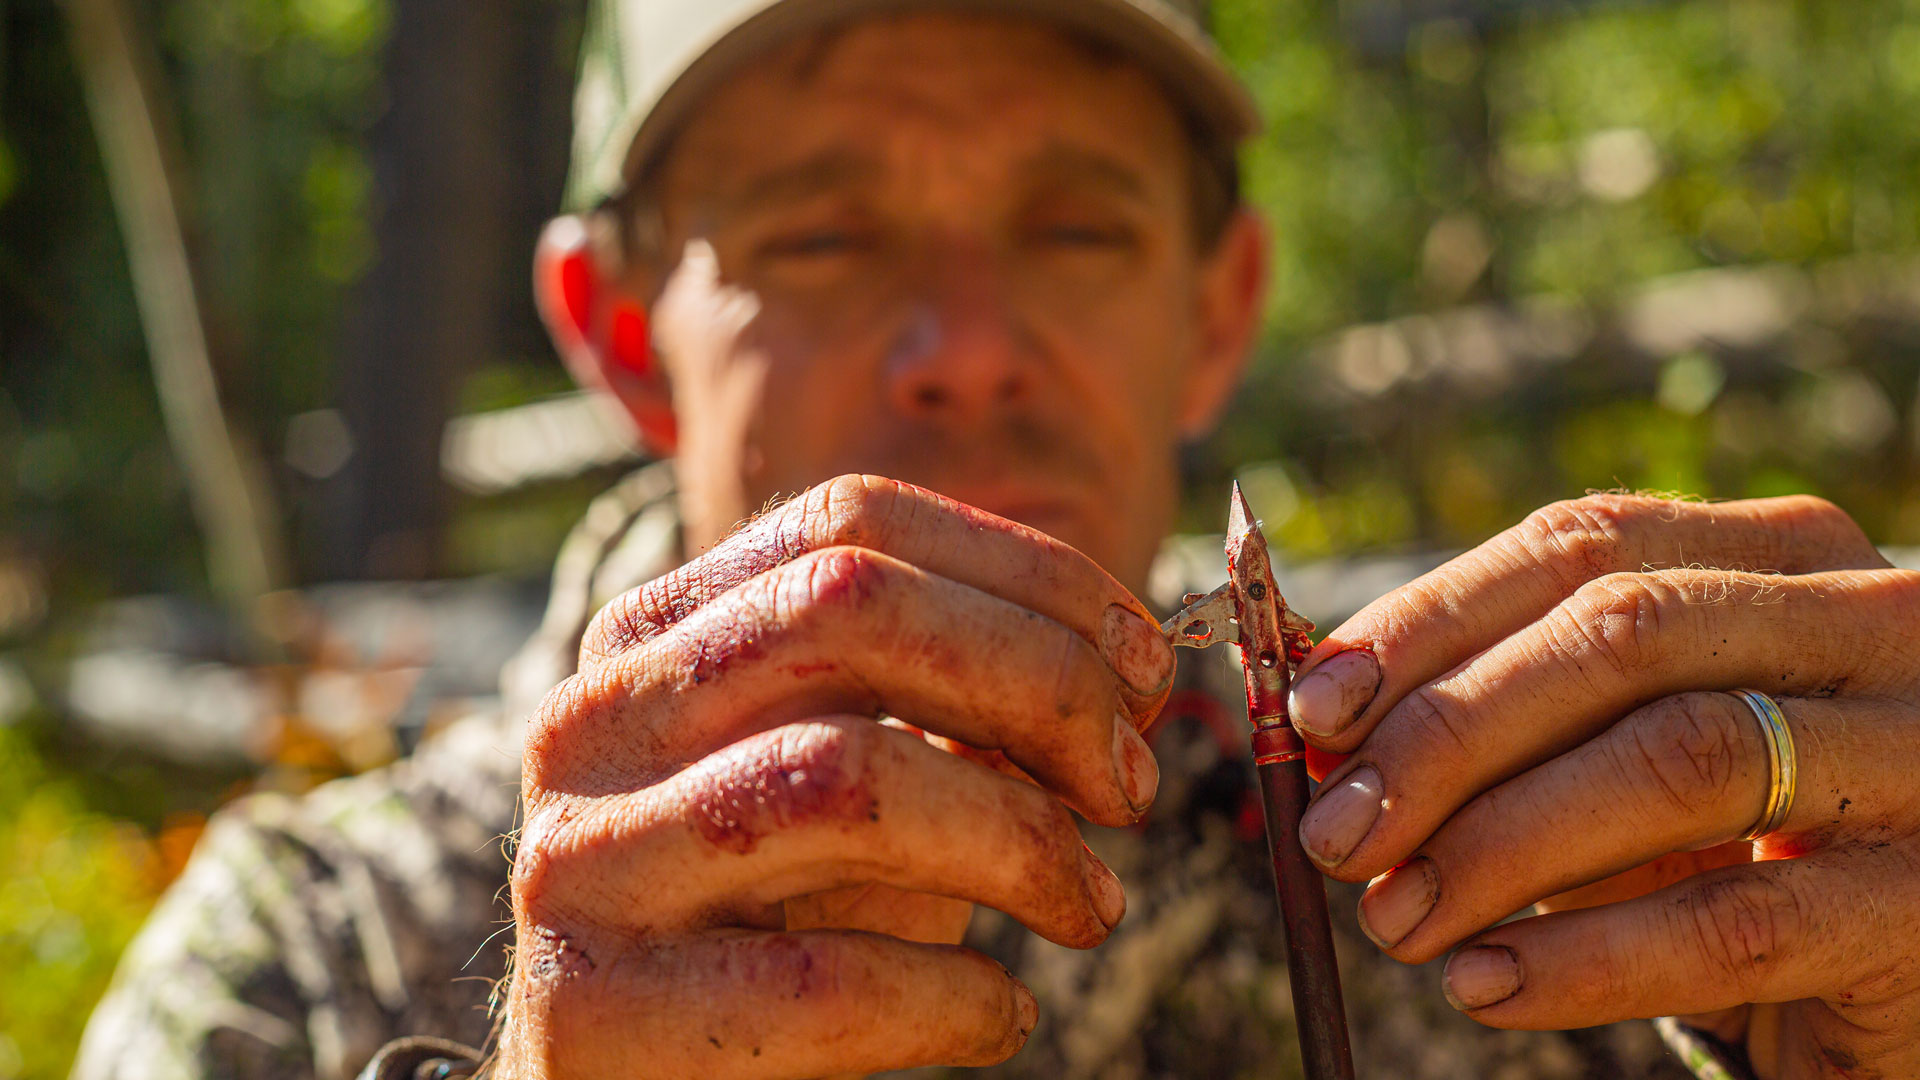
Arrow & Broadhead
These two aren't bow-mounted accessories, so this is a bonus. Don't fret over arrow weight. Bowhunters obsess over this, and it drives me crazy. If you hit an elk in the humerus or directly in the shoulder, you could be pulling 90 pounds and shooting a 700-grain arrow, and you're still not getting through.
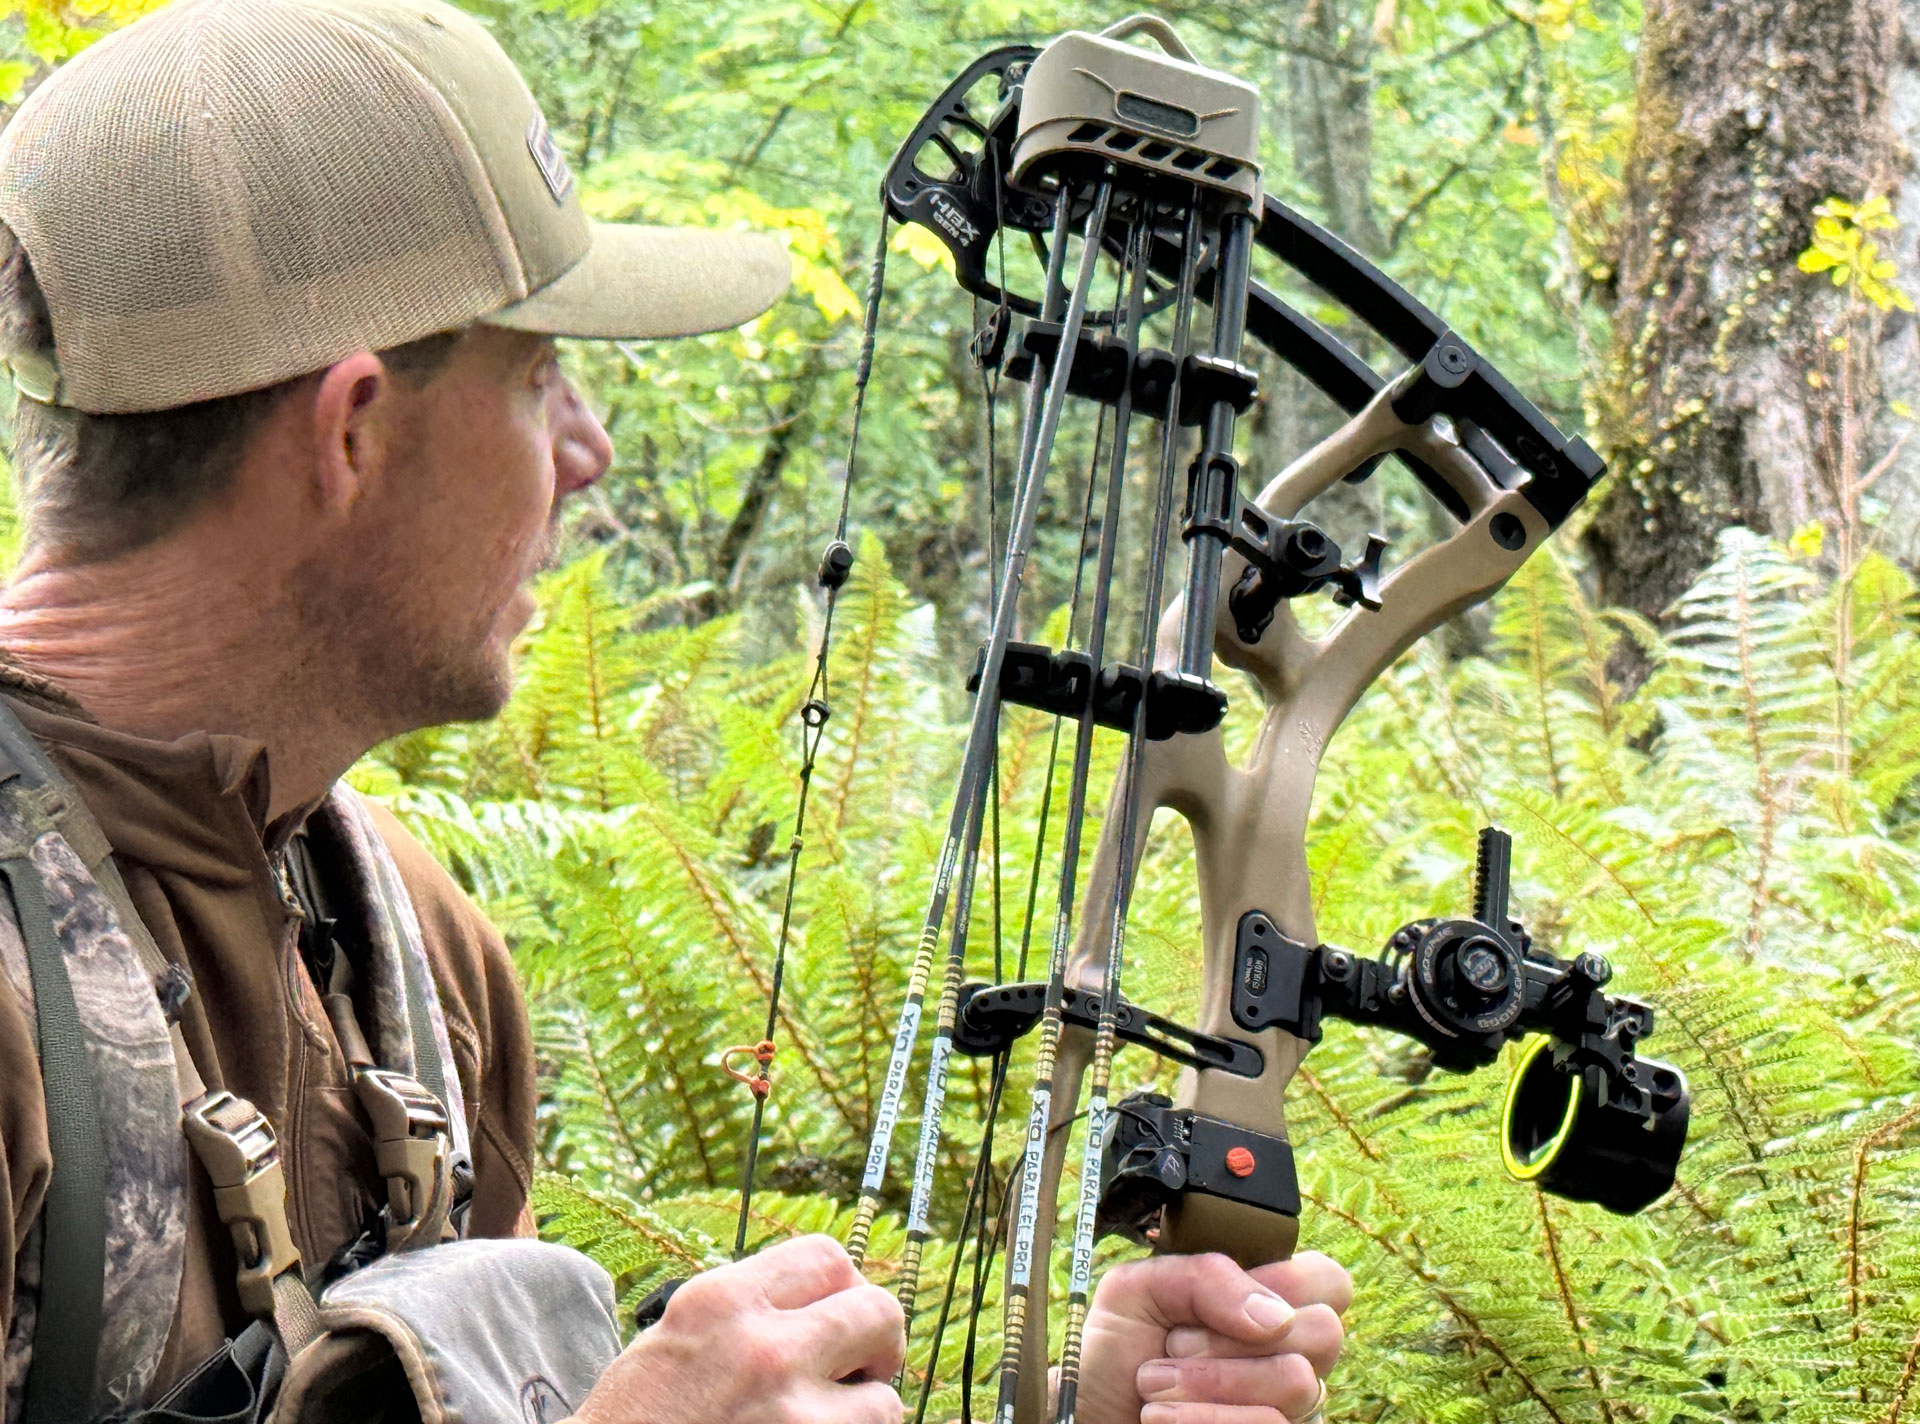
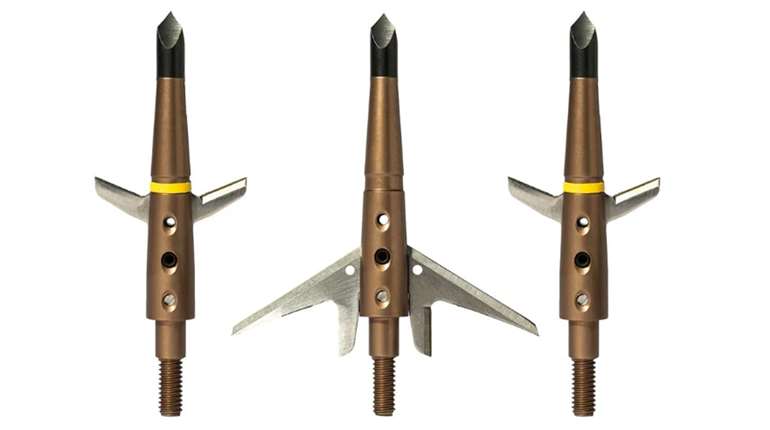
I pull 70 pounds and have a draw length of 28.75 inches. My arrow weight is always between 405 and 420 grains. I shoot an ultra-small diameter arrow like Easton's X10 Parallel Pro or 4mm Axis Long Range to reduce wind drift and boost penetration. A micro-diameter arrow tracks seamlessly behind a top-end elk broadhead like SEVR's Ti 1.5, Muzzy's Trocar, or QAD's Exodus. Because the arrow tracks directly behind the wound channel created by the broadhead, friction is reduced and penetration is boosted.

Final Thoughts
Have fun building your elk bow. If you have a reputable pro shop nearby, go visit them. Most will let you try gear before you purchase it. If not, take a day and drive to the best pro shop you know of.
The goal is to create a bow under seven pounds with all accessories attached and a quiver full of four arrows tipped with broadheads.
Most Popular