Have you ever uttered the phrase “next year will be different”? If so, you’re not alone. Many bowhunters, myself included, have spoken these somber words. Most of the time, they come on the heels of a bad season—one plagued by errant arrows or worse, wounded game.
Here’s the cold hard truth: Bowhunting is challenging. Sending slim shafts through the air from a vertical rig—no matter how awesome the rig or its accessories—and putting those shafts on the mark takes discipline and dedication. If you’ve vowed to make next fall your best bowhunting season yet, and want to walk the walk, here’s what to do.
Let the Release Fire the Bow
As much as you love your index- or thumb-button release, it may be time to switch. As good as modern-day index- and thumb-button releases are, they make trigger manipulation too easy, and if you’re struggling to let your release fire your bow, they aren’t for you.
The difference between putting a hole in a critter’s lungs and a sob story is often three or four seconds. Having the ability to control and trust your pin float as your aiming points dance on the animal’s side is paramount. The problem for many bowhunters is that when your pin hits hide, no matter where on that hide it hits, the release gets punched and the arrow is on its way. Sound familiar?
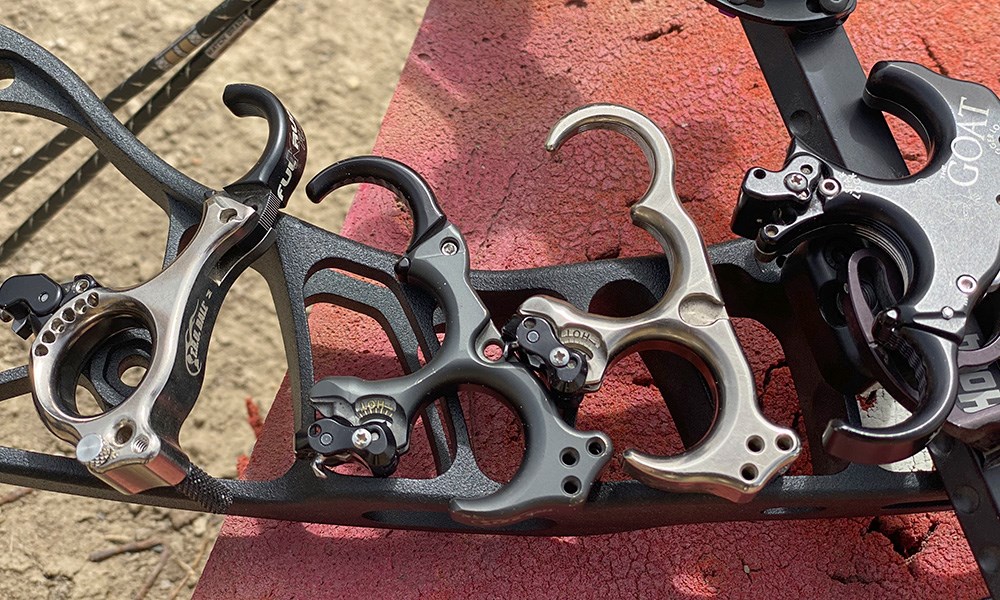
Making the switch to a hinge (back-tension) or tension release is the first step to giving up trigger control and letting the release fire the bow. If you are used to a trigger release, this new system will feel awkward at first, but you must trust the process. If you’re worried about punching yourself in the nose while trying to get a hinge back or having that hinge go off before you settle into anchor, consider a tension release with a safety.
When learning to shoot a hinge or tension release, the last thing you want to do is to focus on accuracy. To get comfortable, you need to start with the basics. Once you’ve read the user manual, it’s time to start shooting. Set a blank target at a distance of 5 yards. If there are aiming points on your target, cover them up. A blank target will help you relax and focus on the fundamentals of getting into your grip, hooking up your release, pulling the bow back smoothly, crawling into your anchor and letting your pin float on a blank-face target.
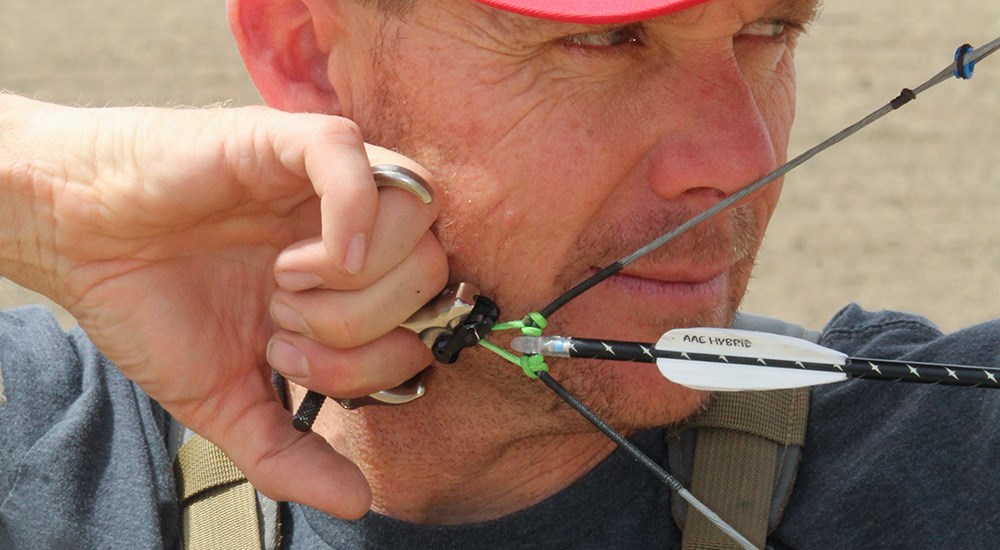
There is no button to push or trigger to squeeze with a pure hinge or a tension release. Instead, the release fires itself. This forces you to let your pin float on a target face while pushing your bow hand into the target and driving your release arm back while relaxing the release hand from the wrist down. You want to be strong in the front and strong in the back, but you don’t want to squeeze the life out of the release. As you drive your bow arm into the target and your release elbow back and relax the release hand, the bow will go off. When it does, it will shock you. This is a good thing and the first step to letting the release fire the bow.
Stay Blank
Shoot like this daily for two weeks, and don’t cheat—you won’t be doing yourself any favors, I promise. During this time you will be perfecting your grip, draw, anchor and release. You want to master the art of letting the release fire the bow, training your mind not to anticipate the shot. The goal is to let your pin float while you focus on aiming, until the bow goes off. Practicing at 5 yards on a blank target is the best way to learn and trust this process.
Have your wife, friend, child or nosy neighbor film your shot process several times over the ensuing two weeks. When watching the video playback, look for flaws in your form and pay special attention to your follow-through. If you’re not anticipating the shot, when the release breaks, the bow should fall forward and left for right-handed shooters, and the release arm should shoot backward. You should look strong throughout the process, and when the shot happens, you should blow apart.
After two weeks at 5 yards, it’s time to move the target back. Spend week three shooting your blank target at distances of 20, 30, 40 and 50 yards—no farther. You’ll need to make some sight adjustments to ensure you’re hitting your target and not losing arrows, but you don’t need perfection at this point, because you’re aiming at center mass. If with each shot your arrows are hitting foam, your pins or sight tape (if you shoot a moveable, single-pin sight), will be close enough for the time being.
Nothing about your technique should change as distance increases. Your form stays the same, focusing on the act of aiming until an arrow replaces the spot where your pin is floating. Also, pull each shaft from the target as you shoot. If you don’t, your subconscious mind will focus on the nock and vanes.
Only 3D, Please
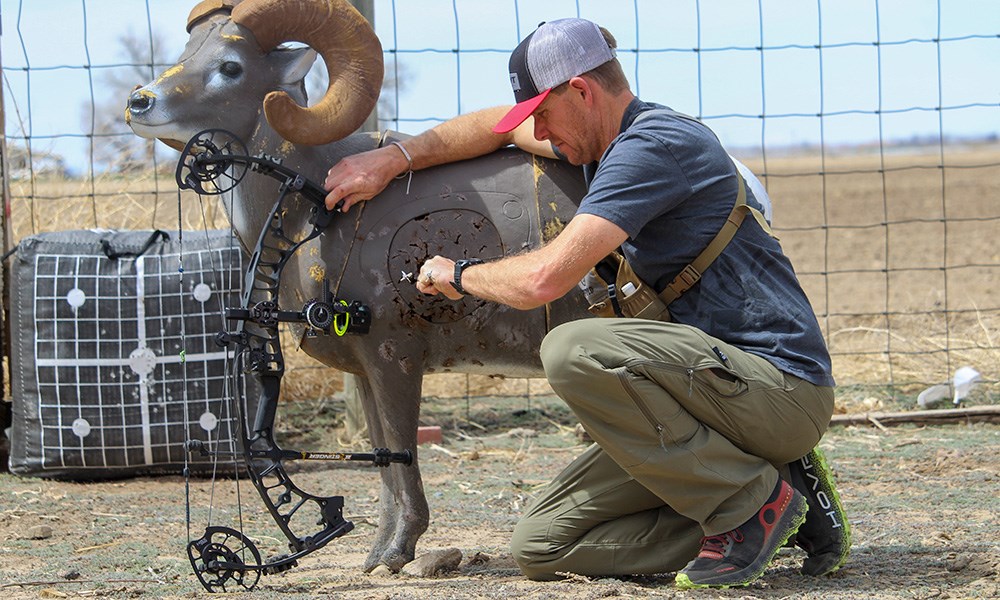
For weeks four and five, you’ll be switching to 3D targets or 2D life-like animal targets. Why? Aside from hard-to-distinguish scoring rings, which you need to ignore, these targets generally have no specific aiming points, except for the natural points we all look for. From distances of 20 to 50 yards, focus on your shot process and try to put your arrows in the lungs of the target. You want to get comfortable shooting at a target that has blank space over its back and under its belly.
Double Distance Practice
Weeks six through eight are pure fun. Your confidence is soaring, and you’re feeling very lethal. Now is the time to get your pins or sight tape dialed-in by shooting spots and dots. If you start to feel anxiety at any point during this process, stop! Move back to 5 yards and spend a day or three blank-bale shooting.
Start double-distance practice once you have your pins dialed or your sight tape set—I prefer a sight tape and dial setup on a vertical single- or multi-pin sight.
The process is simple. If your max hunting distance is 40 yards, spend 70 percent of your week six-through-eight sessions shooting at 80 yards. If 60 yards is your max hunt distance, your shooting should be done at 120 yards. I know this sounds intimidating, but you’re ready, and the shot you make at 20 yards is the same as that at 120 yards. Doing this will hone your archery skill like nothing else, and 50 yards will feel like a chip shot. Be sure to do this at an outdoor range where large bale targets are used.
I realize some of you just read that last paragraph and choked. You may not have a single- or multi-pin sight with a distance dial. Don’t fret. If you shoot a fixed, three-pin sight set at 20, 30 and 40 yards, there is a way to practice at 80 yards. From 80 yards, draw your bow and put your 40-yard pin on the target. Next, glance up at where your 20-yard pin is floating and take note. Now use a little Kentucky windage to place your 40-yard pin where your 20-yard pin was floating. Your 40-yard pin will now be a 70-to-80-yard pin. It’s that easy. Remember, you’re not busting lungs or shooting 10-rings here, but rather focusing on aiming and executing a perfect shot.
There you go, an eight-week program that will make this coming fall your best.